
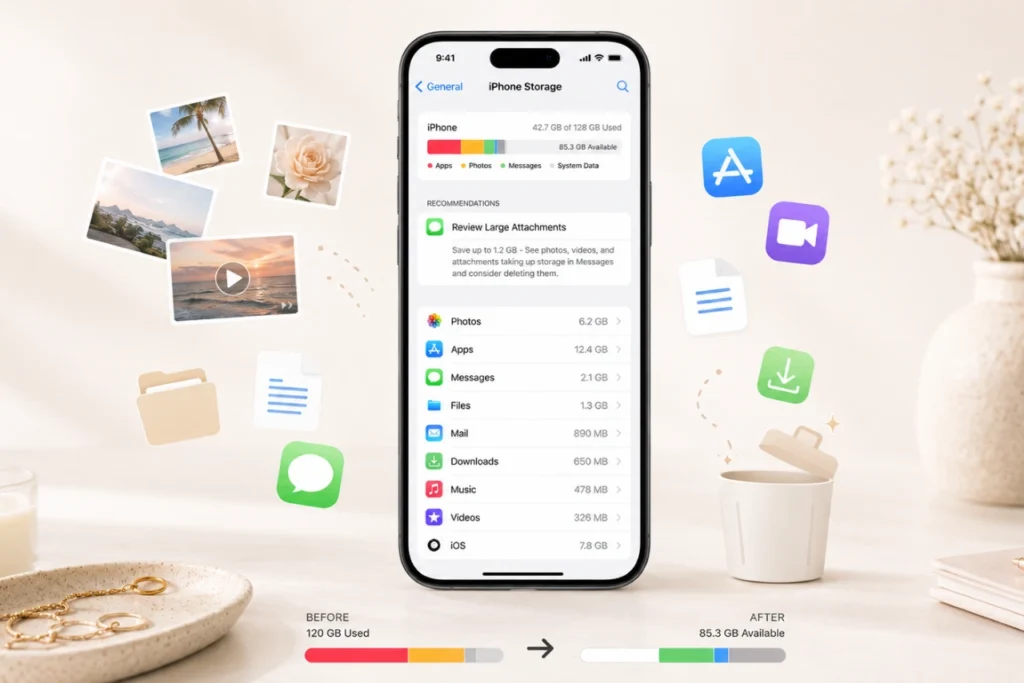
Have you ever picked up your iPhone to take a quick photo, download an app, or save a video, only to get that dreaded “iPhone Storage Almost Full” notification?
It can be incredibly frustrating.
You start wondering what is taking up so much space when you haven’t even downloaded that many things. Then you open your Photos app and realize you’ve somehow accumulated thousands of pictures, dozens of screenshots, old videos, and probably a few hundred photos of things you don’t even remember taking.
I’ve been there myself, and honestly, iPhone storage can disappear much faster than you expect.
Between photos, videos, apps, messages, downloads, and all those files we save and forget about, it doesn’t take long for your storage to become a problem.
The good news is that you don’t have to delete all your favorite memories or spend hours going through every single file on your phone.
There are plenty of simple ways to free up space on an iPhone, and some of them take only a few minutes.
In this guide, I’ll walk you through the easiest ways to check what’s using your storage and safely clear out things you no longer need.
How to Free Up Space on an iPhone
Before you start deleting random photos and apps, there’s one important thing you should do first.
Find out exactly what is taking up your storage.
Once you know what’s using the most space, you can focus your cleanup efforts where they’ll actually make a difference.
1. Check What Is Taking Up Your iPhone Storage
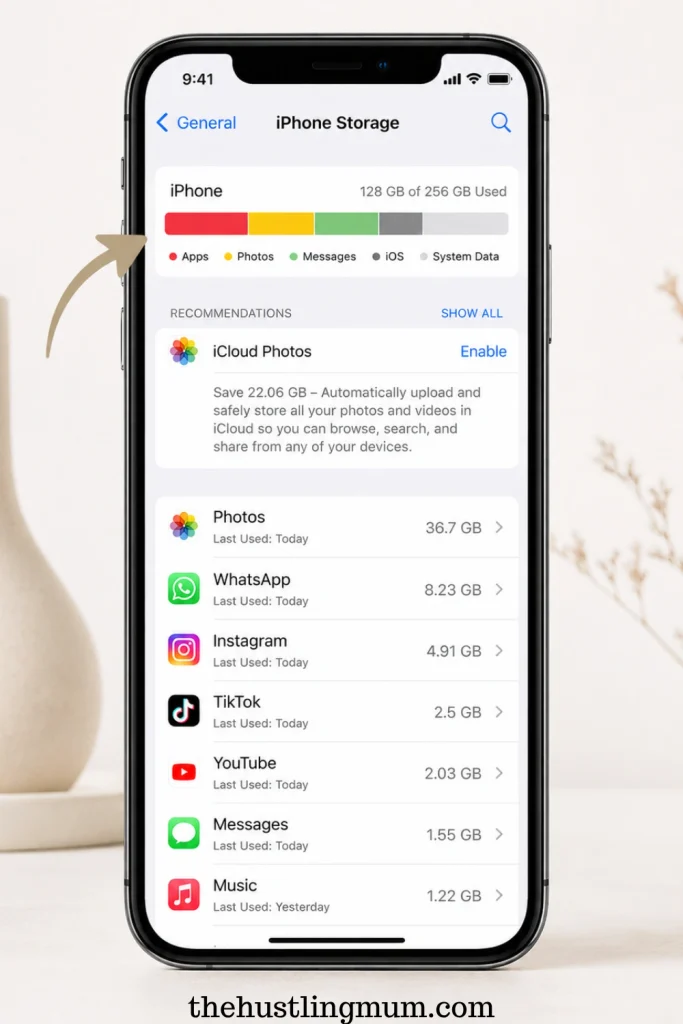
Your iPhone has a built-in storage management screen that makes it surprisingly easy to see where your space is going.
This should always be your first step.
To check your iPhone storage:
- Open the Settings app.
- Tap General.
- Tap iPhone Storage.
- Give your iPhone a moment to calculate your storage usage.
- Look at the storage bar at the top.
- Scroll down to see which apps are using the most space.
You’ll see a colored storage bar showing categories such as Apps, Photos, Messages, iOS, and other types of data.
Below that, you’ll see your apps listed according to how much storage they’re using.
This is where you may discover something surprising.
An app you haven’t opened in months might be taking up several gigabytes. Or perhaps your Photos library is responsible for most of your storage.
Your iPhone may also show recommendations for freeing up space.
Don’t automatically follow every recommendation, though. Take a moment to read what your iPhone is suggesting and decide whether it makes sense for you.
Once you know what’s taking up the most space, you can start with the biggest storage hogs instead of wasting time deleting tiny files that won’t make much difference.
2. Delete Apps You No Longer Use
Let’s be honest. Most of us have apps on our phones that we haven’t used in months.
Maybe you downloaded an app for a particular event, tried a game once, or installed something because you thought it might be useful someday.
And then you forgot about it.
If you’re running low on storage, unused apps are an easy place to start.
To delete an app:
- Find the app on your Home Screen or in the App Library.
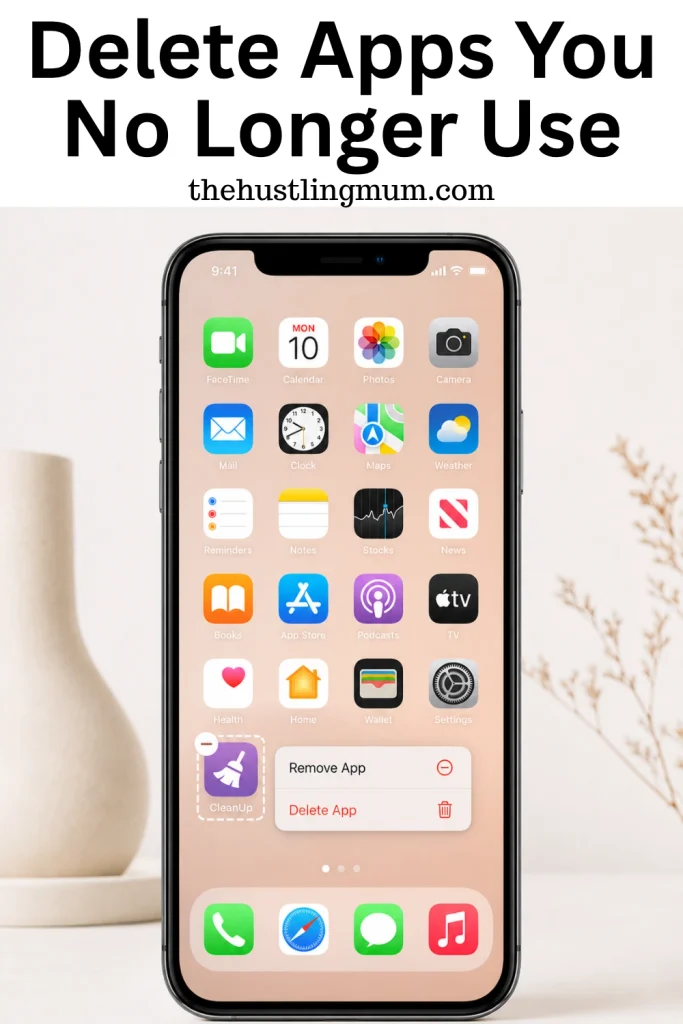
- Touch and hold the app icon.
- Tap Remove App.
- Select Delete App.
- Confirm that you want to delete it.
You can also delete apps from your storage settings.
Go to Settings → General → iPhone Storage, tap the app you want to remove, and select Delete App.
I particularly like checking the apps through the iPhone Storage screen because you can see how much space each app is actually using.
Instead of asking yourself, “Do I like this app?” ask yourself:
“Have I actually used this recently?”
If the answer is no and you can easily download it again when you need it, deleting it can be an easy way to reclaim some space.
Just remember that deleting an app can also remove app-related data, depending on how that particular app works. If you’re unsure, check whether there’s anything important stored inside it before deleting it.
3. Offload Apps You Rarely Use
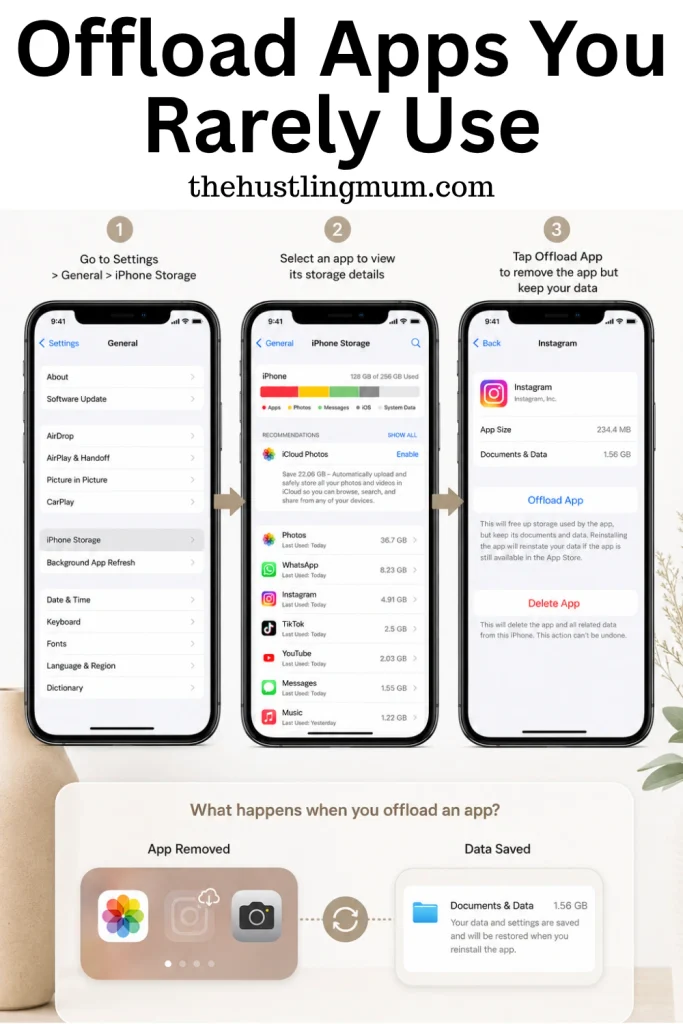
If you don’t want to completely delete an app, there’s another option.
You can offload it.
Offloading removes the app itself from your iPhone but keeps its documents and data. This can be useful for apps you don’t use often but may want to return to later.
To manually offload an app:
- Open Settings.
- Tap General.
- Select iPhone Storage.
- Tap the app you want to offload.
- Tap Offload App.
- Confirm your choice.
When you need the app again, you can reinstall it.
Your iPhone also has an option to automatically offload unused apps when you’re running low on storage.
Go to Settings → Apps → App Store and look for Offload Unused Apps.
This can be handy if you have lots of apps but don’t want to constantly monitor which ones you’re using.
One thing I like about this option is that it gives you a middle ground.
You don’t have to make the decision to permanently delete an app just because you aren’t using it right now.
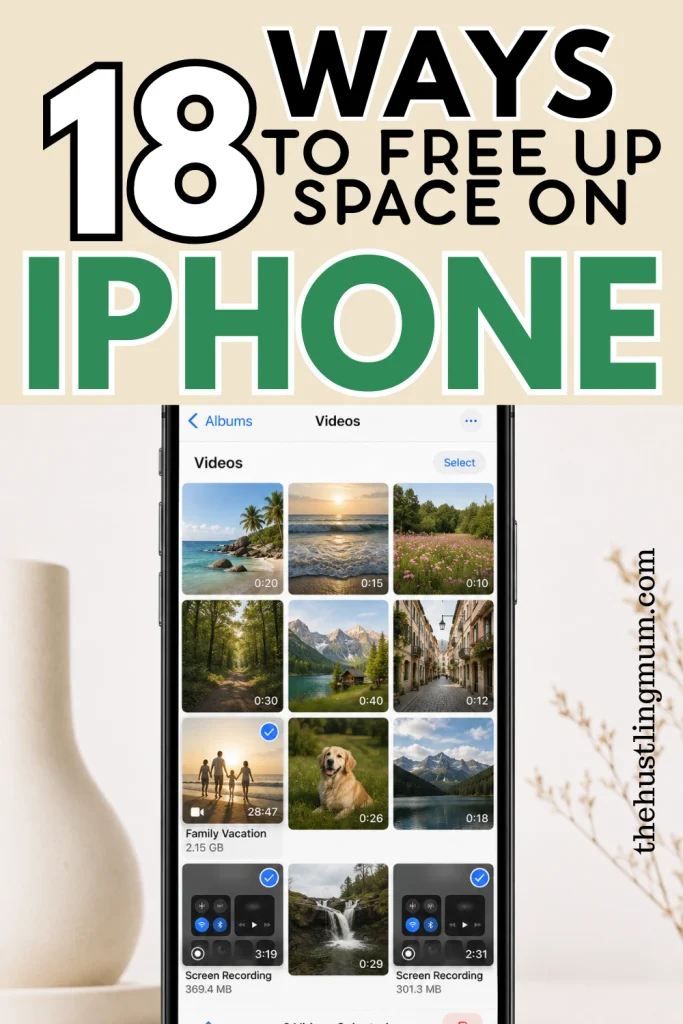
4. Delete Large Videos You Don’t Need
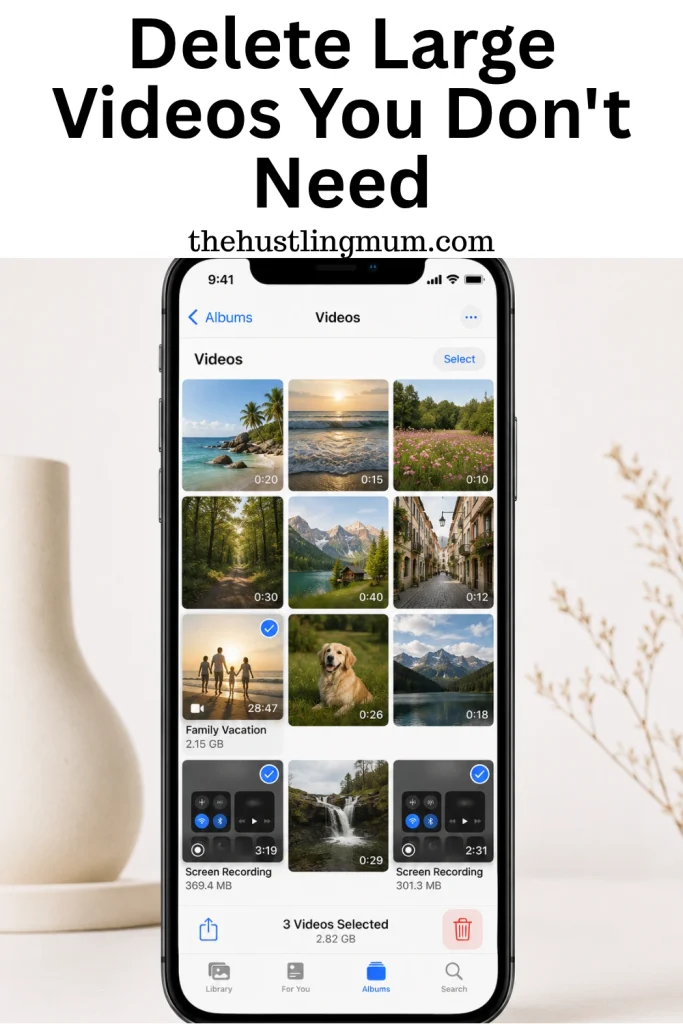
If your iPhone storage is almost full, take a look at your videos.
Videos can take up a huge amount of storage, especially if they’re long or recorded in high resolution.
You might have a five-minute video that uses considerably more space than hundreds of text messages.
Open the Photos app and look through your videos.
Pay special attention to:
- Long videos you don’t need anymore
- Multiple recordings of the same event
- Accidental recordings
- Old screen recordings
- Videos you’ve already backed up
- Downloaded or saved social media videos
- Blurry or accidental videos
Before deleting anything important, make sure you have another copy if you want to keep it.
You don’t want to discover later that the cute video of your children or an important family event was accidentally deleted.
Once you’re confident that you don’t need a video, delete it.
But there’s one more step people often forget.
Deleted photos and videos aren’t necessarily removed from your phone immediately. They usually move into the Recently Deleted area.
We’ll come back to that in a moment.
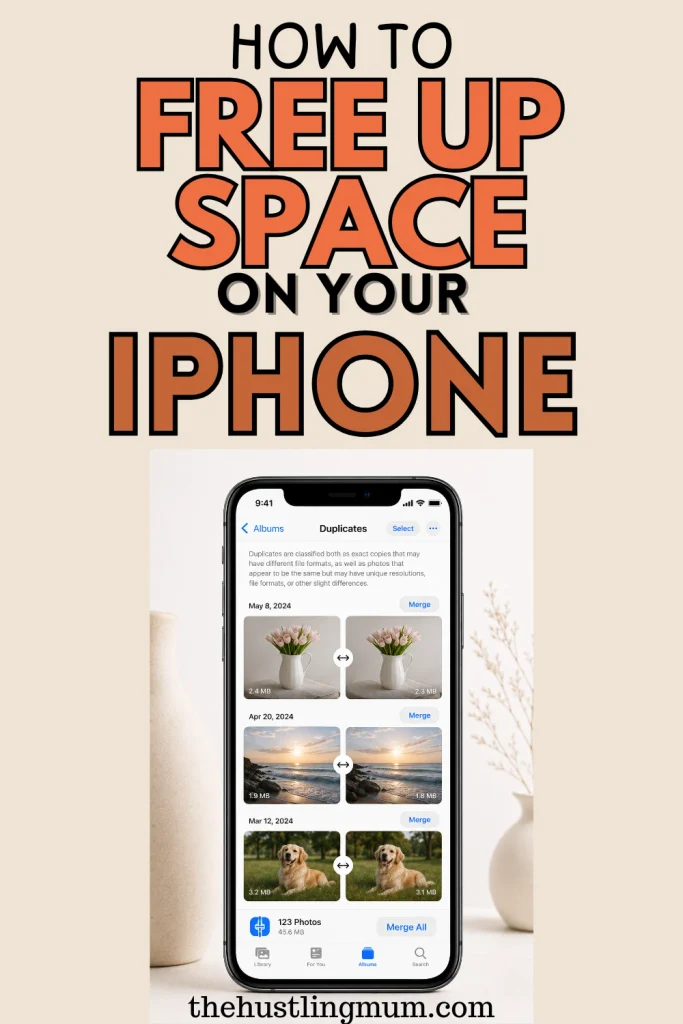
5. Find and Merge Duplicate Photos
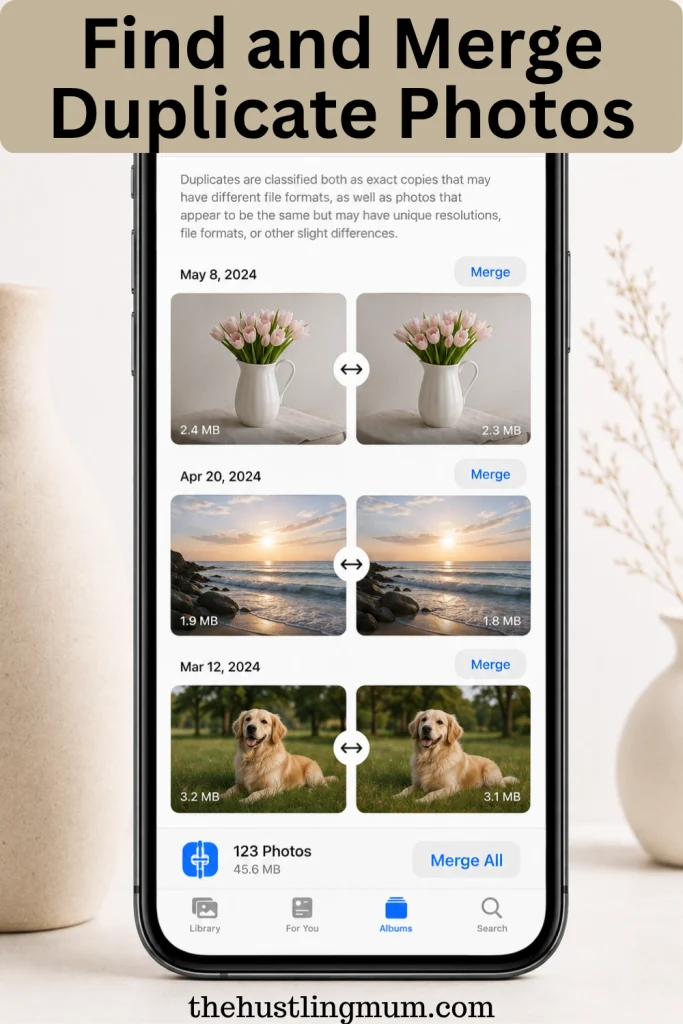
If you’ve had your iPhone for years, there’s a good chance you have duplicate photos.
Sometimes we take the same picture several times. Other times, we save the same image more than once.
You may also have multiple versions of the same photo without realizing it.
Fortunately, iPhone can identify duplicate photos and videos on supported iOS versions.
To check for duplicates:
- Open the Photos app.
- Tap Collections.
- Scroll down to Utilities.
- Look for Duplicates.
- Tap Duplicates.
- Review the photos and videos shown.
- Tap Merge for the duplicates you want to combine.
Your iPhone will keep the best-quality version and remove unnecessary duplicates.
Don’t feel like you have to merge everything automatically.
Take a quick look at the photos first.
Sometimes two pictures may look similar but still be slightly different, especially if they’re photos of people. Keep the ones you actually want.
If you don’t see a Duplicates album, don’t worry.
Your iPhone may not have detected duplicates yet, or it may still be processing your photo library.
6. Delete Old Screenshots
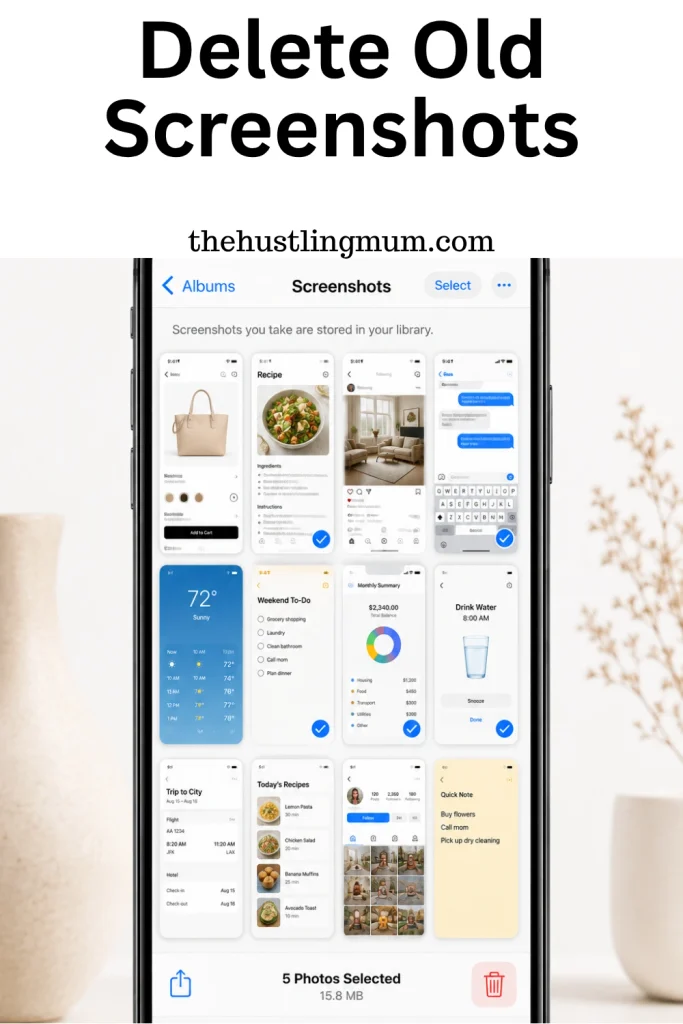
Screenshots are another sneaky source of clutter.
You might take a screenshot because you want to remember a recipe, save an outfit idea, keep a confirmation number, or send something to a friend.
Then weeks go by.
That screenshot is still sitting on your phone.
And then you take another 50.
I know I’m not the only person who does this.
Take a few minutes to go through your screenshots and remove the ones you no longer need.
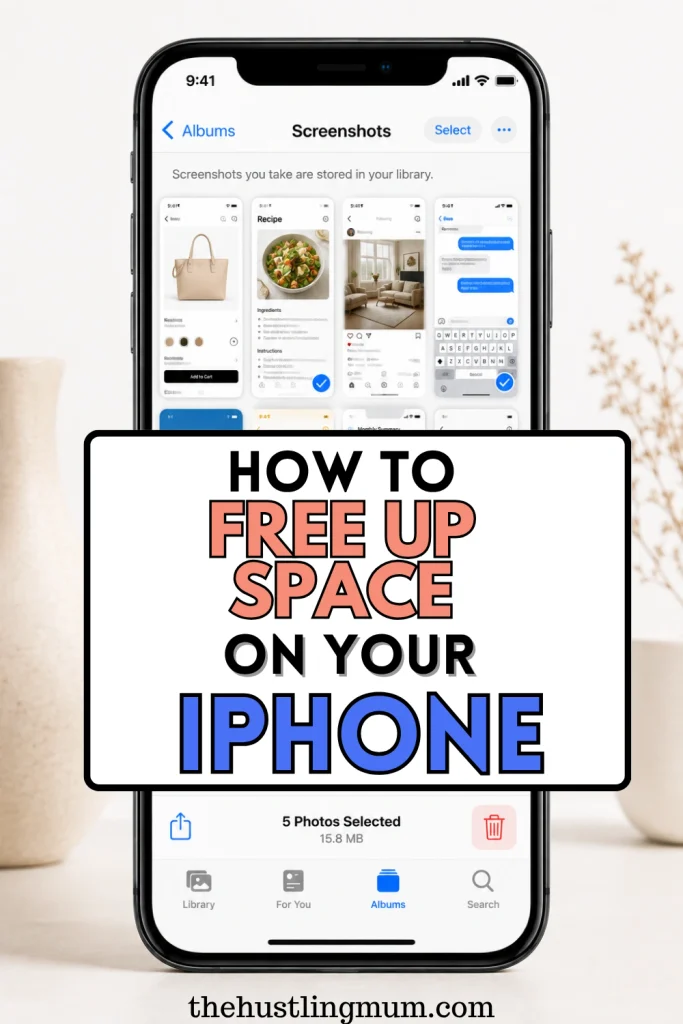
You can find your screenshots in the Photos app and quickly review them.
Look for things such as:
- Old shopping screenshots
- Expired offers
- Recipes you’ve already saved elsewhere
- Temporary reminders
- Old conversations
- Random social media posts
- Screenshots of information you no longer need
You don’t need to spend hours doing this.
Even a quick five-minute screenshot cleanup can make your photo library feel much more organized.
And if you regularly use screenshots as temporary reminders, make it a habit to delete them once you’re finished with them.
7. Empty Your Recently Deleted Folder
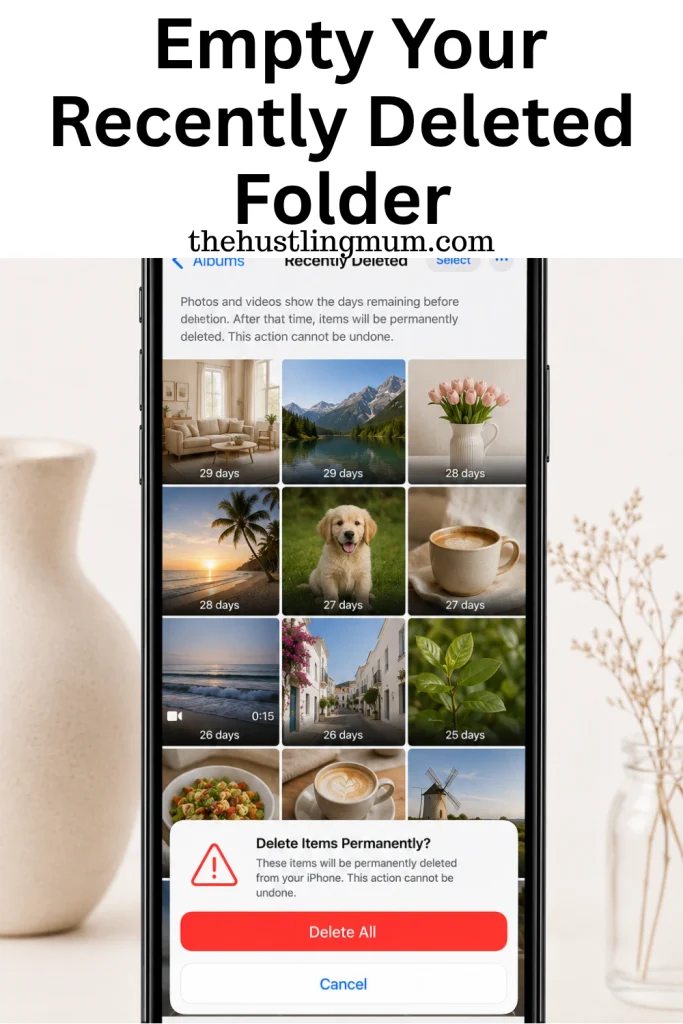
This is one of the easiest steps to forget.
When you delete a photo or video, it doesn’t necessarily disappear from your iPhone immediately.
Deleted items are moved to Recently Deleted, where they remain for a limited period before being permanently removed.
That means you could delete hundreds of photos and still wonder why your storage hasn’t changed much.
To check your Recently Deleted folder:
- Open Photos.
- Tap Collections.
- Scroll down to Utilities.
- Tap Recently Deleted.
- Authenticate if your iPhone asks you to.
- Review the items.
- If you’re certain you don’t need them, permanently delete them.
Be careful here.
Once you permanently delete something from Recently Deleted, you generally won’t be able to recover it from that folder.
So don’t simply tap “Delete All” without looking.
If you’ve accidentally deleted something recently, this is also the place where you may be able to recover it.
8. Turn On Optimize iPhone Storage for Photos
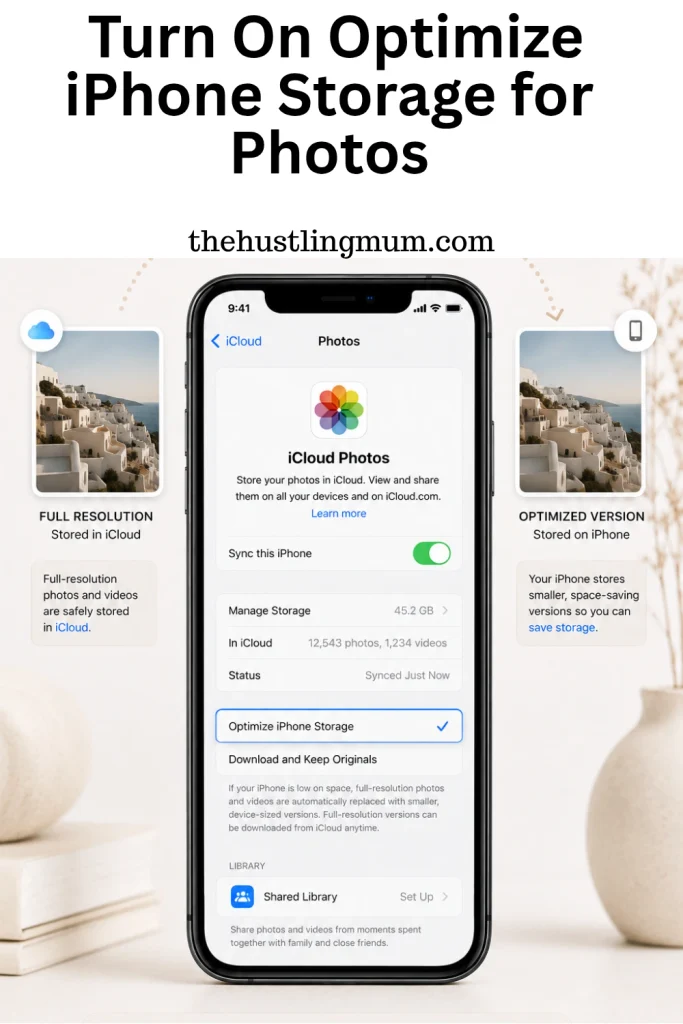
If your photo library is one of the biggest things using your storage, you may want to look at Optimize iPhone Storage.
This option is particularly useful if you use iCloud Photos.
When optimized storage is enabled, your full-resolution photos and videos can be stored in iCloud while your iPhone keeps smaller, space-saving versions when needed.
You can still access your photos from your iPhone, but they don’t necessarily have to take up the same amount of local storage.
To check the setting:
- Open Settings.
- Tap your name at the top.
- Tap iCloud.
- Tap Photos.
- Make sure Sync this iPhone is turned on.
- Select Optimize iPhone Storage.
There is an important catch here.
iCloud storage is different from your iPhone’s physical storage. You need enough iCloud storage for your photos and other iCloud content.
Also, make sure you understand how iCloud Photos works before deleting photos.
When iCloud Photos is syncing your library, deleting a photo on one device can also remove it from other devices using the same Apple Account.
So if you’re trying to free up space, optimizing your storage is very different from simply deleting your photos.
9. Remove Files You No Longer Need
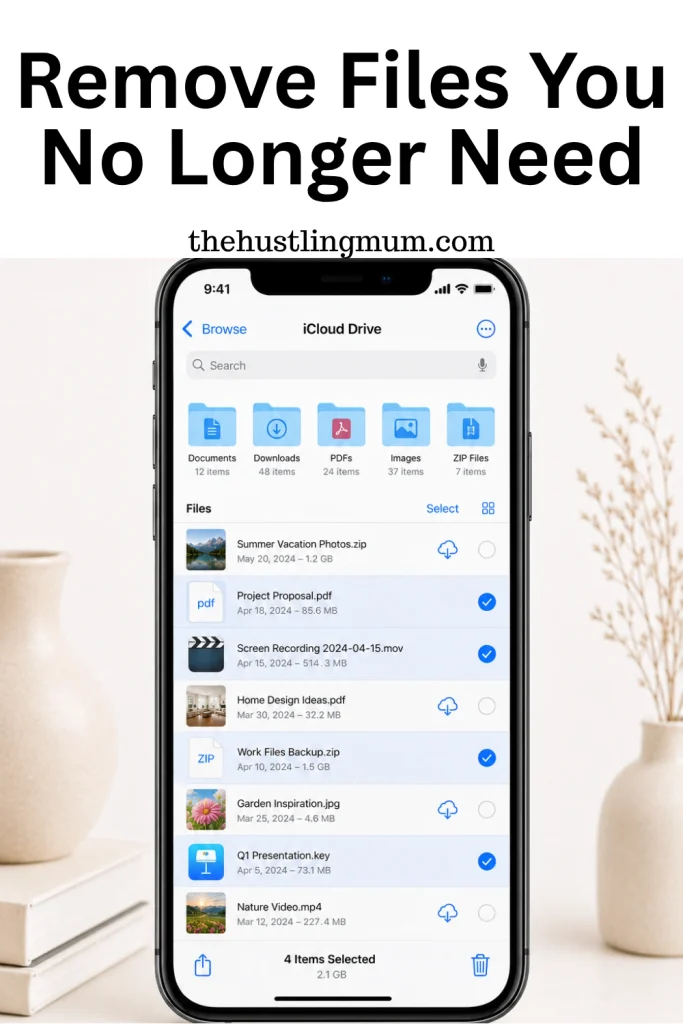
Don’t forget about the Files app.
It’s easy to download a PDF, document, image, or other file and completely forget about it.
Over time, these files can pile up.
To clean up your Files app:
- Open Files.
- Tap Browse.
- Check On My iPhone.
- Check iCloud Drive.
- Look through your folders.
- Delete files you no longer need.
Pay particular attention to large files such as videos, ZIP files, presentations, and documents.
But there’s an important distinction to understand.
If a file is stored in iCloud Drive and you only want to remove the downloaded copy from your iPhone, look for Remove Download rather than deleting the file.
Removing the download can free up local space while keeping the original file available in iCloud.
That’s a much safer option when you still want access to the file later.
10. Delete Downloaded Movies and TV Shows
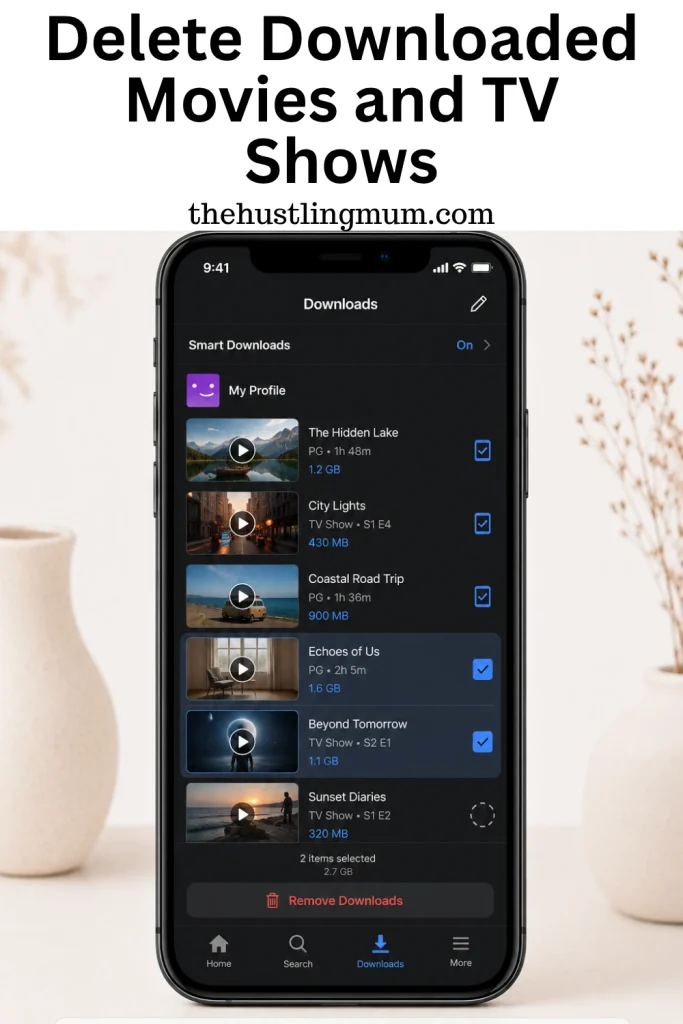
Downloaded movies and TV shows can take up a surprising amount of storage.
It’s easy to download a few things before a flight or road trip and then forget about them afterward.
If you’ve finished watching something, there’s usually no reason to keep the downloaded copy on your iPhone.
Open the app where you downloaded the content and look for your downloaded movies or shows.
Remove anything you no longer need offline.
This is particularly worth checking if your iPhone storage screen shows that entertainment apps are using a large amount of space.
You can always download something again later when you have a Wi-Fi connection.
So if you’re desperately trying to free up a few gigabytes, old downloads are often an easy win.
11. Clean Up Downloaded Music and Podcasts
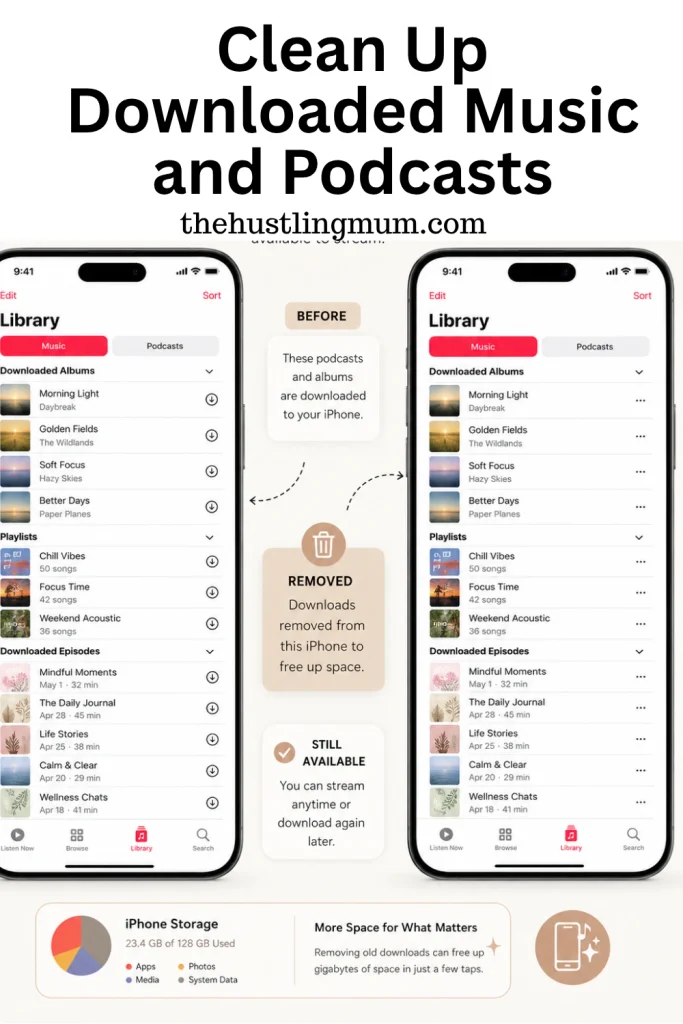
Music and podcasts can quietly consume storage too.
If you download playlists, albums, or podcast episodes for offline listening, check how much of your storage they’re using.
Think about the content you downloaded months ago.
Are you still listening to it?
If not, remove the downloaded copy.
For podcasts, old episodes you’ve already listened to are usually a good place to start.
For music, look at albums and playlists you downloaded for a trip or period when you didn’t have reliable internet access.
You don’t necessarily need to delete the music from your library.
The goal is simply to remove unnecessary offline downloads from your iPhone.
This can free up space while still allowing you to stream the content when you’re connected to the internet.
12. Clean Up Messages and Large Attachments
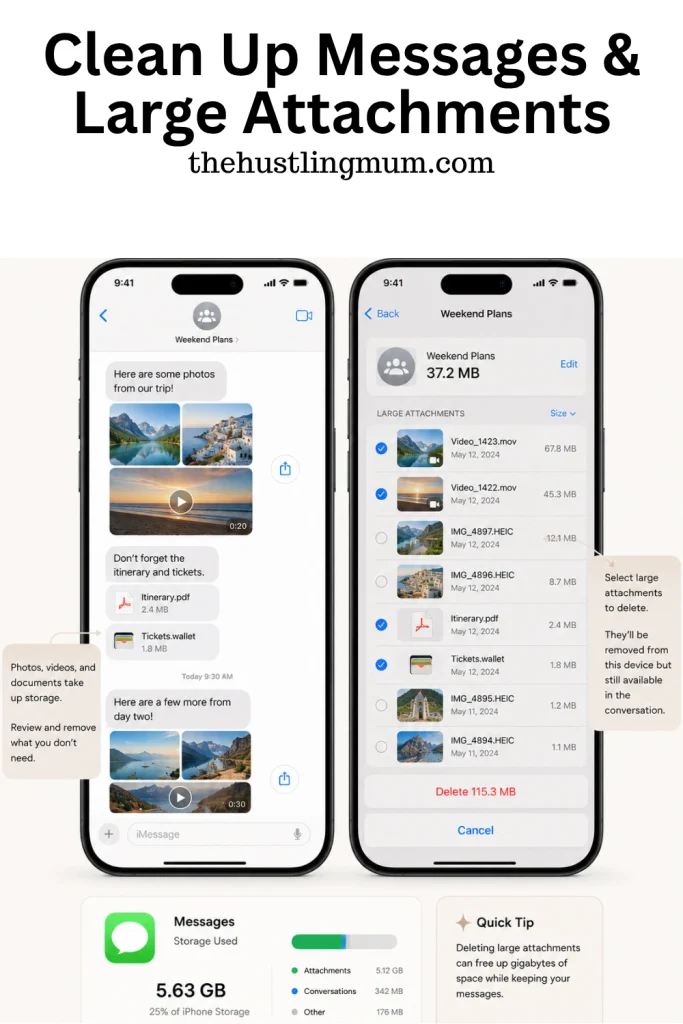
Your Messages app may be using more storage than you realize.
Think about how many photos, videos, GIFs, voice messages, documents, and other attachments you’ve exchanged over the years.
If you have long-running family or group chats, those attachments can really add up.
To see whether Messages is using a lot of storage:
- Open Settings.
- Tap General.
- Tap iPhone Storage.
- Find Messages.
- Tap it to see how much storage it is using.
If Messages is near the top of your storage list, it’s worth reviewing old conversations and attachments.
You don’t need to delete entire conversations just because they’re old.
Start with large attachments and things you know you no longer need.
Be especially careful with family photos, important documents, addresses, receipts, or information you may need later.
A few minutes of thoughtful cleanup is much better than accidentally deleting something important.
13. Set Messages to Keep for a Shorter Period
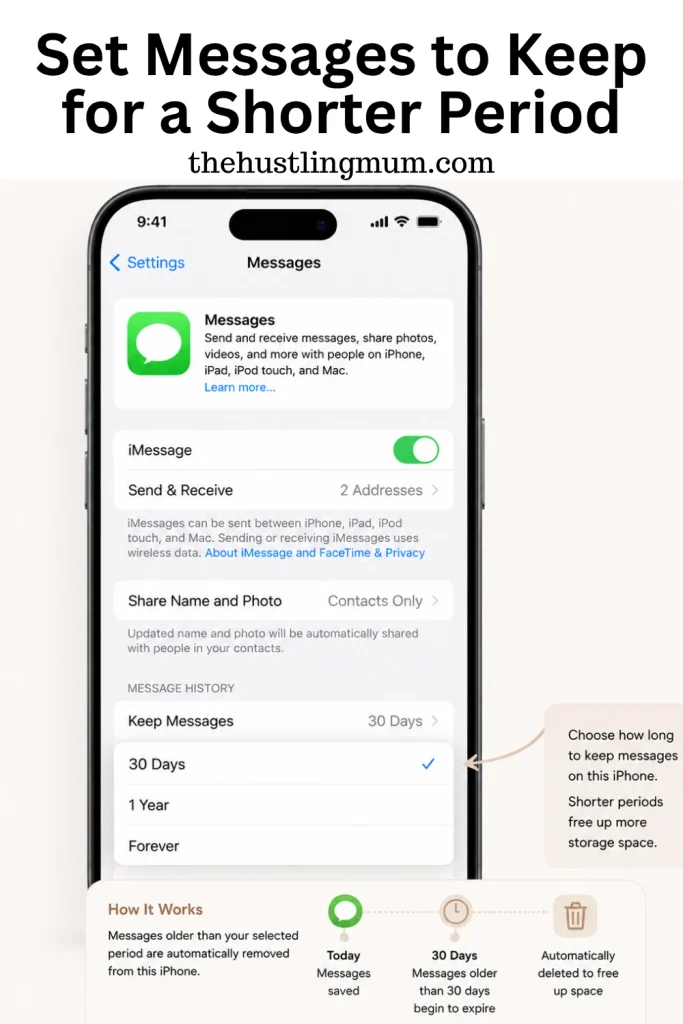
If you’re someone who doesn’t need years and years of old text messages sitting on your phone, you can adjust how long your iPhone keeps them.
Go to:
Settings → Apps → Messages → Keep Messages
You’ll be able to choose a period for keeping messages, depending on your iOS version.
A shorter retention period can prevent years of old conversations from building up.
Before changing this setting, think about whether there are old conversations you want to keep.
If you use Messages as a record of important information, you may prefer to keep messages for longer.
This isn’t necessarily a setting everyone needs to change, but it’s worth knowing about if Messages is taking up a significant amount of space.
14. Clear Safari Browsing Data
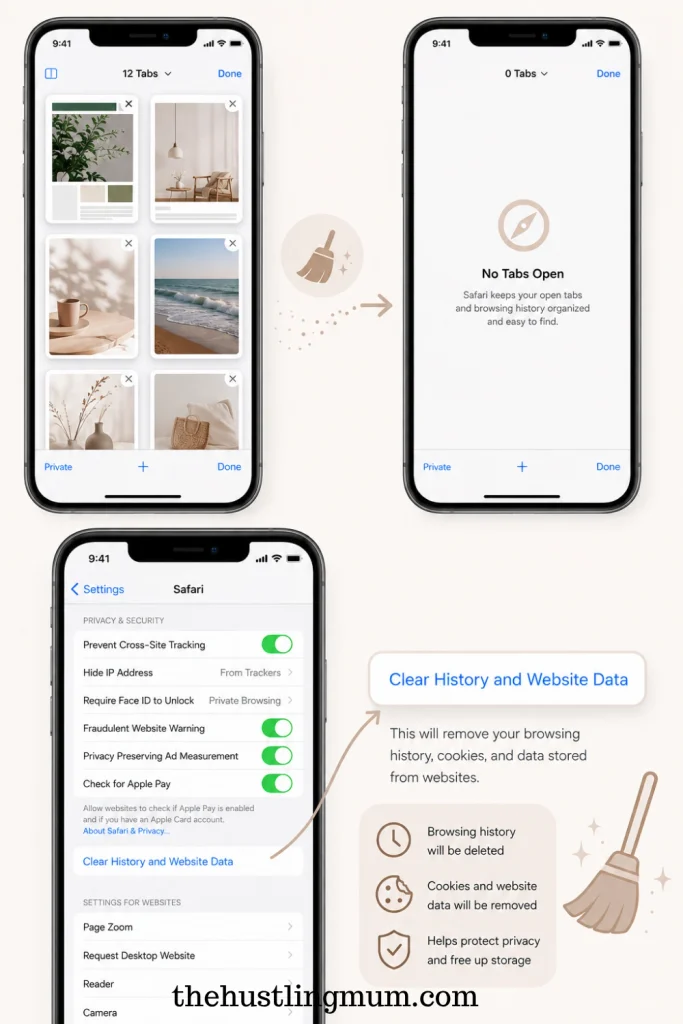
Your web browser can accumulate browsing history, website data, and other information over time.
If you use Safari frequently, clearing its website data can help tidy things up.
To clear Safari history and website data:
- Open Settings.
- Tap Apps.
- Tap Safari.
- Look for the option to clear history and website data.
- Follow the instructions on your screen.
There is one thing to keep in mind.
Clearing browsing data can affect your browsing experience. You may be signed out of websites or lose some saved browsing information.
So don’t clear everything simply because you’re trying to free up a tiny amount of storage.
If Safari isn’t taking up much space, there may be better places to focus your cleanup efforts.
15. Review Email Attachments and Downloads
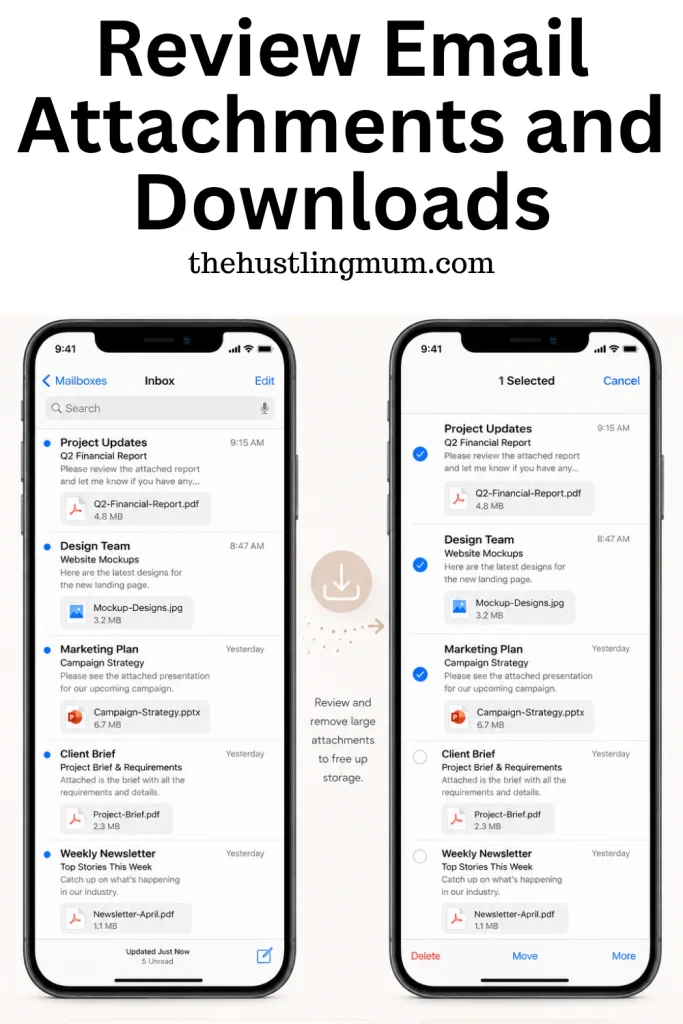
Email isn’t usually the first thing people think about when their iPhone storage is full.
But if you regularly receive large attachments, it can be worth checking.
Think about the emails you receive that contain:
- PDFs
- Photos
- Videos
- Presentations
- Work documents
- ZIP files
- Other large attachments
If you no longer need an attachment, you may be able to remove the email or its downloaded content.
However, don’t delete important work or personal documents just to save a little space.
If there’s an attachment you want to keep, save it somewhere appropriate first.
The goal here isn’t to delete everything.
It’s to identify unnecessary files that have accumulated over time.
16. Review Social Media Apps
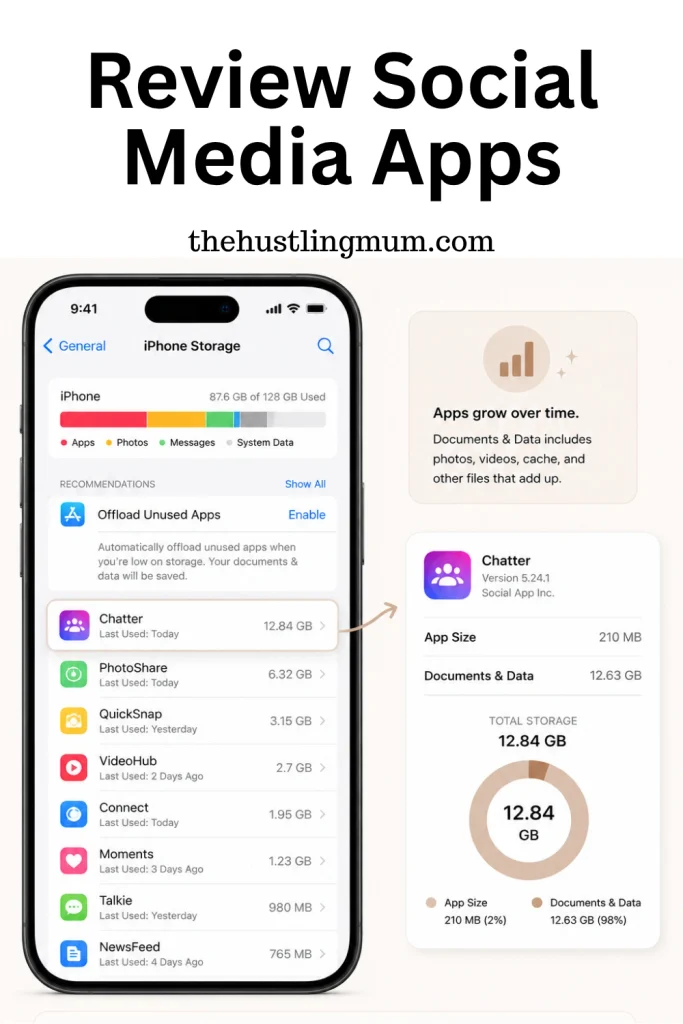
Social media apps can become surprisingly large.
The app itself may not be huge when you first download it, but over time, cached data and other stored information can contribute to its overall storage use.
Start by checking your iPhone Storage screen.
Go to:
Settings → General → iPhone Storage
Then look for social media apps that are using a significant amount of space.
If an app is much larger than you expected, check whether the app has its own storage or cache management options.
For some apps, deleting and reinstalling the app can reduce accumulated app data.
If you decide to do this, make sure you know your username, password, and any other login information first.
You don’t want to delete an app and then discover that you can’t get back into your account.
Also remember that not every large app is necessarily a problem.
Some apps genuinely need more storage because of the content they provide.
The storage screen can help you decide whether an app is actually worth keeping.
Also read:
How to delete Pinterest account?
17. Remove Apps You Downloaded for a One-Time Purpose
Here’s another quick cleanup idea that can be surprisingly effective.
Think back over the past year.
Did you download an app for a specific occasion?
Maybe you needed an app for:
- A vacation
- A hotel
- A conference
- A shopping event
- A school activity
- A delivery
- A temporary work project
- A particular game
- A special event
If you haven’t used it since, you probably don’t need it sitting on your iPhone.
Delete it.
If you genuinely need the app again in the future, you can usually download it again.
I find this approach much easier than trying to decide whether every single app deserves to stay.
Instead of thinking, “Maybe I’ll use this someday,” ask yourself:
“Would I download this app again today if I didn’t already have it?”
If the answer is no, that’s a pretty good sign that it’s time to let it go.
18. Make iPhone Storage Cleanup a Regular Habit
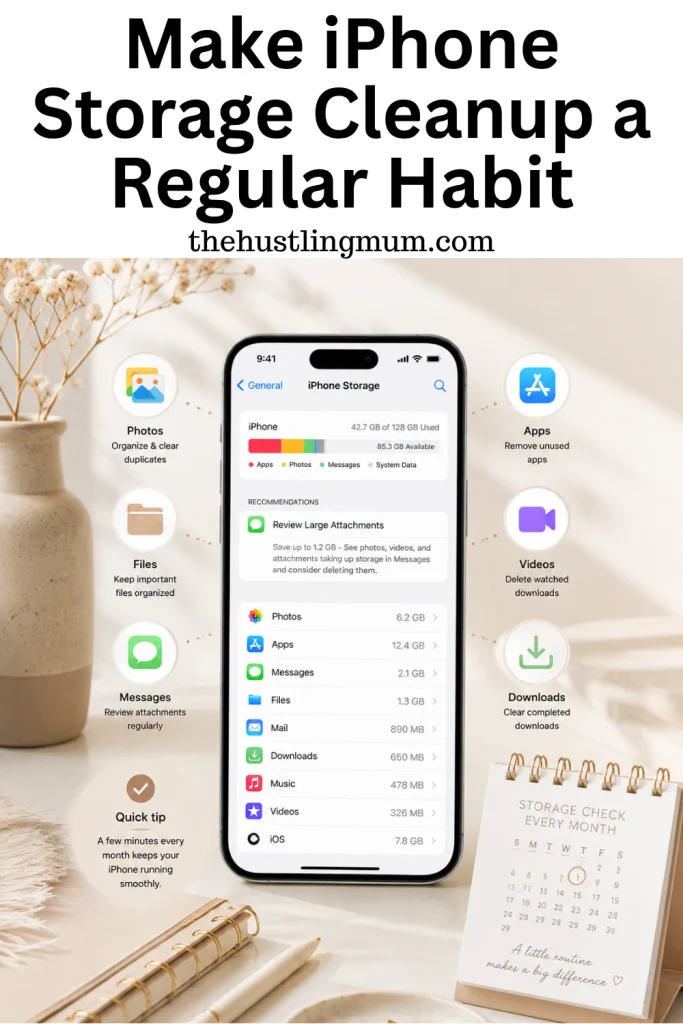
Once you’ve finally freed up some space, don’t wait until your iPhone is full again.
A little maintenance every few months can save you from another stressful storage emergency.
You don’t need to dedicate an entire weekend to it.
Set aside 10 or 15 minutes every few months to check:
- Your largest apps
- Old videos
- Screenshots
- Duplicate photos
- Recently Deleted
- Downloaded movies
- Podcasts
- Music
- Files
- Message attachments
Start with the biggest items and work your way down.
This is much easier than trying to clean up thousands of files when you have only a few hundred megabytes left.
What Should You Delete First to Free Up Space Quickly?
If you’re reading this because your iPhone is almost completely full, you probably don’t want to spend the next three hours organizing everything.
You want space now.
Start by going to:
Settings → General → iPhone Storage
Look at the apps and categories using the most storage.
Then work through the biggest ones first.
For a quick cleanup, I would start with:
- Large videos
- Duplicate photos
- Recently Deleted
- Unused apps
- Downloaded movies and TV shows
- Downloaded music and podcasts
- Old files
- Large message attachments
- Screenshots
- Other unnecessary downloads
You don’t have to complete every step in this guide.
If your videos are using 20 GB and your unused apps are using 2 GB, start with the videos.
The goal is to make your cleanup efficient, not perfect.
Things to Check Before You Delete Anything
Before you start tapping the delete button, take a moment to protect the things you actually want to keep.
Back up important photos and videos.
Check important documents before deleting them.
Make sure you know what an unfamiliar file is before removing it.
And if you use iCloud Photos or iCloud Drive, understand whether you’re deleting something completely or simply removing a downloaded copy from your iPhone.
This is especially important with photos.
If your photos are synced through iCloud Photos, deleting a photo from your iPhone can also remove it from your other devices using the same Apple Account.
When in doubt, don’t delete it.
There are usually plenty of other things you can clean up first.
Final Thoughts
Running out of iPhone storage can feel incredibly annoying, especially when your phone seems to be full even though you don’t think you’ve saved that much.
But once you know where to look, cleaning it up becomes much less overwhelming.
Start with Settings → General → iPhone Storage and let your iPhone show you where the problem is.
Then tackle the biggest storage users first.
Delete the videos you don’t need. Clean up duplicate photos and screenshots. Remove apps you no longer use. Clear out old downloads and files. And don’t forget about those forgotten attachments hiding in your messages.
You don’t have to do everything in one sitting.
Even a few small changes can give you back valuable storage and make your iPhone feel much more manageable.
And honestly, the best part is knowing you don’t have to wait until your phone is completely full to do it again.
A quick storage check every few months can help you stay ahead of the problem and keep your iPhone clutter-free without constantly worrying about running out of space.
So, if you’ve been staring at that “Storage Almost Full” message and wondering what to do, start with one simple step: check your iPhone Storage.
You might be surprised by what’s taking up all that space—and how easy it can be to get some of it back.
If you found this post helpful, don’t forget to pin it and share it with your friends.

Related posts:
How to delete Pinterest account?
How to delete Pinterest search history?

I am a passionate blogger who loves sharing insights on blogging tips, Pinterest strategies, and making money online. With a knack for simplifying complex concepts, I help readers grow their online presence and achieve their Pinterest marketing goals. Follow along for practical advice and proven tactics to elevate your blog, Pinterest and online business.