
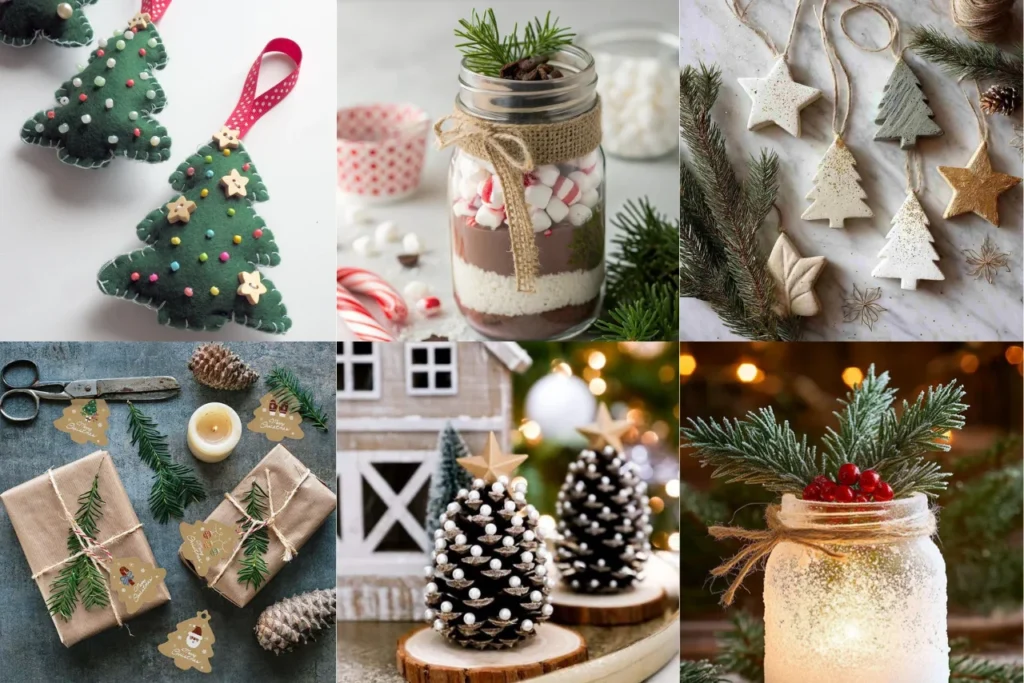
Christmas is such a magical time of year, but let’s be honest: it can also get a little hectic! Between decorating the house, wrapping presents, preparing holiday treats, and finding the perfect gifts, it’s easy to run out of time for all those lovely DIY projects you planned to make.
Maybe you’d love to add a few handmade decorations to your Christmas tree, create thoughtful gifts for friends, or make your home feel extra festive. But when you look at complicated craft tutorials that require dozens of supplies and hours of work, you might feel like you’ve left it all a little too late.
The good news is that you don’t need an entire weekend or an expensive shopping trip to create something beautiful. With a few basic supplies and a little creativity, you can make charming decorations and thoughtful gifts in just an afternoon.
I’ve gathered a few Christmas last minute crafts that are simple, affordable, and perfect for busy holiday days. From rustic ornaments and pretty paper decorations to handmade gifts and cozy home decor, these ideas will help you bring a little extra Christmas magic into your home without the stress.
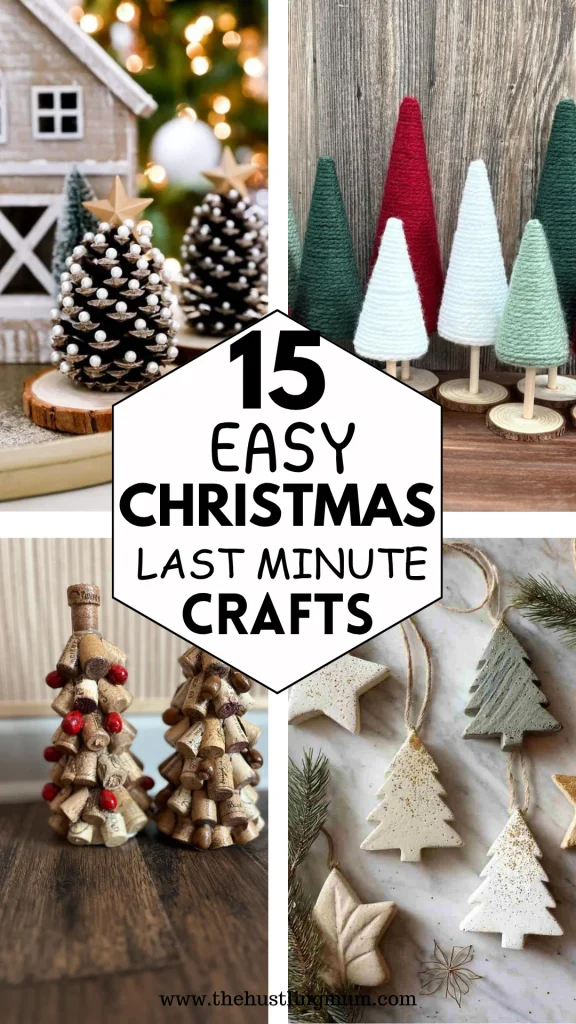
This post contains Amazon affiliate links. If you purchase through these links, I may earn a small commission at no extra cost to you.
You may also like to read:
Christmas crafts to make and sell.
Simple Yarn craft ideas for beginners.
Christmas Last Minute Crafts
If you love making things by hand, these Christmas crafts are a wonderful way to enjoy a little creative time during the holiday season. Most use everyday materials or basic craft supplies, so you may already have everything you need at home.
Whether you’re crafting with your children, preparing small gifts, or simply looking for a relaxing afternoon activity, there’s something here for you. Choose your favorite idea, gather your supplies, and let’s get crafting!
1. DIY Cinnamon Stick Christmas Ornaments
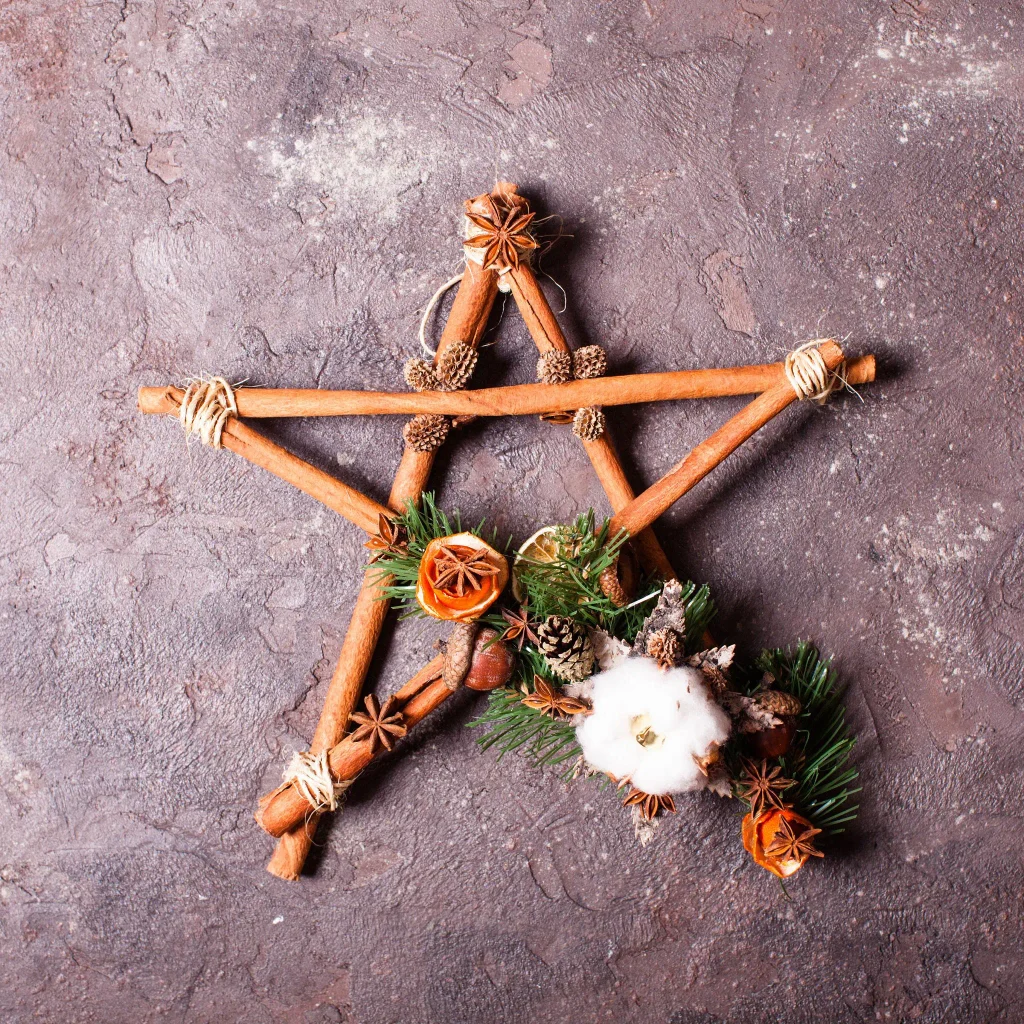
Cinnamon stick ornaments are a lovely choice if you enjoy rustic, natural-looking Christmas decorations. Their warm brown color looks beautiful alongside traditional red ribbons, cream-colored fabric, and little sprigs of faux greenery. They’re also a sweet way to decorate your Christmas tree without spending much money.
What you’ll need:
- Cinnamon sticks
- Twine or thin ribbon
- Small faux greenery sprigs
- Craft glue or a hot glue gun
- Small wooden beads or decorative stars (optional)
- How to make them:
- Arrange three cinnamon sticks into a small tree shape, with one stick forming the trunk and two shorter pieces forming the branches.
- Secure the sticks together with twine or a small amount of craft glue.
- Add a tiny sprig of faux greenery, a wooden bead, or a small star to decorate the front.
- Tie a loop of twine or ribbon at the top so you can hang the ornament on your Christmas tree.
- Allow any glue to dry completely before hanging.
You can also bundle several cinnamon sticks together and tie them with a pretty ribbon for a simpler rustic ornament. These look lovely on wreaths, gift packages, and holiday table arrangements, too.
Time needed: About 15–25 minutes.
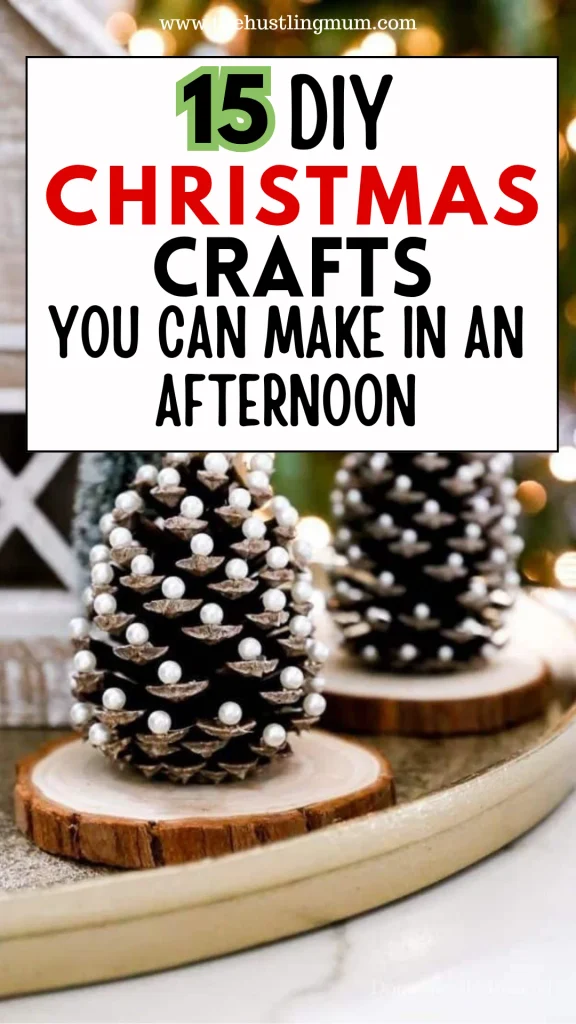
2. Handmade Pinecone Christmas Trees
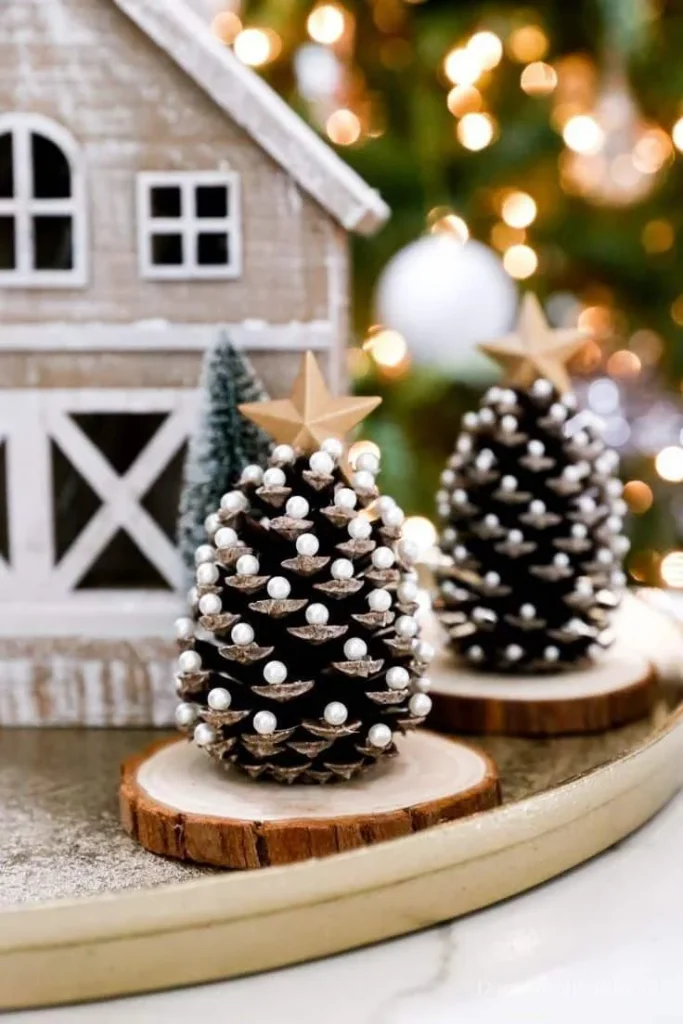
If you enjoy woodland-inspired decor, pinecone Christmas trees are one of the easiest Christmas crafts to try. Their natural texture makes them look charming on shelves, mantelpieces, coffee tables, or even as part of a festive centerpiece.
What you’ll need:
- Clean, dry pinecones
- Green, white, or metallic craft paint
- Small paintbrush
- Mini pom-poms or small beads
- Craft glue
- Small wooden bases or sturdy bottle caps (optional)
- How to make them:
- Start with clean, completely dry pinecones. Remove any loose debris and check that they’re free of insects.
- Lightly brush green paint onto the tips if you’d like them to look like miniature evergreen trees. Alternatively, use white paint for a snowy effect.
- Once the paint is dry, attach tiny pom-poms, beads, or other lightweight decorations to the scales.
- Secure the pinecone to a small base if needed so it stands upright.
- Arrange several finished pinecones together to create a miniature Christmas forest.
I love this idea because every pinecone has a slightly different shape, making each little tree unique. You can keep the decorations minimal for a natural look or add a few colorful details for a playful display.
Time needed: About 20–40 minutes, plus drying time.
3. DIY Paper Christmas Snowflakes
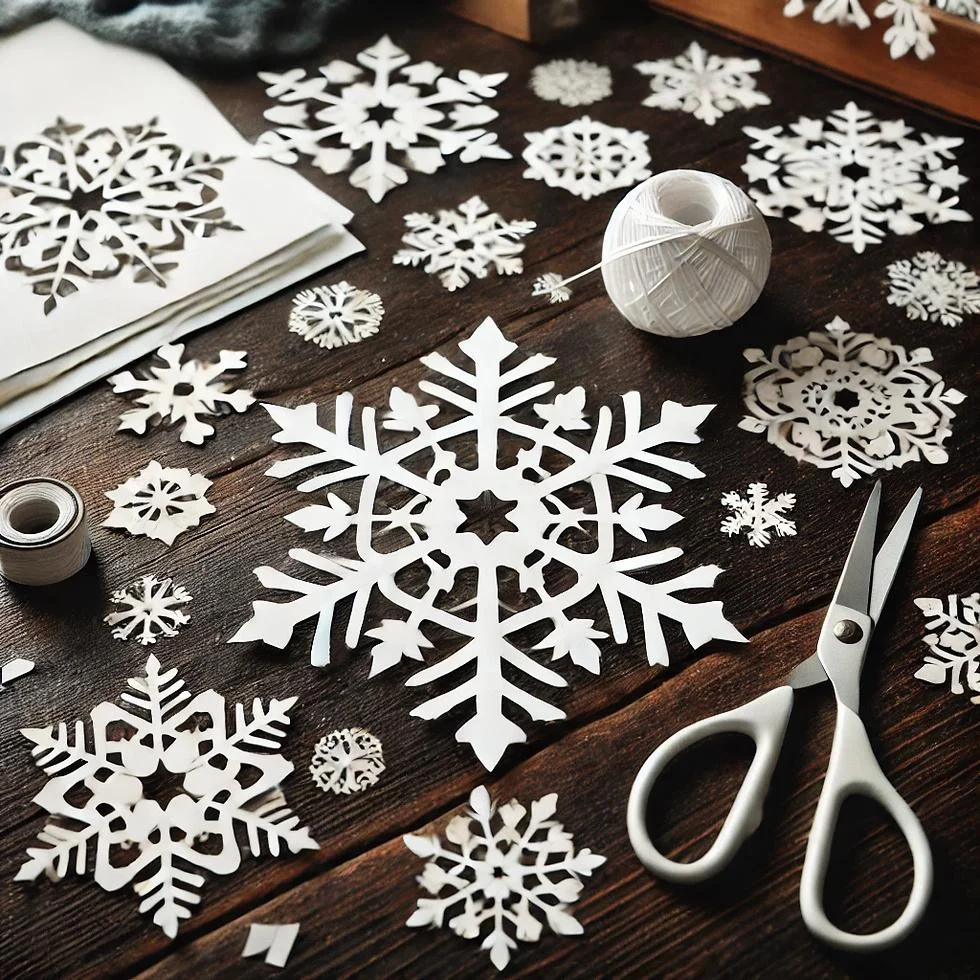
Paper snowflakes are a classic for a reason. They’re inexpensive, easy to make, and surprisingly pretty when you hang them in a window or arrange them across a wall. They’re also perfect if you need Christmas decorations but don’t have time to visit a craft store.
What you’ll need:
- White paper
- Scissors
- Pencil (optional)
- String or removable tape for displaying
- How to make them:
- Cut a square from a sheet of paper if you don’t already have one.
- Fold the square diagonally into a triangle.
- Fold the triangle again, then make additional folds as needed to create a narrow wedge.
- Carefully snip small triangles, curves, and other shapes along the folded edges. Avoid cutting away the entire folded edge.
- Gently unfold the paper to reveal your snowflake.
- Repeat with different cutting patterns to make a collection of unique designs.
You can use plain white paper for a snowy winter look or try pale blue, silver, or glitter paper for something different. Hang your snowflakes from windows, attach them to gift wrapping, or arrange them on a wall to create a simple winter display.
If you’re crafting with children, prepare the folded paper in advance for younger kids and supervise scissors use.
Time needed: About 5–15 minutes per snowflake.
4. Mason Jar Christmas Candle Holders
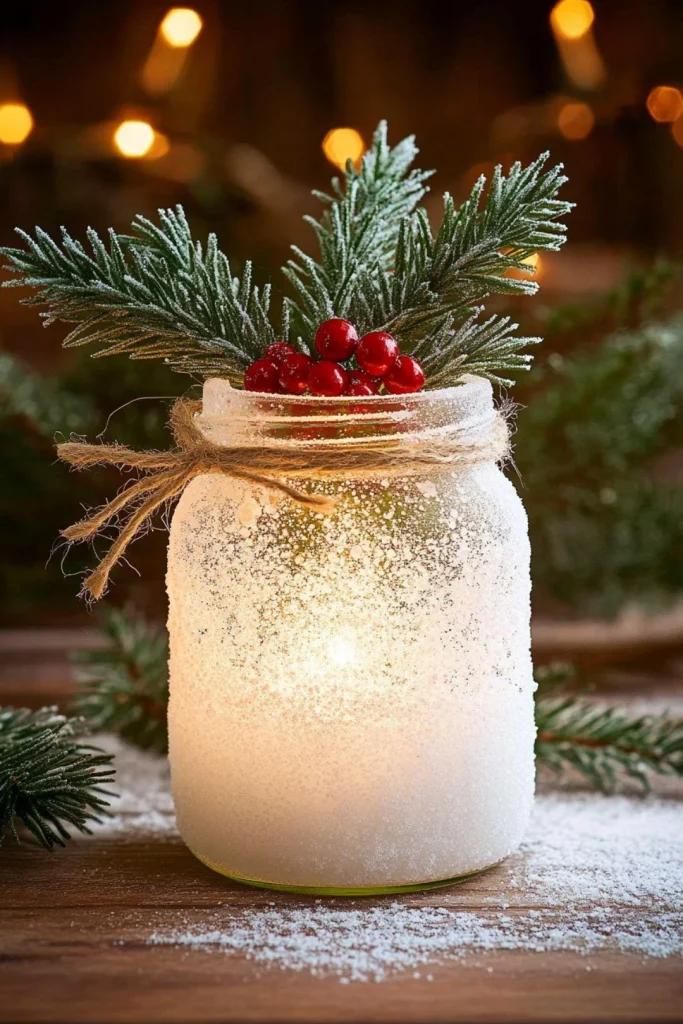
Want to create a cozy Christmas atmosphere without buying expensive decorations? Turn an ordinary glass jar into a charming holiday lantern. With a few simple embellishments, you can create a pretty centerpiece for your dining table, mantelpiece, or entryway.
What you’ll need:
- A clean glass jar
- Twine or ribbon
- Faux greenery or small decorative accents
- Craft glue suitable for glass
- Faux snow or white craft paint (optional)
- Battery-operated tealight
- How to make them:
- Wash the jar thoroughly and allow it to dry completely.
- Add a small amount of suitable craft glue to selected areas of the outside of the jar.
- Sprinkle on faux snow or paint a few white details to create a frosty effect.
- Tie twine or ribbon around the neck of the jar and attach a small faux greenery sprig.
- Once everything is dry, place a battery-operated tealight inside.
- Make two or three jars in coordinating styles and arrange them together.
For a softer look, keep the decorations simple with cream ribbon and natural twine. If you prefer traditional Christmas colors, add a red bow and a small green sprig.
Important: Use battery-operated lights rather than an open flame, especially when the jar is decorated with fabric, twine, faux greenery, or other flammable materials.
Time needed: About 20–30 minutes, plus drying time.
5. DIY Felt Christmas Tree Ornaments
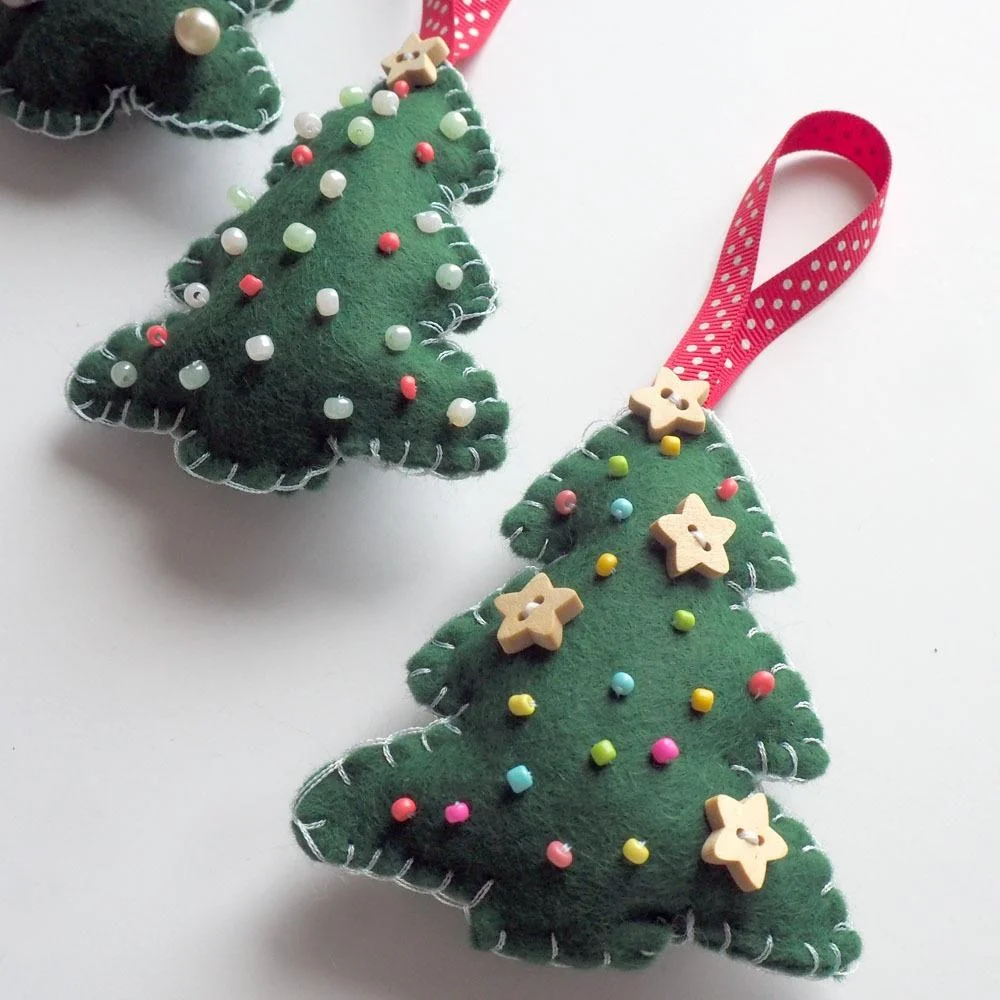
Felt ornaments are adorable, lightweight, and easy to customize. You can make little Christmas trees, stars, hearts, candy canes, or any other festive shapes you love. They’re also a great way to use leftover felt from previous craft projects.
What you’ll need:
- Green, red, white, or other colored felt
- Scissors
- Pencil and paper for templates
- Needle and embroidery thread, or suitable fabric glue
- Ribbon
- Small buttons or felt scraps for decoration
- A little stuffing (optional)
- How to make them:
- Draw a simple Christmas tree or another festive shape on paper and cut it out to create a template.
- Trace the template twice onto your felt and cut out both pieces.
- Decorate the front piece with tiny felt circles, embroidered stars, or small buttons.
- Place the two felt pieces together and join them with simple stitches or fabric glue.
- If you want a slightly padded ornament, add a small amount of stuffing before closing the edges.
- Attach a ribbon loop at the top for hanging.
You can make a matching set of ornaments in different colors or personalize them with initials for family members. These handmade decorations also make sweet additions to wrapped gifts.
Time needed: About 20–40 minutes per ornament, depending on the details.
6. Last-Minute Christmas Gift Tags
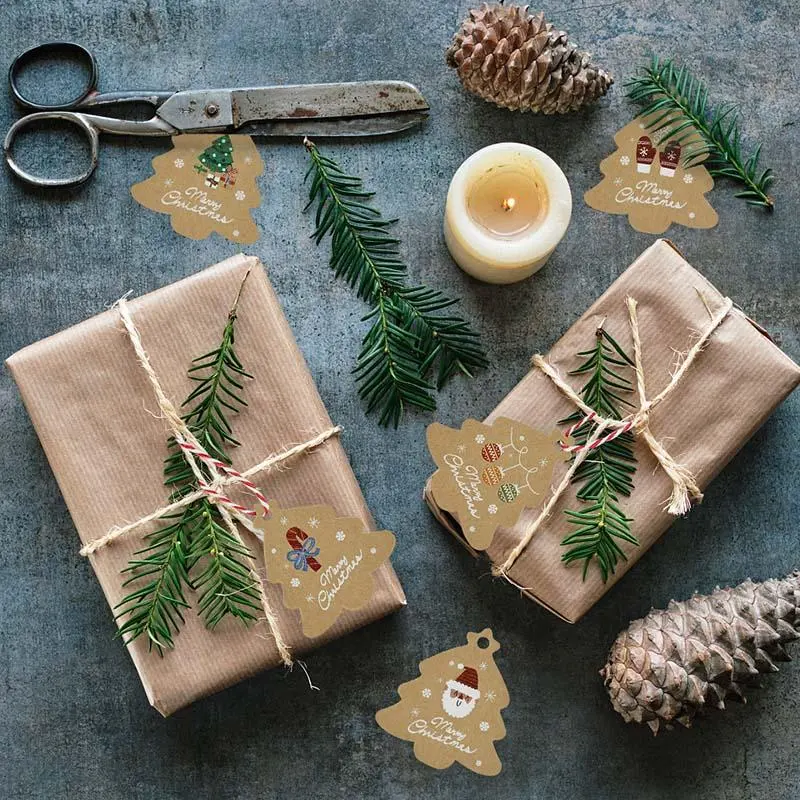
Sometimes, it’s the smallest details that make a Christmas present feel extra special. Handmade gift tags are an easy way to personalize your wrapping, and you can create a whole batch in one sitting.
What you’ll need:
- Cardstock or kraft paper
- Scissors
- Hole punch
- Twine or ribbon
- Markers, pens, or colored pencils
- Washi tape, stickers, or leftover wrapping paper
- How to make them:
- Cut your cardstock into small rectangles, circles, or traditional gift-tag shapes.
- Trim the corners or cut a decorative edge if you’d like.
- Punch a hole near the top of each tag.
- Decorate the front with little Christmas trees, stars, snowflakes, or simple festive patterns.
- Add the recipient’s name and a short message, leaving enough room for the writing to be easy to read.
- Thread a piece of twine or ribbon through the hole.
One of my favorite things about handmade tags is that they don’t need to be perfect. A simple kraft-paper tag with a hand-drawn star can look just as lovely as an elaborate design.
You can also use leftover wrapping paper to create matching decorations and tags for a coordinated gift-wrapping theme.
Time needed: About 10–20 minutes for a small batch.
7. DIY Pom-Pom Christmas Garland

A pom-pom garland adds a playful, cozy touch to your Christmas decor. Drape it across a mantelpiece, hang it on a bookshelf, or use it to decorate a small Christmas tree. You can choose traditional red, green, and white or create a softer palette with cream, blush pink, and sage green.
What you’ll need:
- Yarn in your chosen colors
- Scissors
- Pom-pom maker or cardboard template
- Sturdy yarn or string for the garland
- Large needle, if needed
- How to make them:
- Make small pom-poms using a pom-pom maker or a cardboard template.
- Tie each pom-pom securely in the middle and cut through the loops.
- Trim the yarn until each pom-pom looks round and fluffy.
- Repeat until you have enough pom-poms for your garland.
- Thread the pom-poms onto sturdy yarn, spacing them evenly.
- Tie loops at both ends so the garland is easy to hang.
If you’re short on time, use ready-made pom-poms and simply thread them onto string. You can also mix different sizes to give your garland a more playful look.
Time needed: About 30–60 minutes, depending on the number of pom-poms.
You may also like to read:
8. Handmade Christmas Greeting Cards
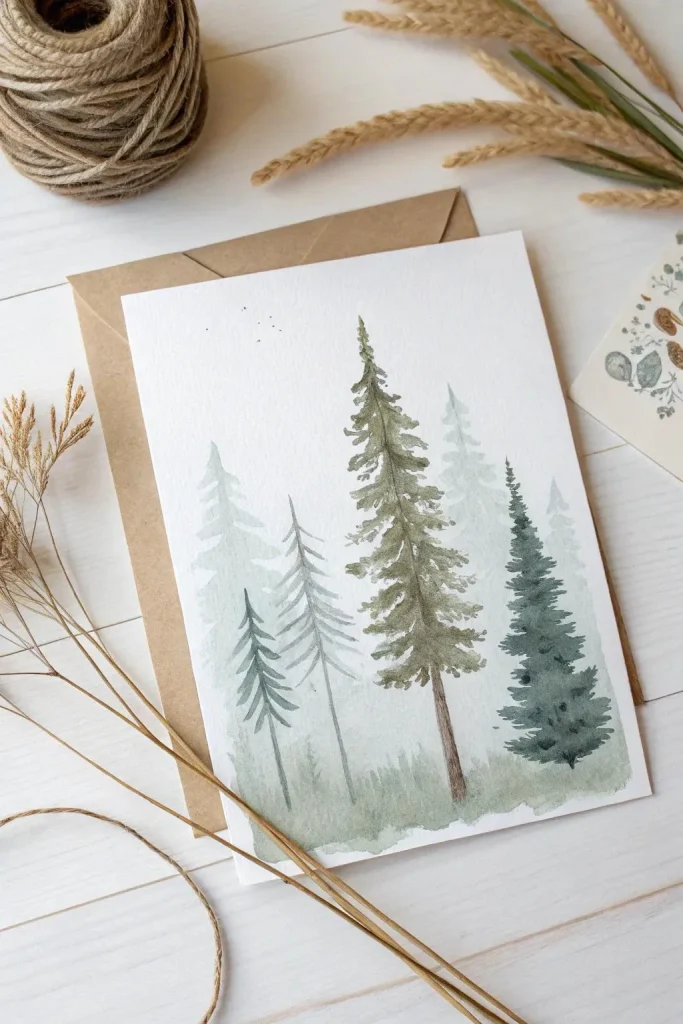
A handmade Christmas card is a thoughtful way to send warm wishes to someone you love. Even if you aren’t particularly artistic, you can create something beautiful using simple shapes, paper scraps, and a heartfelt message.
What you’ll need:
- Cardstock or blank greeting cards
- Colored paper
- Scissors
- Glue stick
- Markers or colored pencils
- Ribbon, stickers, or decorative tape (optional)
- How to make them:
- Fold a piece of cardstock in half to create your card.
- Cut out simple shapes such as Christmas trees, stars, or circles to represent ornaments.
- Arrange the shapes on the front of the card before gluing them down.
- Add small details with markers, such as snowflakes, strings of lights, or tiny stars.
- Write a personal Christmas message inside.
- Allow the glue to dry before placing the card in an envelope.
You could create several cards using the same design but different colors. This makes the process quicker and gives you a coordinated set to send to friends, family, neighbors, or coworkers.
Time needed: About 15–25 minutes per card.
9. DIY Wine Cork Christmas Decorations
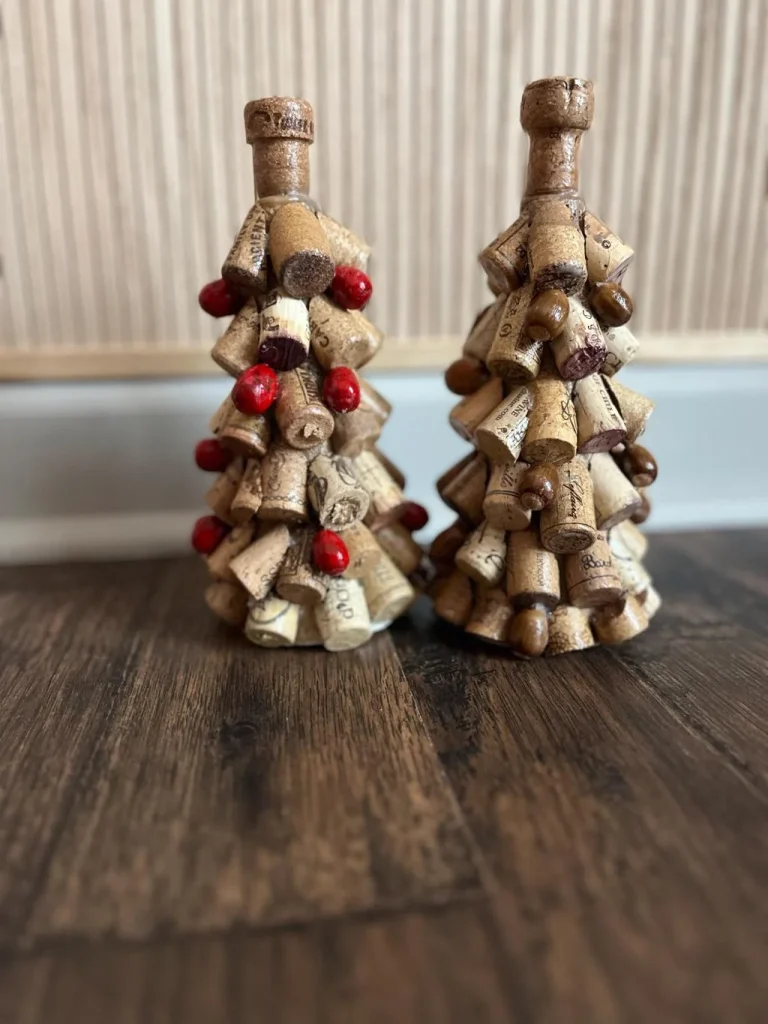
If you have a collection of leftover wine corks, why not turn them into rustic Christmas decorations? Corks have a natural texture that works beautifully with twine, felt, and wooden embellishments.
What you’ll need:
- Clean wine corks
- Craft glue or a hot glue gun
- Twine or ribbon
- Small felt pieces or wooden stars
- Craft paint (optional)
- Scissors
- How to make them:
- Decide whether you’d like to create a miniature Christmas tree, a simple reindeer-inspired decoration, or a rustic tabletop ornament.
- For a small tree, arrange the corks in a triangular shape, using fewer corks in each row as you move upward.
- Secure the corks together with suitable craft glue and allow the adhesive to set.
- Add a small star at the top and decorate with ribbon, twine, or tiny felt details.
- If you prefer a reindeer-inspired ornament, use one cork for the body and another for the head, then add simple felt antlers and facial details.
- Display your finished decoration on a shelf or use it as part of a holiday centerpiece.
These decorations are a lovely way to reuse materials you already have. If you’re crafting with children, an adult should handle hot glue and any sharp cutting tools.
Time needed: About 20–40 minutes, depending on the design.
10. Easy Salt Dough Christmas Ornaments
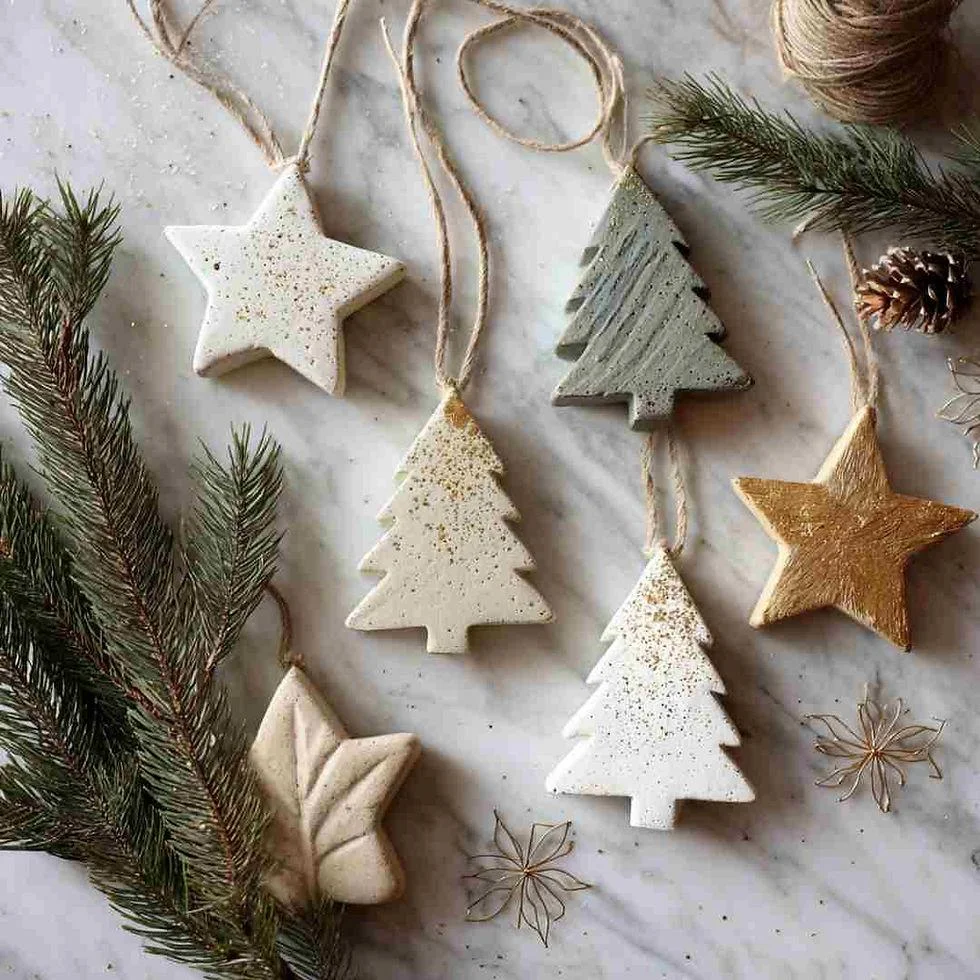
Salt dough ornaments are a classic DIY project because the ingredients are inexpensive and the finished decorations can be personalized in so many ways. You can make stars, hearts, little trees, or handprint ornaments to keep as family keepsakes.
What you’ll need:
- 2 cups all-purpose flour
- 1 cup salt
- About ¾ cup water, added gradually
- Rolling pin
- Cookie cutters
- Straw or skewer for making holes
- Paint and ribbon
- How to make them:
- Mix the flour and salt in a bowl.
- Add the water gradually and knead until you have a smooth, firm dough. Add a little more water if needed, but avoid making the dough sticky.
- Roll the dough out to approximately ¼ inch thick.
- Use cookie cutters to cut out festive shapes.
- Make a small hole near the top of each shape so you can add ribbon later.
- Bake the ornaments at a low temperature, around 200°F (about 95°C), until they are thoroughly dry. The time will depend on their thickness, so check them regularly and allow extra time if needed.
- Once completely cooled, paint the ornaments and allow the paint to dry.
- Thread ribbon through the holes and hang them on your Christmas tree.
These ornaments can be decorated with names, dates, simple patterns, or little painted snowflakes. Just remember that salt dough ornaments are for decoration only and should not be eaten.
Time needed: About 20–30 minutes of active preparation, plus baking and drying time.
11. DIY Christmas Mason Jar Gift Sets
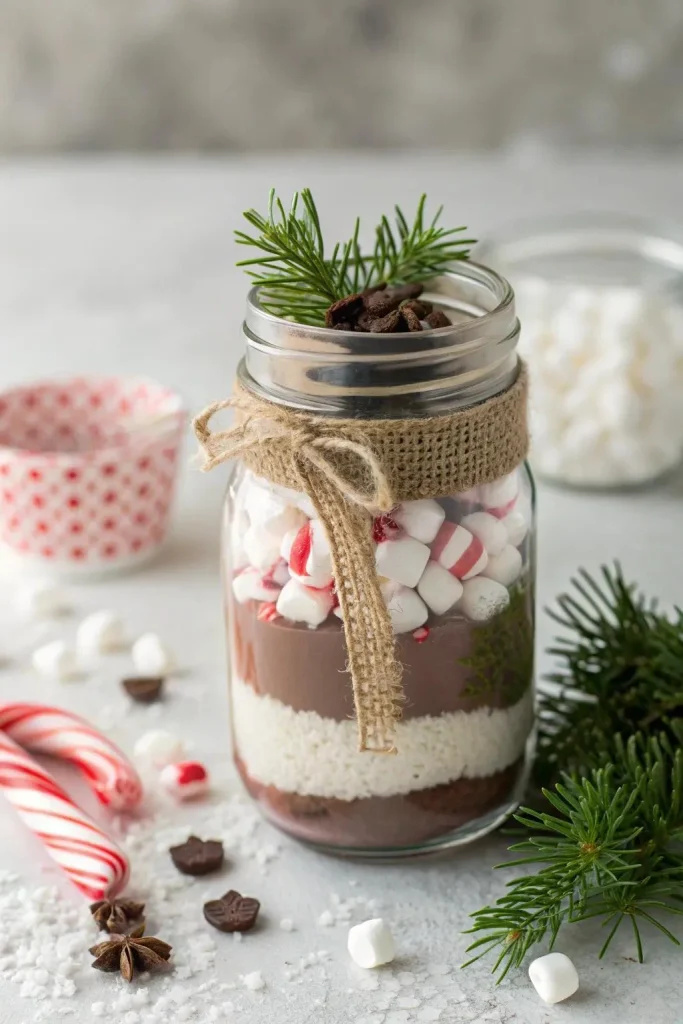
If you need a thoughtful gift but don’t have time for a complicated project, a decorated mason jar filled with little goodies is a lovely option. You can customize the contents to suit the recipient, making it feel personal without requiring lots of crafting skills.
What you’ll need:
- A clean jar with a lid
- Ribbon or twine
- Cardstock for a gift label
- Small gift items or dry ingredients
- Decorative stickers or paper (optional)
- How to make them:
- Choose a theme for your jar. For example, you could make a hot chocolate gift set, a mini craft kit, or a jar filled with small stationery supplies.
- Make sure the jar is clean and completely dry.
- Arrange the contents neatly inside, keeping edible ingredients separate from craft materials.
- Close the jar securely and decorate the outside with ribbon or twine.
- Create a small gift tag explaining what’s inside and add a personal message.
For a hot chocolate version, you can layer dry cocoa mix, chocolate chips, and marshmallows, provided the ingredients are suitable for storage in your chosen container. Include preparation instructions and identify allergens when giving edible gifts.
For a craft lover, fill the jar with beads, buttons, ribbon, or other small supplies. It’s a charming way to make a useful gift feel special.
Time needed: About 15–30 minutes.
12. Mini Yarn-Wrapped Christmas Trees
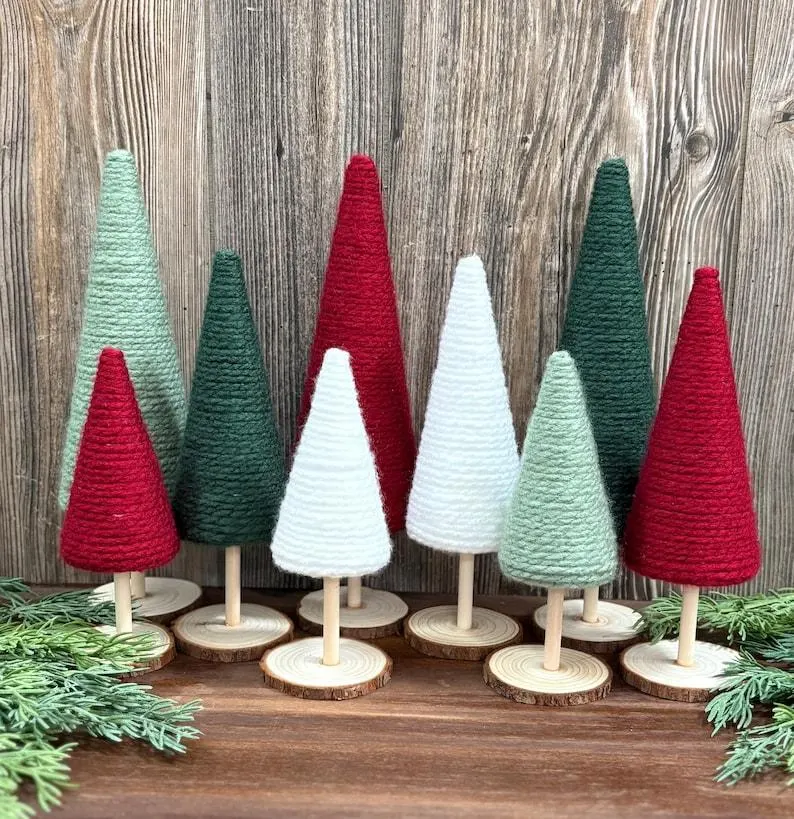
Mini yarn-wrapped trees are perfect if you want a soft, cozy decoration that fits beautifully on shelves, desks, or a Christmas mantel. They’re also a great way to use up leftover yarn from crochet or knitting projects.
What you’ll need:
- Cardboard
- Yarn in one or more colors
- Scissors
- Tape or craft glue
- Small buttons, beads, or felt stars (optional)
- How to make them:
- Cut a semicircle from cardboard and roll it into a cone. Adjust the size to create a small or large tree.
- Secure the cone with tape or glue and trim the bottom so it sits evenly.
- Attach the end of the yarn near the base using a little glue.
- Wrap the yarn around the cone, working upward and keeping the rows close together so the cardboard is covered.
- Secure the final end of the yarn with a small amount of glue.
- Decorate the tree with tiny buttons, beads, or a felt star.
- Make several trees in different heights and arrange them together for a miniature Christmas forest.
You can use fluffy yarn for a soft look or choose cream and sage green for a more neutral, modern style. If you prefer traditional holiday colors, red and green look lovely together.
Time needed: About 20–35 minutes per tree.
13. DIY Christmas Wreath with Ribbon and Greenery
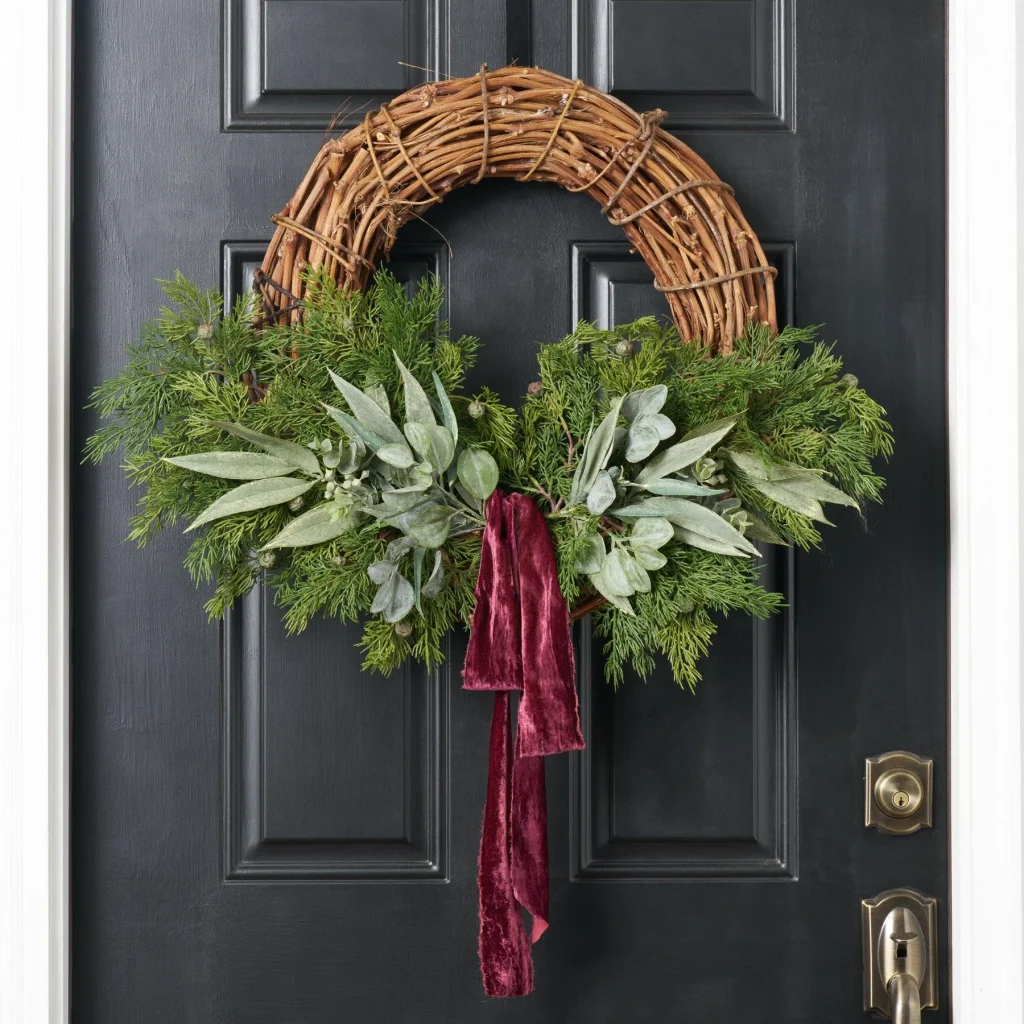
A Christmas wreath can instantly make your home feel more festive, and you don’t have to buy an expensive ready-made one to enjoy that look. With a simple base and a few decorative materials, you can create a wreath that matches your personal style.
What you’ll need:
- A wire, foam, or sturdy cardboard wreath base
- Faux greenery
- Ribbon
- Small ornaments or pinecones
- Floral wire, craft ties, or suitable glue
- Scissors
- How to make them:
- Choose a wreath base that’s sturdy enough to support your decorations.
- Arrange the faux greenery around the base, covering it evenly.
- Secure the greenery using floral wire, craft ties, or an appropriate adhesive.
- Add small ornaments, pinecones, or decorative berries, spacing them so the wreath looks balanced.
- Tie a large ribbon bow and attach it to the top or bottom.
- Add a loop for hanging and check that all decorations are secure.
If you’re short on time, use a pre-decorated faux greenery base and simply add a ribbon and a few personal touches. You can keep the wreath for future Christmas seasons, too.
Time needed: About 30–60 minutes, depending on the size and complexity.
14. Handmade Christmas Bookmarks
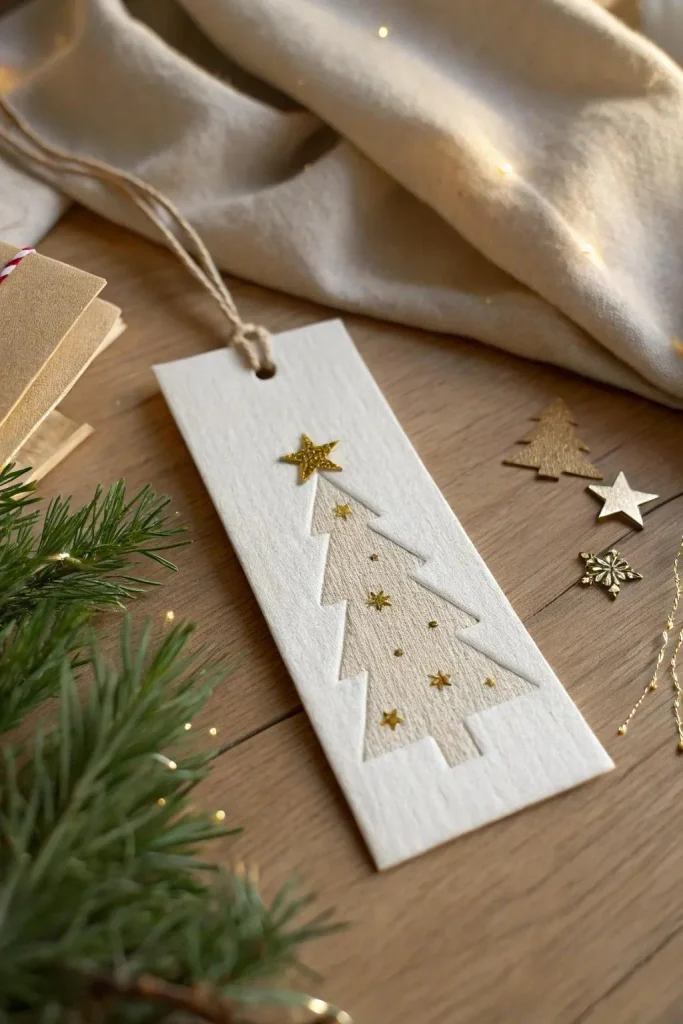
For the book lovers in your life, handmade Christmas bookmarks are thoughtful little gifts that are both practical and easy to personalize. They make lovely stocking stuffers, small presents for teachers, or additions to a larger gift.
What you’ll need:
- Sturdy cardstock
- Scissors and ruler
- Colored pens or markers
- Stickers or decorative paper
- Hole punch
- Ribbon or yarn
- Clear adhesive film (optional)
- How to make them:
- Cut cardstock into long rectangles, approximately 2 inches wide and 6 inches long.
- Decorate each bookmark with festive designs such as stars, snowflakes, Christmas trees, or candy canes.
- Add a short quote, the recipient’s name, or a little holiday message.
- If desired, cover the bookmark with clear adhesive film to help protect it from everyday handling.
- Punch a hole near the top and thread a ribbon or yarn tassel through it.
- Trim the ribbon neatly and your bookmark is ready to gift.
You can make several bookmarks in one afternoon, each with a different design. Try using a coordinated color palette so the finished collection looks pretty together.
Time needed: About 10–20 minutes per bookmark.
15. DIY Christmas Photo Ornaments
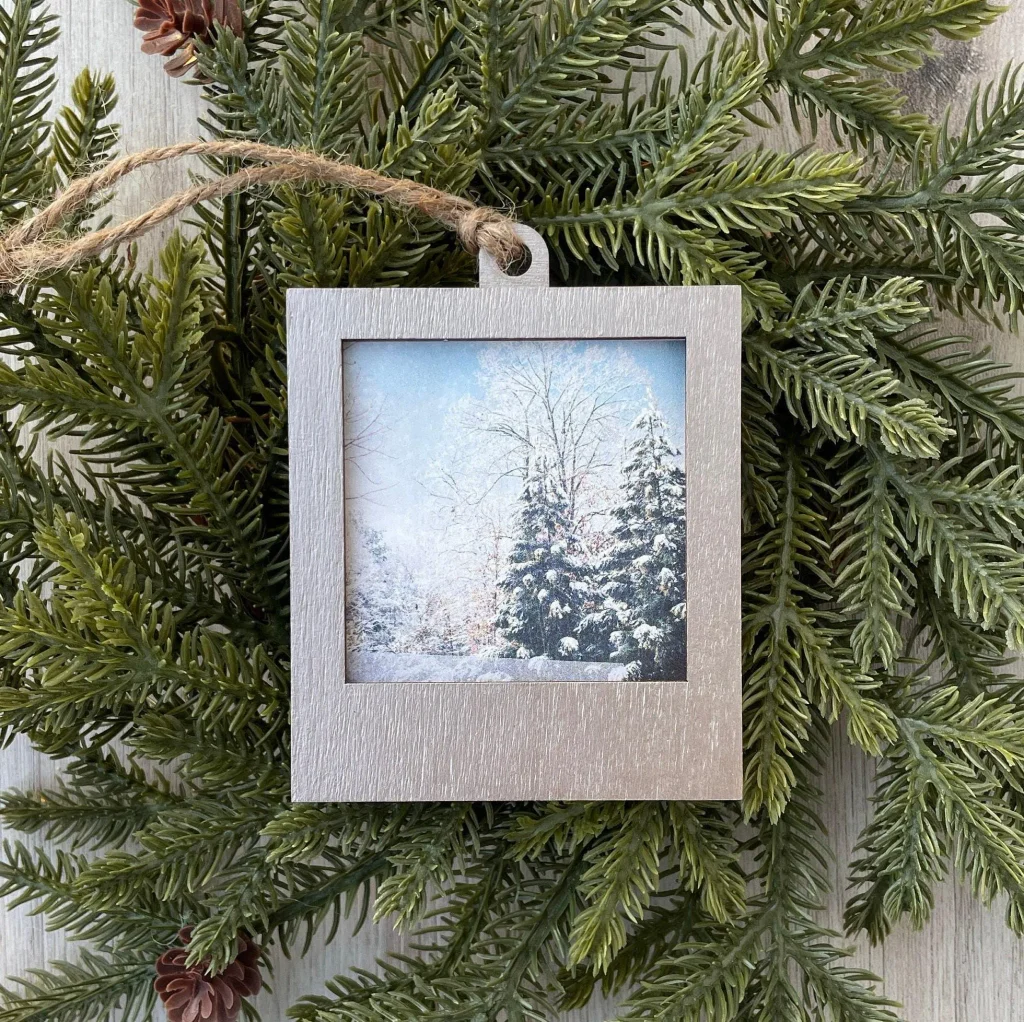
If you want to make something a little more personal, photo ornaments are a beautiful way to celebrate favorite memories. They can feature family photographs, pictures of children, beloved pets, or a special moment from the past year.
What you’ll need:
- Cardstock or a ready-made lightweight ornament frame
- A small printed photograph
- Scissors
- Glue or double-sided tape
- Ribbon
- Decorative paper, stickers, or small embellishments
- How to make them:
- Choose a photograph and print it in a size that fits your ornament frame.
- If you’re making your own frame, cut two matching shapes from sturdy cardstock and cut a window in the front piece.
- Position the photograph behind the window and secure it with glue or double-sided tape.
- Decorate the edges with small stars, festive paper, or ribbon, keeping the embellishments lightweight.
- Attach a ribbon loop at the top so the ornament can hang on the tree.
- Write the year or a short message on the back if you’d like to make it a keepsake.
These ornaments are especially lovely for celebrating a baby’s first Christmas, a family milestone, or a favorite memory from the year. You can also make them as gifts for grandparents and other family members.
Time needed: About 20–30 minutes per ornament.

Final Word
You don’t need weeks of preparation or a cupboard full of expensive supplies to make your home feel festive. Sometimes, the simplest handmade decorations are the ones that bring the most joy. A paper snowflake, a little yarn-wrapped tree, or a personalized photo ornament can make the holiday season feel even more special.
I hope these Christmas last minute crafts have given you plenty of inspiration for your next creative afternoon. Whether you choose to make decorations for your home, create thoughtful gifts for loved ones, or simply enjoy a relaxing DIY session, there’s something wonderful about making something with your own hands.
The best part is that many of these easy Christmas crafts can be customized to suit your favorite colors, materials, and decorating style. You can even gather your family for a little crafting afternoon and make memories while creating something beautiful together.
So, grab a few supplies, put on your favorite Christmas music, and choose a project that makes you smile. These Christmas crafts to make in one afternoon are a lovely reminder that it’s never too late to add a little handmade magic to the holidays.
If you found this post helpful, forget to pin this post or share it with a friend who loves festive DIY projects!


Related posts:
Best Christmas crafts to make and sell.
Simple Felt crafts to make and sell as a beginner.
Creative Halloween craft ideas.


I am a passionate blogger who loves sharing insights on blogging tips, Pinterest strategies, and making money online. With a knack for simplifying complex concepts, I help readers grow their online presence and achieve their Pinterest marketing goals. Follow along for practical advice and proven tactics to elevate your blog, Pinterest and online business.
Pingback: Christmas Crafts To Sell And Make Money In The Festive Season » The Hustling Mum