
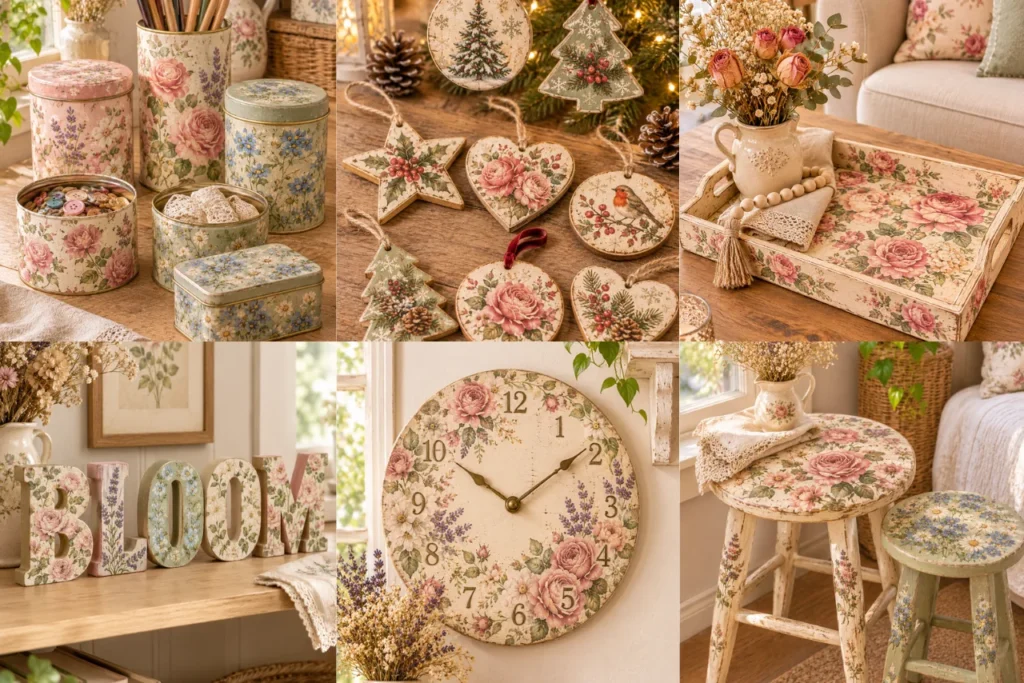
Have you ever looked at an old glass jar, wooden box, or plain flower pot and wished you could turn it into something beautiful instead of throwing it away?
I know how frustrating it can be when you want to decorate your home or make something creative, but buying new supplies and decorations feels unnecessarily expensive.
That’s exactly why I love decoupage crafts!
There’s something so satisfying about taking an ordinary item, adding pretty floral napkins or decorative paper, and transforming it into something that looks like it came straight from a cute little boutique.
And the best part? You don’t need to be an experienced crafter to get started.
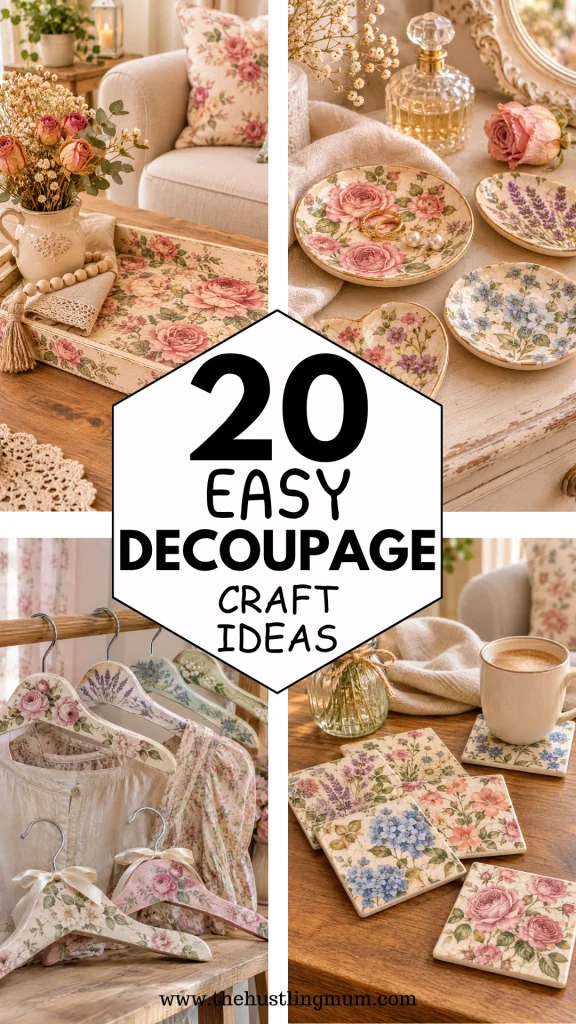
One thing I particularly love about decoupage is how much you can experiment with different patterns, colors, and textures. From vintage-inspired wooden trays to delicate floral candle holders, the possibilities feel endless.
If you enjoy creating beautiful things with your hands, these decoupage craft ideas are perfect for you. Whether you’re looking for a relaxing weekend activity, handmade gifts, or DIY decoupage crafts to make and sell, I’ve gathered lovely projects you’ll want to try.
Also Read:
- DIY Fabric Crafts to Sell.
- Creative and Easy Things to Make and Sell.
- Profitable Crafts to Sell.
- Creative Handmade Crochet Crafts.
- Sewing Craft Ideas.
- Easy and Simple Button Crafts to Sell.
This post contains Amazon affiliate links. If you purchase through these links, I may earn a small commission at no extra cost to you.
Things Needed for Decoupage Crafts
Before we jump into these beautiful decoupage ideas, let’s gather a few basic supplies.
The lovely thing about decoupage is that you probably already have some of these materials at home. And you don’t need to buy everything at once!
- Mod Podge or decoupage glue: A special adhesive used to attach decorative paper to surfaces. Apply a thin layer underneath your paper and another over it to seal your design.
- Decorative paper napkins: Pretty floral, vintage, or patterned napkins are perfect for creating delicate decoupage designs. Separate the printed top layer before applying it.
- Decoupage paper: Thin decorative paper designed specifically for decoupage projects. It comes in beautiful patterns and is easy to apply to different surfaces.
- Scrapbook paper: A thicker decorative paper that’s wonderful for covering wooden boxes, trays, and other flat surfaces.
- Tissue paper: Lightweight paper that creates a soft, translucent effect, especially when decorating glass jars and candle holders.
- Soft paintbrushes: Use these to apply decoupage glue evenly and gently smooth paper onto your chosen surface.
- Foam brushes: These are great for spreading glue over larger areas without leaving noticeable brush marks.
- Sharp scissors: Use small craft scissors to cut out flowers, butterflies, and other decorative paper designs neatly.
- Craft knife: Helpful for trimming paper around corners, edges, and detailed shapes. Always use it with a cutting mat.
- Acrylic paints: Paint your craft surface before applying decorative paper to create a beautiful background.
- Sandpaper: Lightly sand wooden surfaces before decorating them to help the paint and glue adhere smoothly.
- Clear acrylic sealer: Apply a suitable protective finish once your project has dried, especially for decorative items that may need occasional cleaning.
- Wooden boxes and trays: These make wonderful bases for decoupage projects and can be transformed into beautiful home accessories.
- Glass jars and bottles: Reuse empty glass containers to create decorative vases, storage jars, and charming centerpieces.
- Terracotta flower pots: Plain clay pots are perfect for adding floral patterns, botanical designs, and colorful decorative paper.
- Old furniture or household items: Small stools, picture frames, coasters, and other unused items can become lovely decoupage projects.
- Wax paper or a protective craft mat: Place this underneath your project to protect your table from glue and paint.
- Soft cloth or sponge: Use it to clean your surfaces before decorating and gently remove excess glue when necessary.
A little tip: If you’re using printed paper napkins, always separate the layers first. The thin printed layer blends beautifully into your project and helps create that smooth, almost hand-painted finish.
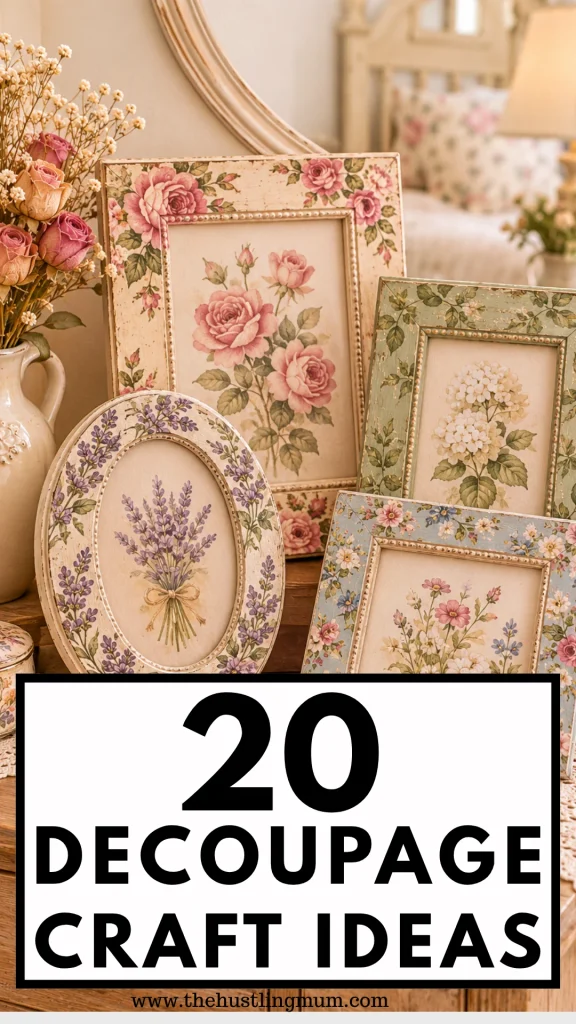
Decoupage Craft Ideas
Now comes my favorite part!
These decoupage project craft ideas are a lovely mix of practical home decorations, thoughtful handmade gifts, and creative projects you could even sell.
I’ve included simple instructions for each one so you can easily recreate them at home.
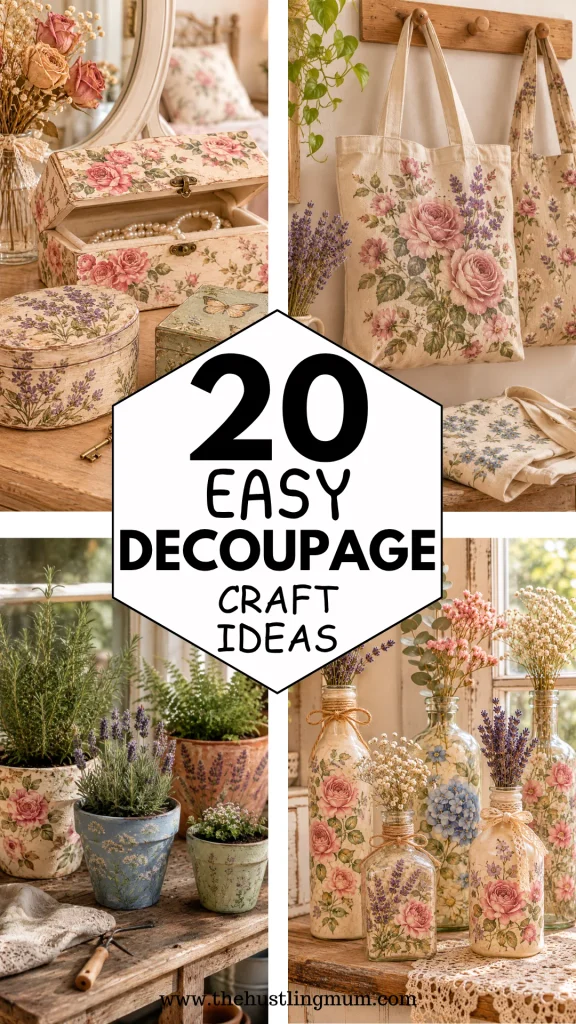
1. Floral Decoupage Glass Jars
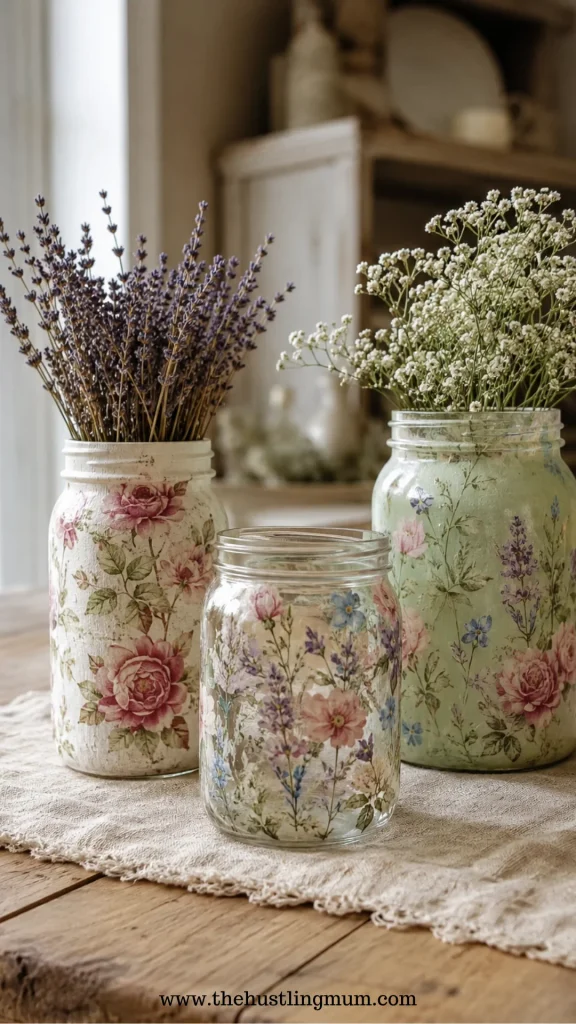
If you have a few empty glass jars sitting in your kitchen, don’t throw them away just yet!
You can transform them into gorgeous floral storage jars or decorative vases using nothing more than pretty napkins and decoupage glue.
Start by washing your glass jars thoroughly and removing any labels. Let them dry completely before applying a thin layer of decoupage glue to the outside.
Choose floral paper napkins in soft pink, lavender, or pastel blue. Separate the printed layer and carefully tear or cut out the flowers you want to use.
Gently place the floral designs onto the glued surface and smooth them down with a soft brush. Work slowly from the center outward to avoid wrinkles.
Once everything is dry, apply another thin layer of decoupage medium to seal the design.
You can leave the glass transparent for a delicate look or paint the outside with a light coat of acrylic paint before adding your flowers.
These jars look absolutely lovely filled with dried flowers, artificial greenery, or small craft supplies.
And if you’re looking for creative and easy things to make and sell, floral decoupage jars could be a beautiful addition to your handmade collection.
2. Vintage Decoupage Wooden Boxes
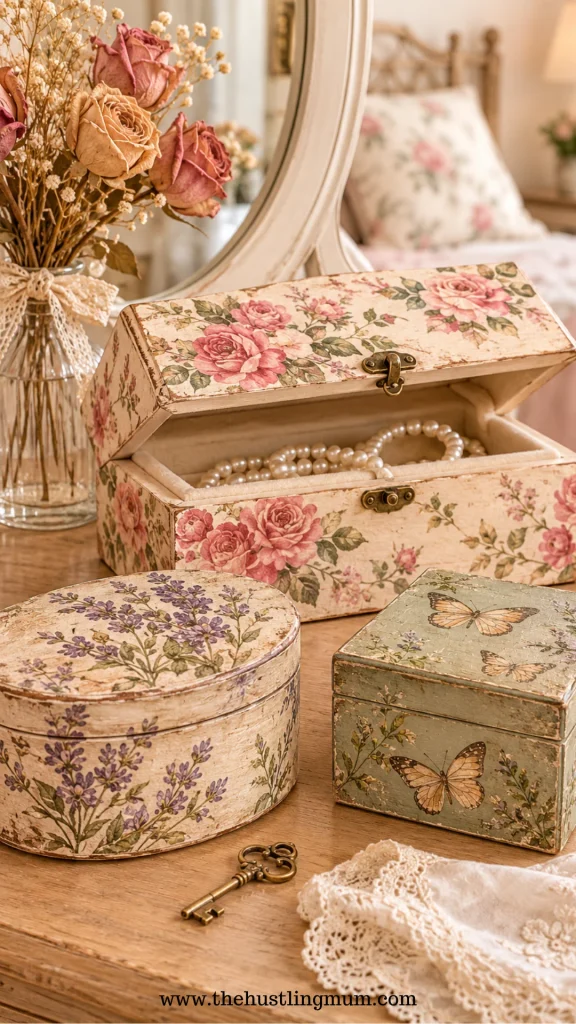
There’s something so charming about little wooden boxes decorated with vintage flowers, butterflies, or old-fashioned botanical prints.
They make beautiful jewelry boxes, keepsake containers, and thoughtful handmade gifts.
Begin with a plain wooden box and lightly sand its surface until smooth. Wipe away the dust and paint the box in a soft neutral shade, such as cream, sage green, or dusty rose.
Once the paint dries, choose vintage-style decoupage paper or floral napkins.
Cut the paper to fit the lid, or arrange individual floral cutouts around the corners.
Apply a thin layer of decoupage glue, carefully position the paper, and gently smooth it down.
After drying, add another layer of glue to protect the design. You can also lightly distress the edges with sandpaper for a rustic, shabby-chic appearance.
Finish your box with a pretty ribbon, lace trim, or decorative knob.
These handmade boxes are perfect for storing jewelry, photographs, handwritten letters, or other little treasures.
3. Decoupage Terracotta Flower Pots
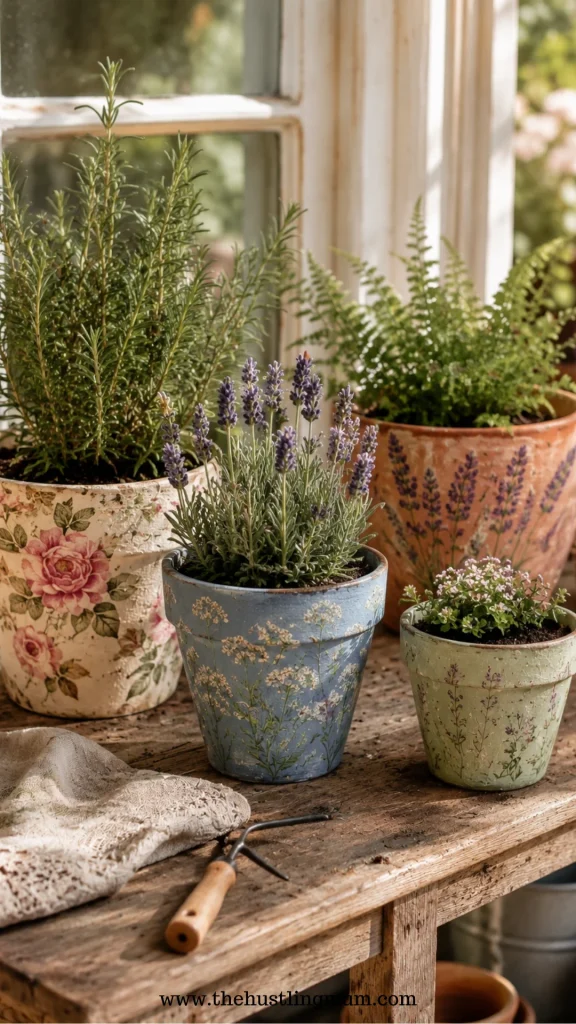
Plain terracotta pots are inexpensive, but with a little creativity, they can become some of the prettiest decorations in your home.
I especially love the idea of decorating them with botanical prints and delicate floral patterns.
Start by cleaning your terracotta pot and allowing it to dry thoroughly.
If you prefer a colorful background, paint the outside with acrylic paint in a shade that complements your chosen paper.
Once the paint dries, apply a thin layer of decoupage glue to a small section of the pot.
Carefully attach pieces of floral napkin or decorative paper, smoothing them around the curved surface.
Continue until you’re happy with the design.
Let everything dry before applying a protective topcoat. If you plan to use the pot for real plants, choose an appropriate moisture-resistant finish and consider keeping the plant in a separate plastic nursery pot inside it.
These decorative flower pots are lovely for windowsills, kitchen shelves, and handmade gifts.
You could even create matching sets with different floral designs.
4. Decoupage Wooden Serving Trays
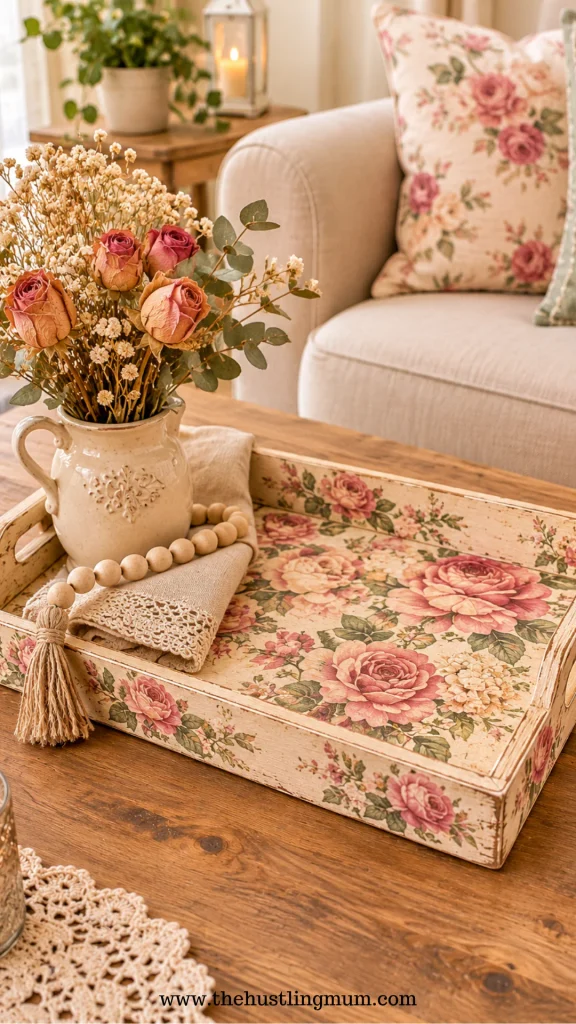
A plain wooden tray can look surprisingly elegant when decorated with beautiful paper patterns.
This is one of those DIY decoupage crafts that can make your home feel a little more special without spending much money.
Choose a wooden tray with a smooth, flat bottom.
Sand it lightly, remove the dust, and paint it with your favorite acrylic color.
For a farmhouse-inspired look, choose white, cream, or pale gray. If you prefer something more feminine, dusty pink and soft sage green are beautiful options.
Measure the inside of your tray and cut a piece of decorative paper to fit.
Spread a thin, even layer of decoupage glue across the base and carefully position the paper.
Smooth out any bubbles and allow it to dry.
Apply additional protective coats according to the product instructions, especially if the tray will be handled frequently.
Use your finished tray to display candles, small vases, perfumes, or other decorative accessories.
If you want to use it for serving, keep food off the decorated surface unless all finishes are specifically certified for food contact.
5. Decoupage Decorative Candles
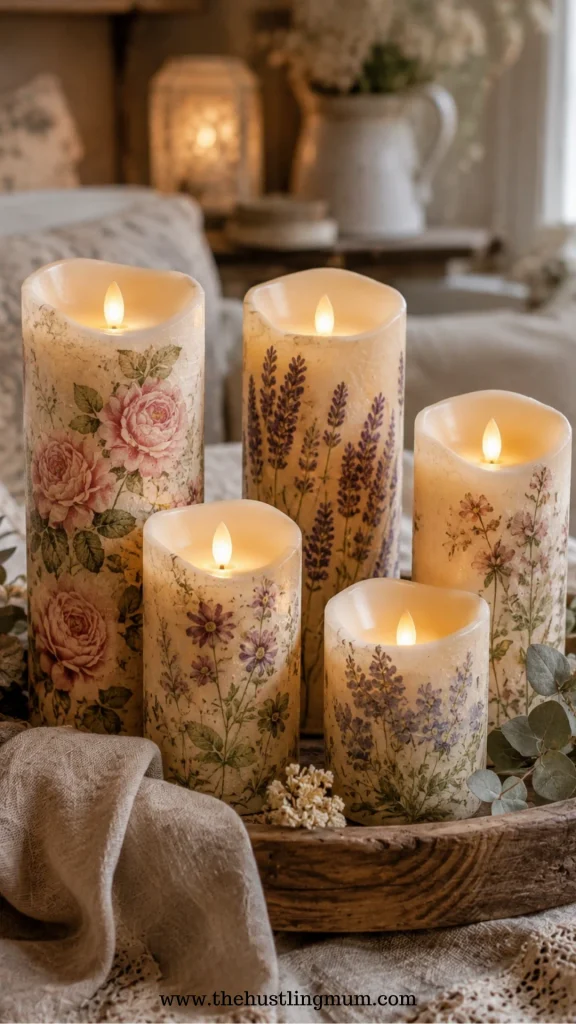
Decorative candles are such a lovely way to add a cozy, romantic touch to your home.
And when you decorate them with delicate floral designs, they look even prettier!
For this project, I recommend using flameless LED candles so you can enjoy your beautiful decorations without worrying about the paper catching fire.
Choose a smooth battery-operated candle and floral napkins featuring small flowers, leaves, or butterflies.
Separate the printed layer of your napkin and carefully cut out your favorite designs.
Apply a thin layer of compatible decoupage adhesive to the outside of the LED candle, avoiding switches, seams, and battery compartments.
Gently position your paper and smooth it down with a soft brush.
Let the adhesive dry completely before switching the candle on.
Arrange several finished candles together on a wooden tray with artificial greenery for a beautiful centerpiece.
These are especially pretty for weddings, birthdays, and cozy bedroom decorations.
6. Decoupage Picture Frames
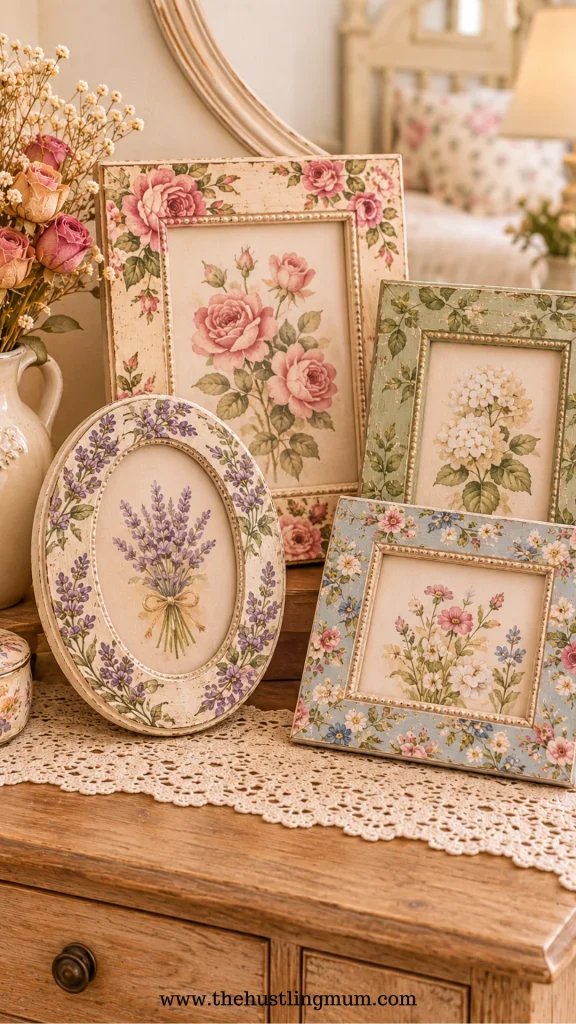
Have you ever noticed how expensive decorative picture frames can be?
The good news is that you can create your own using inexpensive wooden frames and pretty patterned paper.
Start with a plain wooden picture frame and remove the glass and backing.
Paint the frame in a soft color or leave the natural wood visible.
Choose decorative paper that complements the photograph you plan to display.
Floral prints, vintage book illustrations, and delicate pastel patterns work beautifully.
Cut your paper into manageable pieces and apply decoupage glue to the frame.
Carefully arrange the paper, wrapping it neatly around the edges.
Once dry, apply a final protective coat and reassemble the frame.
You can also add tiny wooden buttons, lace, or ribbon for an extra handmade touch.
If you enjoy decorating crafts with small embellishments, you’ll also love these easy and simple button crafts to sell.
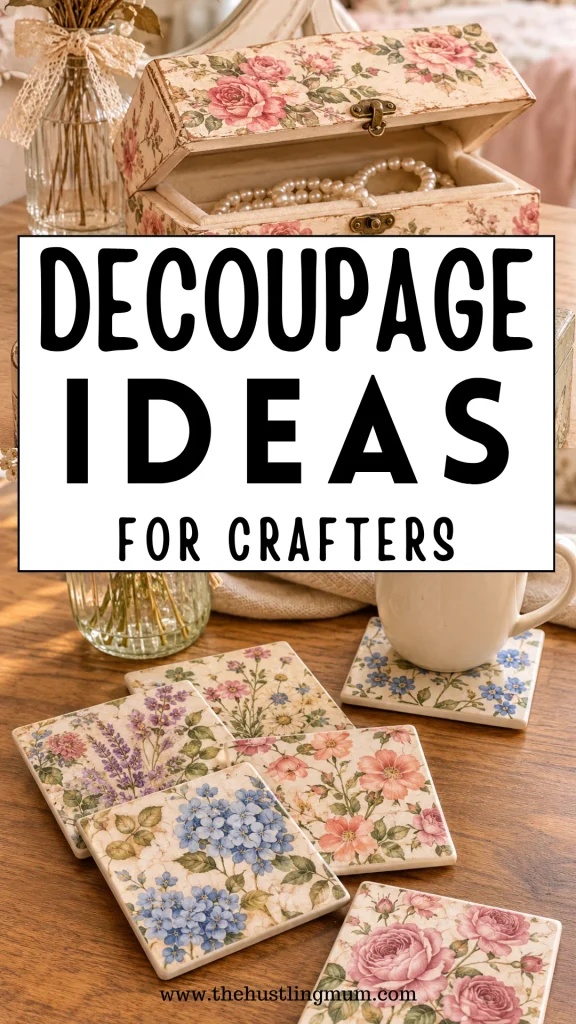
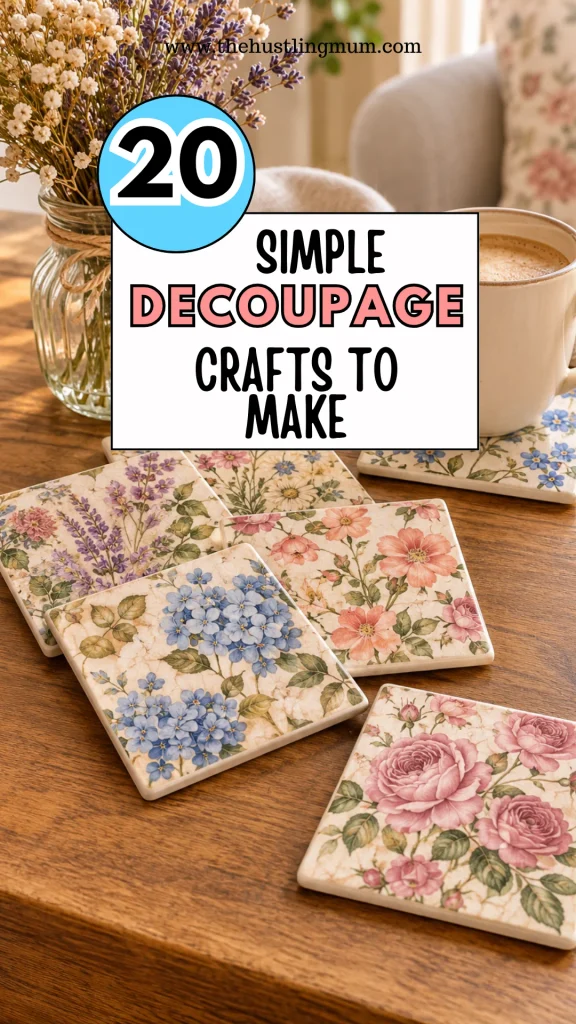
7. Decoupage Ceramic Coasters
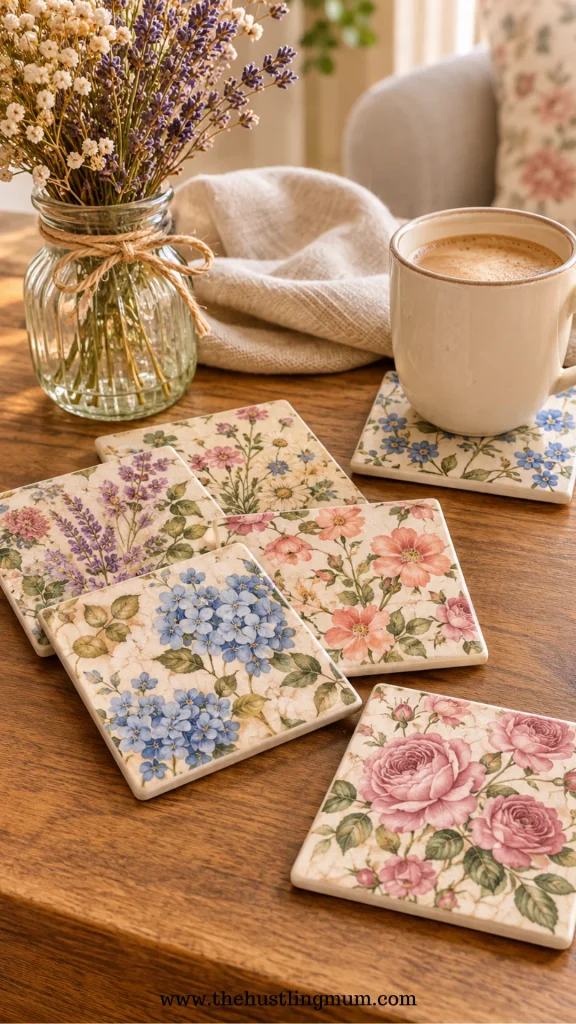
Handmade coasters are practical, inexpensive, and surprisingly easy to personalize.
They also make lovely housewarming gifts.
Begin with plain ceramic tiles or unfinished wooden coaster blanks.
Clean the surface and choose decorative paper featuring flowers, geometric patterns, or watercolor illustrations.
Cut the paper slightly smaller than the coaster so the edges remain neat.
Apply a thin layer of decoupage glue and carefully attach the paper.
Smooth it down gently and allow it to dry completely.
Next, apply several thin coats of a suitable water-resistant protective finish, following the manufacturer’s curing instructions.
Attach cork or felt pads underneath to protect furniture.
You can make matching sets of four or six coasters and tie them together with a ribbon.
These are among my favorite decoupage craft ideas for creating affordable handmade gifts.
8. Decoupage Glass Bottles
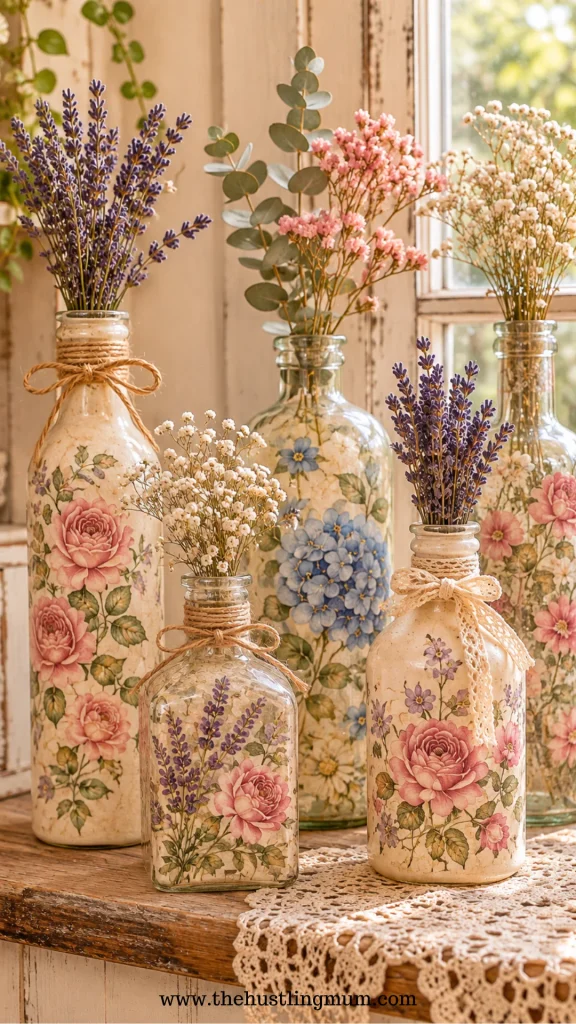
Old glass bottles can become gorgeous decorative vases with just a little decoupage magic.
This project is perfect if you love cottagecore, vintage, or farmhouse-style decorations.
Collect a few empty glass bottles in different shapes and sizes.
Remove their labels and clean them thoroughly.
Paint the outside with a thin layer of acrylic paint if you want an opaque background.
Once dry, choose floral napkins or botanical decoupage paper.
Tear the designs into smaller pieces so they fit the curves of the bottles more easily.
Apply decoupage glue and gently attach the paper, smoothing out wrinkles as you go.
After the design dries, apply a protective finish.
For an extra decorative touch, wrap a little jute twine or lace around the bottle neck.
Display your finished bottles with dried lavender, faux flowers, or eucalyptus stems.
9. Decoupage Jewelry Dishes
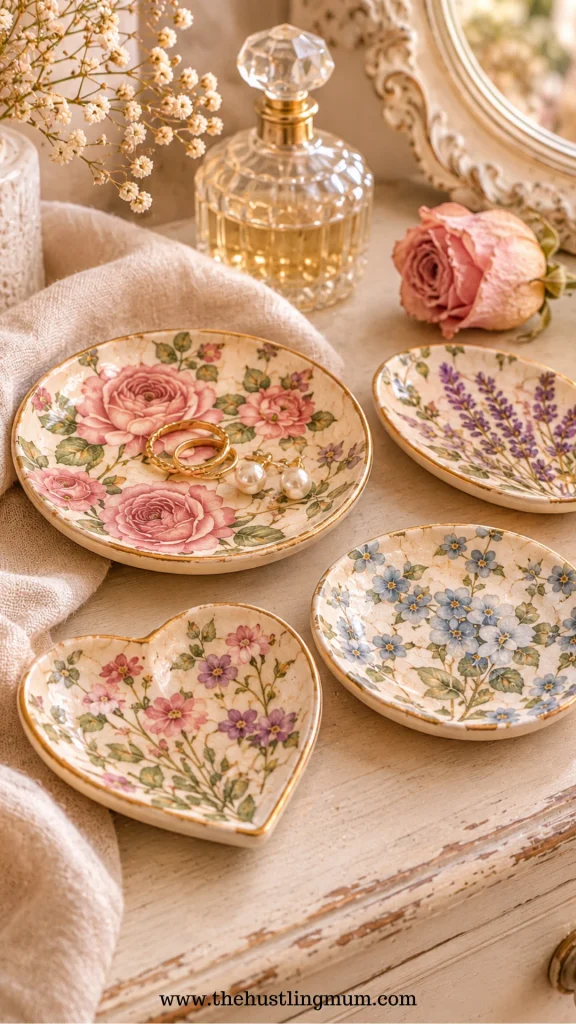
A pretty little jewelry dish is something almost everyone can use.
And making one yourself is much more fun than buying a ready-made version.
Start with a plain shallow ceramic dish.
Clean it thoroughly and make sure the surface is dry.
Choose delicate floral designs or decorative tissue paper.
Cut the paper into small pieces that fit the center of the dish.
Apply a thin layer of decoupage glue to the area you want to decorate.
Carefully position the paper and smooth it down, paying attention to the curved edges.
Allow the design to dry before applying a protective topcoat.
You can also add a thin gold-painted border for a more elegant appearance.
Use the finished dish to hold rings, earrings, bracelets, or hair accessories.
Remember to keep these dishes for decorative storage rather than food unless the materials are certified food-safe.
10. Decoupage Wooden Wall Art
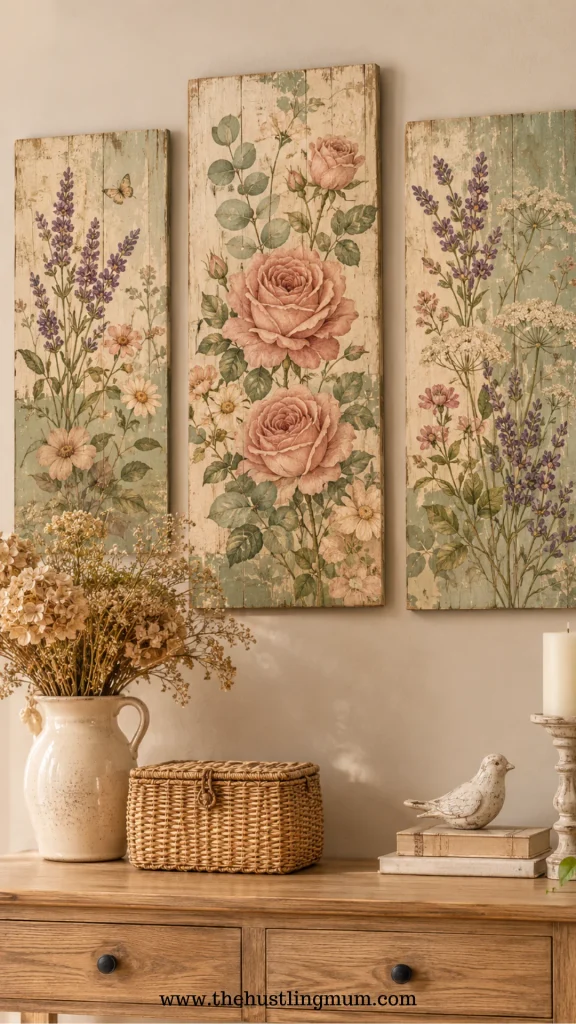
If you love creating your own home decorations, this project is definitely worth trying.
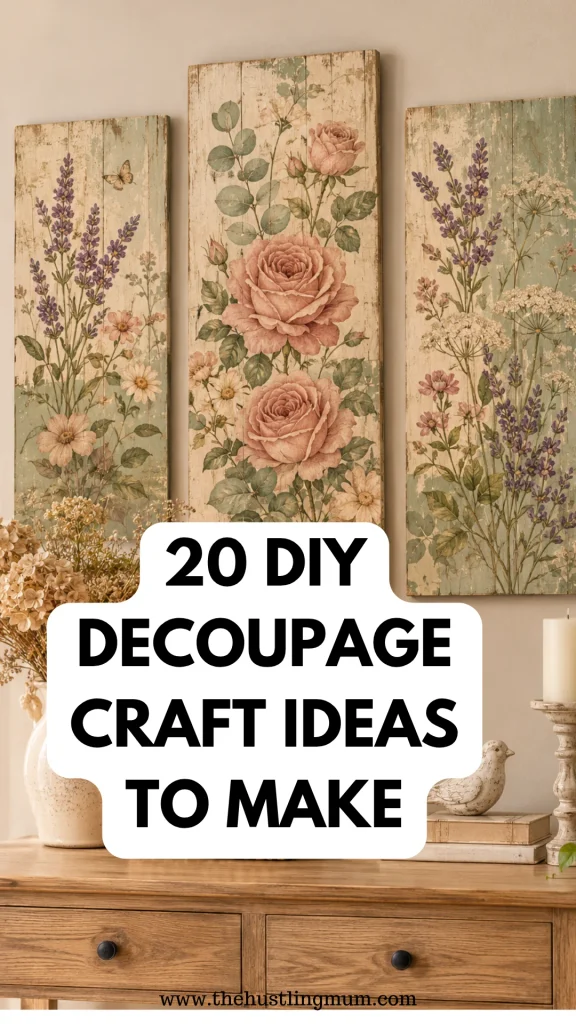
Decoupage wall art is a wonderful way to make beautiful artwork without needing advanced painting skills.
Start with a flat wooden panel, canvas board, or unfinished wooden plaque.
Paint the background in a neutral shade and allow it to dry.
Choose large floral prints, botanical illustrations, or vintage-style decorative paper.
Arrange the cutouts on your panel before applying any glue.
Once you’re happy with the layout, attach each piece using decoupage medium.
Work from the largest designs to the smallest details.
Gently smooth the paper and let it dry.
Add a protective coat and attach suitable hanging hardware to the back.
You can create a single statement piece or a coordinated set of three smaller artworks.
For a cozy handmade look, pair your wall art with creative handmade crochet crafts such as wall hangings, baskets, or decorative flowers.
11. Decoupage Decorative Wooden Letters
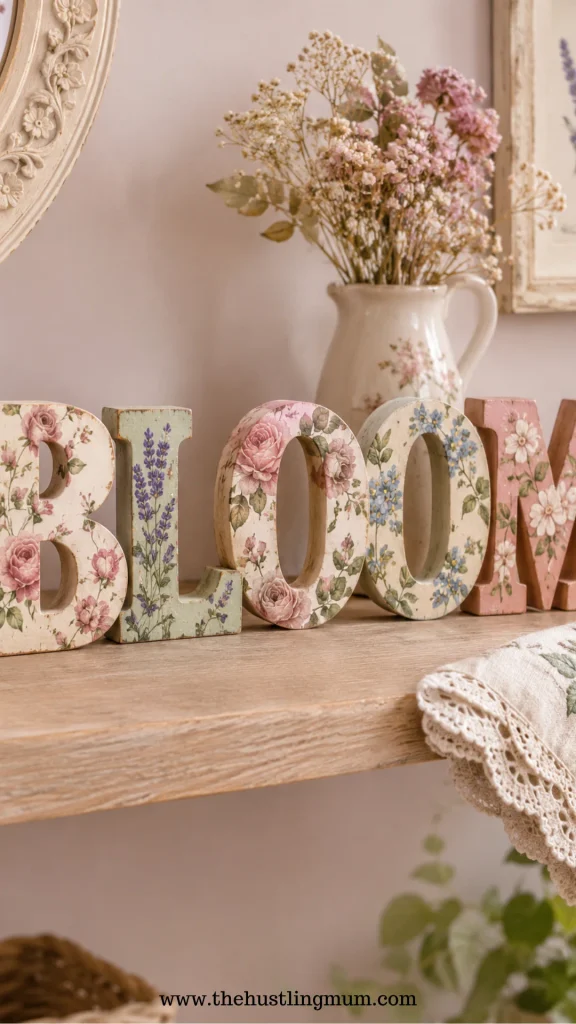
Decorative wooden letters are perfect for personalizing bedrooms, craft rooms, and nursery shelves.
They’re also a lovely handmade gift idea.
Buy unfinished wooden letters from a craft store or use letters you’ve already collected.
Sand any rough edges and paint the letters in your preferred color.
Choose floral, polka-dot, or pastel-patterned paper.
Trace each letter onto the back of your paper and carefully cut out the shape.
Apply decoupage glue to the front of the wooden letter and position your paper.
Smooth it down gently and trim any excess paper around the edges.
Once dry, apply a protective topcoat.
You can decorate the sides with matching paint or add tiny ribbon bows for a sweet finishing touch.
Create a child’s name, a short inspirational word, or a decorative monogram.
12. Decoupage Fabric Tote Bags
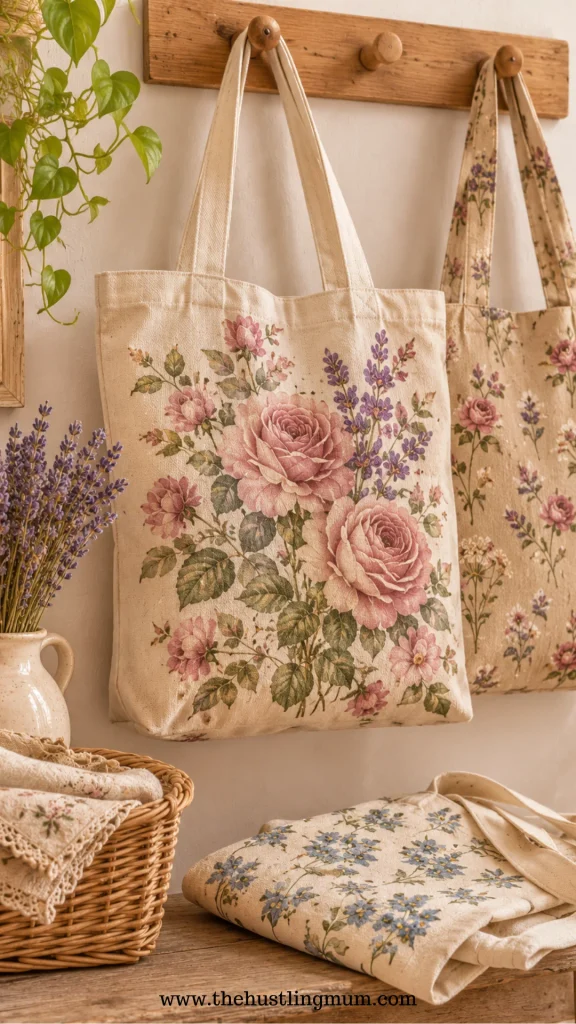
Did you know you can also use decoupage techniques to decorate fabric?
This is such a fun way to transform a plain canvas tote bag into something unique.
For this project, you’ll need a fabric-compatible decoupage medium rather than regular craft glue.
Start with a clean, prewashed cotton canvas tote bag.
Place a piece of cardboard inside to prevent the adhesive from soaking through to the other side.
Choose floral napkins or thin decorative paper with a design you love.
Cut out your pattern and arrange it on the front of the bag.
Apply fabric decoupage medium to the area where you want to place the design.
Carefully position the paper and gently brush another thin layer of medium over it.
Allow the design to dry and cure according to the manufacturer’s instructions.
Your finished tote can be used for lightweight everyday items, although paper decorations may wear with frequent washing and folding.
If you enjoy experimenting with fabric-based projects, don’t miss these DIY fabric crafts to sell for even more creative inspiration.
13. Decoupage Wooden Stools
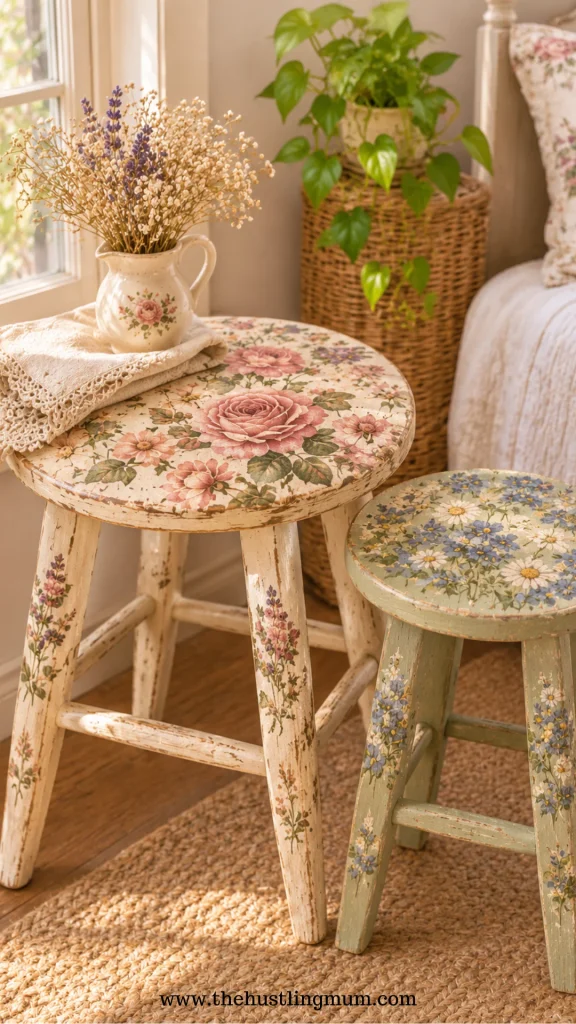
An old wooden stool might not look very exciting, but it can become a gorgeous accent piece with the right decorative paper.
Start by cleaning and sanding the stool.
Paint the legs and sides in a color that complements your chosen design.
For the seat, choose decorative paper featuring vintage flowers, botanical prints, or soft geometric patterns.
Cut the paper to fit the top surface.
Apply decoupage glue evenly and carefully position the paper.
Smooth it from the center outward to remove trapped air.
Once dry, apply several coats of a durable furniture-grade protective finish suitable for the stool’s intended use.
Allow the finish to cure completely before using the stool.
This is a lovely way to refresh old furniture without spending money on a replacement.
14. Decoupage Storage Tins
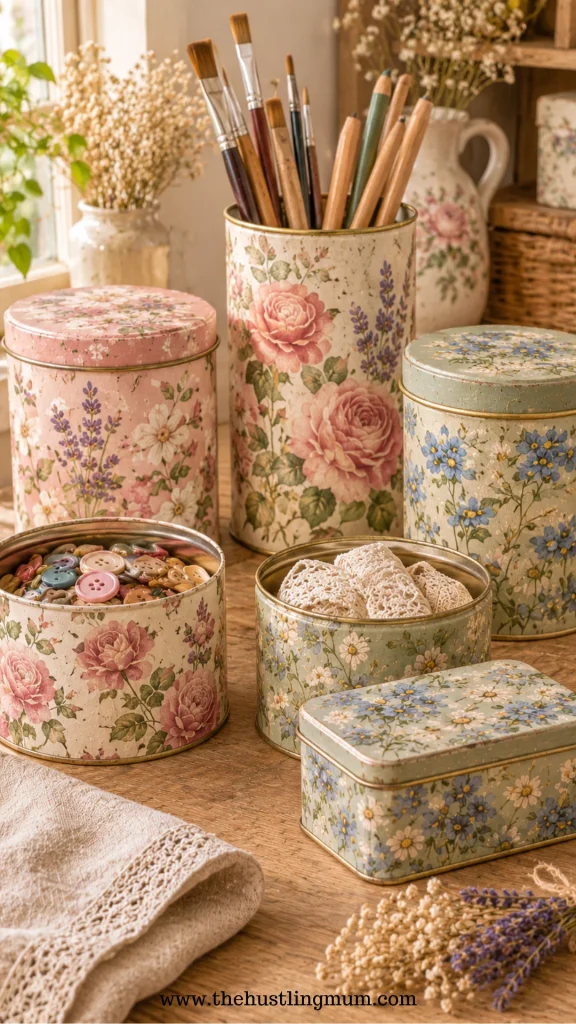
Empty metal tins are surprisingly useful for organizing small items.
And with pretty decoupage paper, they can look adorable sitting on a craft room shelf.
Start with a clean metal tin, making sure there are no sharp edges.
If necessary, apply a suitable metal primer before painting.
Choose a soft background color and let it dry.
Cut decorative paper into strips or individual floral shapes.
Apply decoupage glue to the outside of the tin and carefully attach your paper.
Smooth the design around the curved surface.
Once dry, seal it with another thin layer of decoupage medium.
You can decorate the lid separately or add a small label to the front.
Use these tins to store buttons, ribbons, washi tape, pencils, or sewing accessories.
And if you love organizing craft supplies, you might also enjoy exploring sewing craft ideas that use simple materials you already have at home.
15. Decoupage Wooden Christmas Ornaments
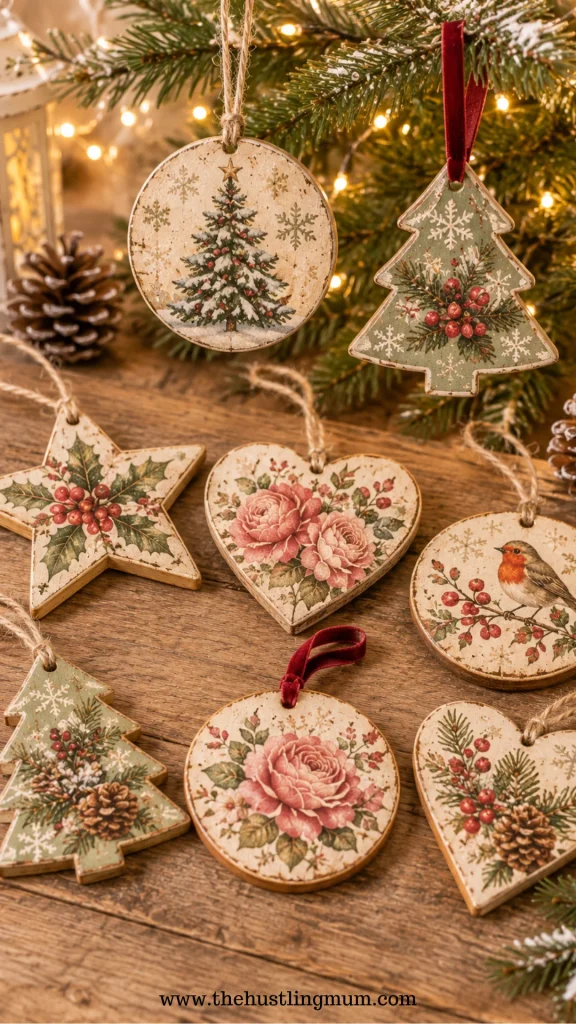
Handmade Christmas ornaments are always special, especially when they have that vintage, cozy feeling.
And decoupage is perfect for creating them!
Start with unfinished wooden ornament blanks in shapes such as stars, hearts, circles, or Christmas trees.
Sand the surface lightly and paint each ornament with a thin coat of acrylic paint.
Choose festive napkins featuring snowflakes, winter greenery, vintage Santa illustrations, or delicate holiday flowers.
Cut out your designs and attach them using decoupage glue.
Once dry, apply a protective topcoat.
Thread a piece of velvet ribbon, jute twine, or satin cord through the hanging hole.
You can even add a little gold paint around the edges for a beautiful finishing touch.
Make a matching set and package them in a small gift box.
These are wonderful seasonal decoupage crafts to make for friends, family, or holiday craft fairs.
16. Decoupage Notebook Covers
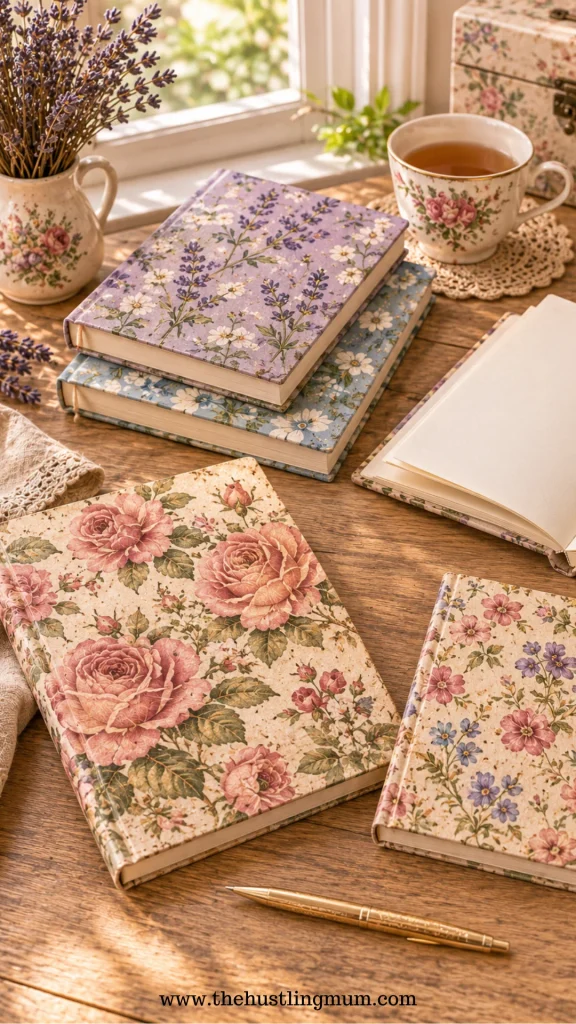
If you’re someone who loves pretty notebooks and journals, you’re going to enjoy this idea.
Instead of buying expensive decorative journals, you can personalize simple notebooks at home.
Choose a notebook with a sturdy, smooth cover.
If the cover is glossy, lightly prepare it according to the adhesive manufacturer’s recommendations.
Select decorative paper featuring flowers, butterflies, abstract patterns, or vintage illustrations.
Measure the cover and cut the paper to fit, leaving a little extra around the edges if you want to wrap it neatly.
Apply a thin layer of decoupage glue and carefully position your paper.
Smooth out bubbles and allow the cover to dry.
Apply a protective finish, avoiding the spine if the coating would interfere with the notebook opening.
You can finish the notebook with a ribbon bookmark or a small decorative label.
These personalized journals make lovely gifts for students, teachers, and stationery lovers.
17. Decoupage Wooden Clocks
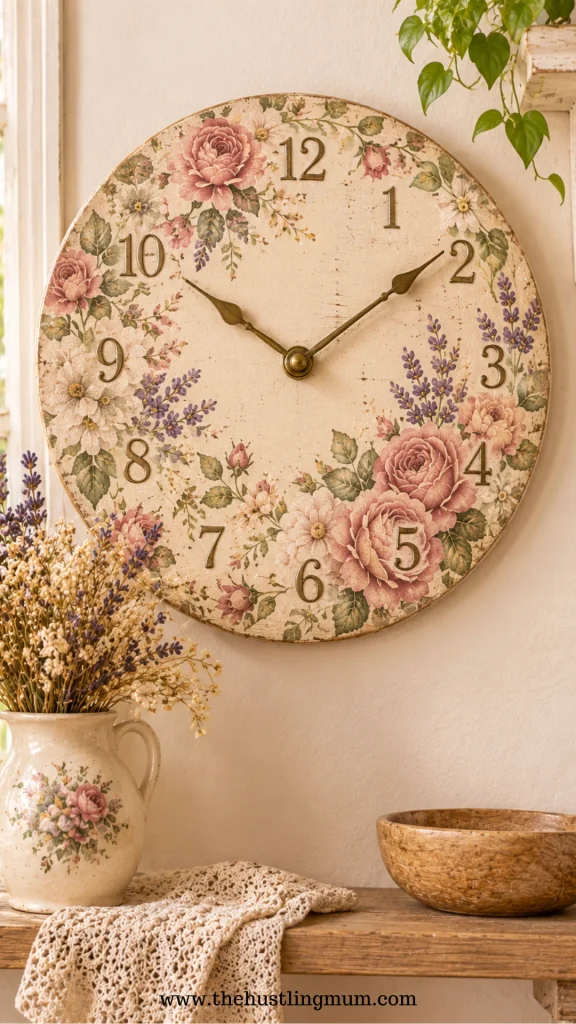
A handmade decorative clock can become a beautiful statement piece in your living room, bedroom, or craft space.
Start with a plain wooden clock blank and a battery-operated clock mechanism.
Sand the wooden surface and paint it with a light background color.
Choose decorative paper featuring vintage flowers, botanical illustrations, or delicate patterns.
Cut the paper to fit the clock face, keeping the center hole clear.
Apply decoupage glue and carefully position the paper.
Smooth it down and let it dry.
Add clock numbers using small wooden numerals, stickers, or painted markings.
Once everything is dry and sealed, attach the clock mechanism and hands according to the kit instructions.
Make sure the hands move freely without touching any raised decorations.
Your finished clock can look especially pretty in a farmhouse kitchen or cozy home office.
18. Decoupage Decorative Book Covers
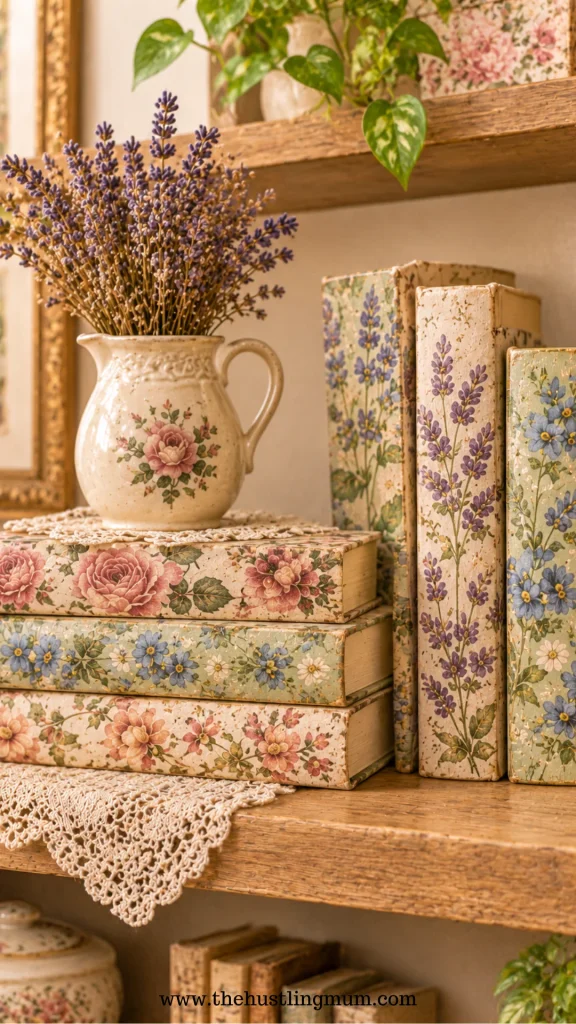
Old books with damaged covers can be transformed into beautiful decorative accents for bookshelves and coffee tables.
I love how vintage-inspired paper can make even an ordinary book look like a lovely antique find.
Choose a book that you no longer need to preserve in its original condition.
Clean the cover and make sure it’s dry.
Select decorative paper with floral, botanical, or vintage-inspired patterns.
Measure the front and back covers and cut the paper to fit.
Apply decoupage glue in thin layers and carefully attach the paper.
Smooth the paper gently, especially around the corners.
Allow each side to dry before decorating the other.
Avoid applying too much glue near the spine, as it may affect how the book opens.
Finish with a light protective coat if appropriate.
Stack several decorated books on a shelf and place a small vase or decorative object on top.
These make lovely accents for cottagecore and vintage-inspired interiors.
19. Decoupage Decorative Wooden Hangers
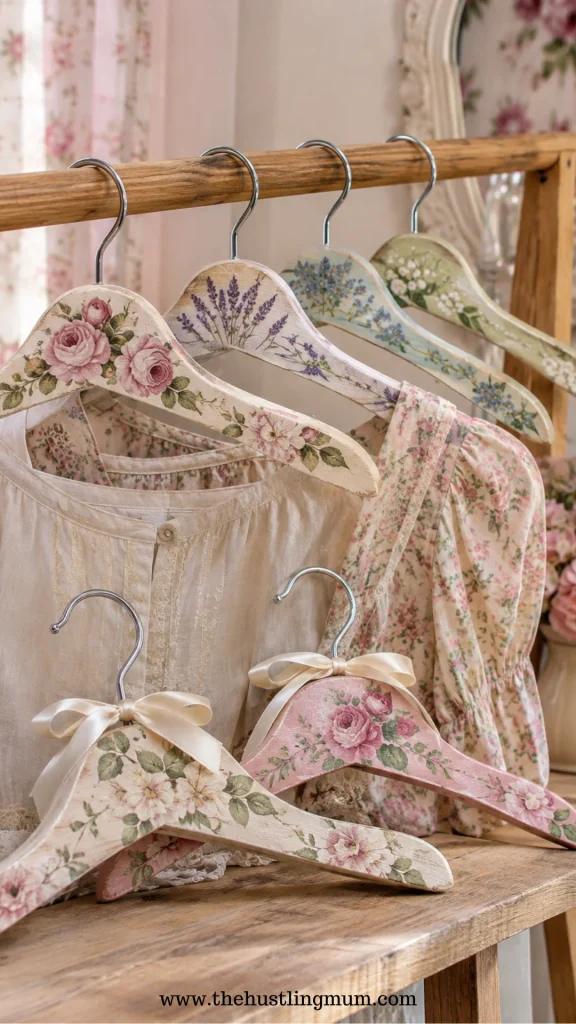
Here’s a decoupage idea that’s both pretty and practical!
Plain wooden clothes hangers can become beautiful decorative pieces for wardrobes, guest rooms, and boutique-style displays.
Start with smooth wooden hangers and lightly sand any rough areas.
Paint them in a soft neutral shade.
Choose small floral designs from paper napkins or decoupage paper.
Cut out the flowers and arrange them along the front of each hanger.
Apply a thin layer of decoupage glue and gently attach the designs.
Smooth them down carefully, especially around the curved sections.
Once dry, apply a protective finish and allow it to cure completely before hanging clothes.
You can also tie a little ribbon around the hook for an extra feminine touch.
Make a coordinated set in matching colors for a beautiful wardrobe makeover.
20. Decoupage Wooden Recipe Boxes
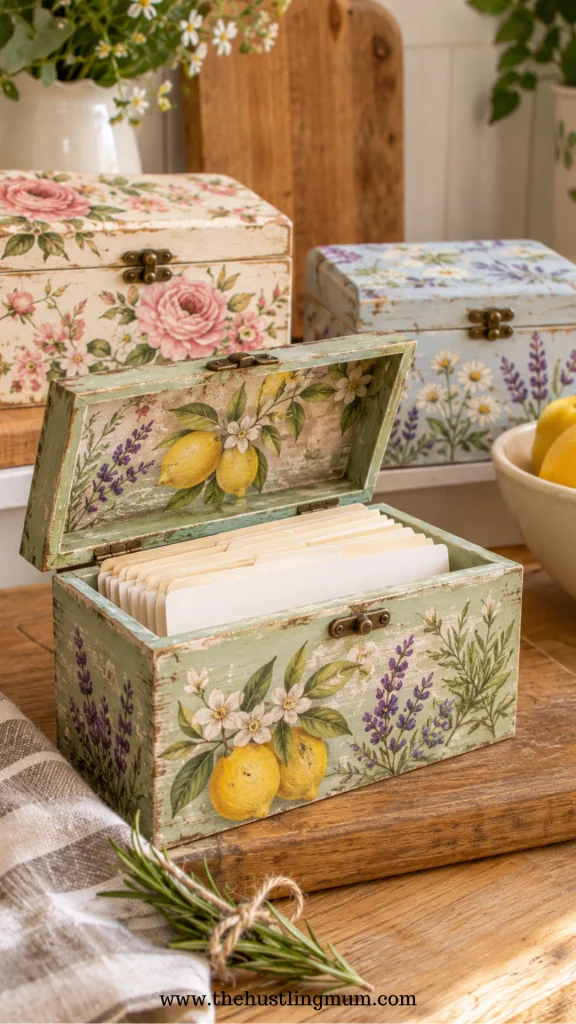
A handmade recipe box is such a thoughtful gift, especially for someone who loves cooking and collecting family recipes.
It’s also one of those decoupage project craft ideas that combines beauty with everyday usefulness.
Start with a plain wooden recipe box.
Sand the surface lightly and paint it in your favorite color.
For a vintage kitchen look, choose cream, sage green, or pale blue.
Select decorative paper featuring herbs, lemons, flowers, or other kitchen-inspired illustrations.
Cut the paper into smaller designs and arrange them on the lid and sides of the box.
Apply decoupage glue and carefully attach each piece.
Once dry, seal the decorated surfaces with a protective finish.
Add a small label to the front that says “Recipes” or personalize it with the recipient’s name.
You can also include blank recipe cards inside to make the gift even more special.
Final Thoughts
Who knew that a little decorative paper and glue could turn ordinary household items into something so beautiful?
That’s what makes decoupage crafts so special to me. You don’t need expensive supplies, complicated equipment, or years of crafting experience to create something you’ll genuinely love.
Whether you’re decorating glass jars, refreshing old wooden furniture, or making thoughtful handmade gifts, these decoupage craft ideas offer so many ways to get creative.
And if you’re just getting started, my suggestion is to choose one small project, like a floral glass jar or a wooden jewelry box.
Don’t worry about making everything look perfect. Those little handmade details are often what make a project feel extra special.
You can also experiment with different colors, patterns, and finishes until you discover your own style.
And who knows? Some of these DIY decoupage crafts might even inspire you to start selling your handmade creations.
If you found this post helpful, don’t forget to pin it and share it with your friends.
Related posts:
- DIY fabric scrap crafts to sell.
- Creative and Easy Things to Make and Sell.
- Profitable Crafts to Sell.
- Crochet table decorations.


I am a passionate blogger who loves sharing insights on blogging tips, Pinterest strategies, and making money online. With a knack for simplifying complex concepts, I help readers grow their online presence and achieve their Pinterest marketing goals. Follow along for practical advice and proven tactics to elevate your blog, Pinterest and online business.
Pingback: 40 Handmade Gift Ideas That Feel Personal And Special » The Hustling Mum
Pingback: 20 Beautiful DIY Seashell Crafts Ideas To Make And Decorate Your Home » The Hustling Mum