
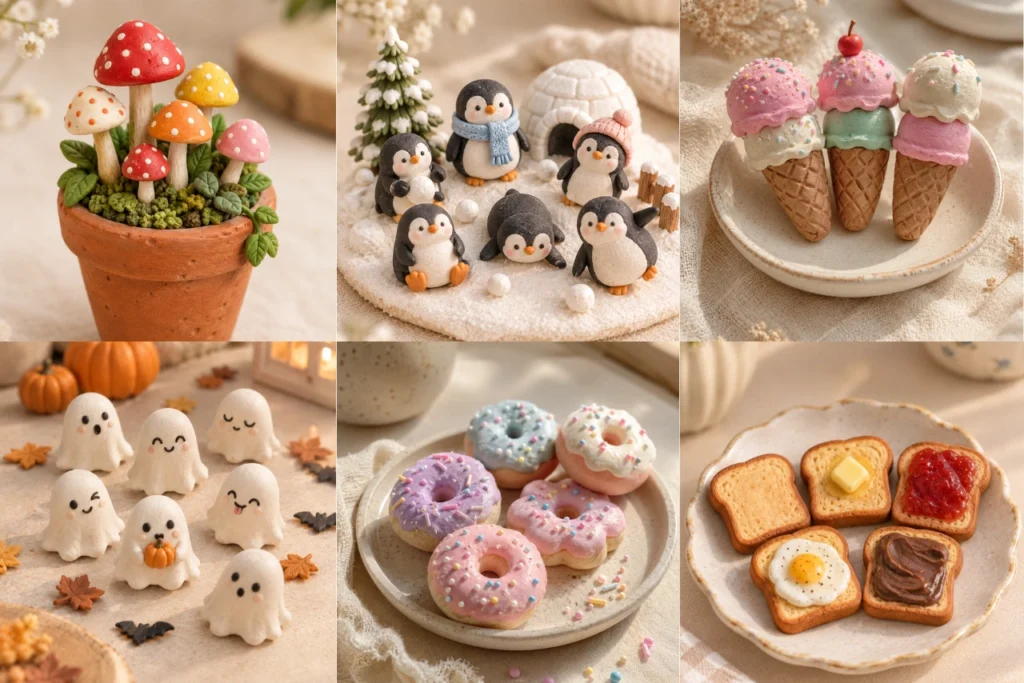
Have you ever looked at tiny handmade things and thought, “This is so cute, I want to make one!”? I know I have. Sometimes I want to work on a craft project, but I don’t want something that takes over my entire table or requires hours and hours to finish.
That’s one of the reasons I love mini clay crafts. You can take a tiny piece of clay and turn it into a little cupcake, a flower, a cute animal, or even a miniature garden. The projects are small, but there are so many possibilities.
And if you’re new to clay, don’t worry. You don’t need to be an expert sculptor to make these projects. Many of them use very simple shapes like balls, circles, teardrops, and coils. Once you learn a few basic techniques, you’ll be surprised at what you can create.
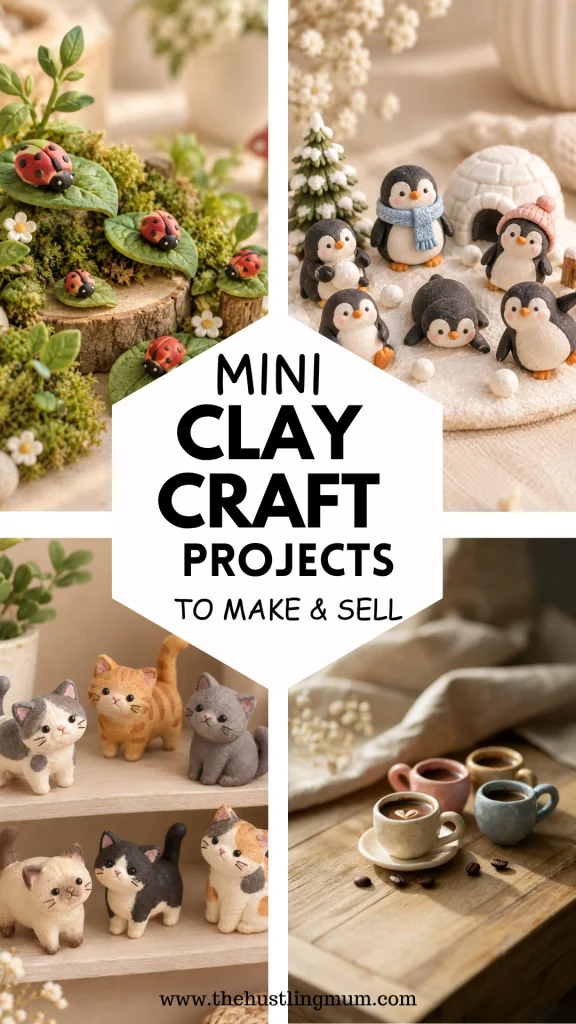
I’ve always enjoyed crafts that let me slow down and make something with my hands. I especially love projects where I can add my own little details and choose colors that match my style. Miniature clay projects are perfect for that because even a tiny change in color or expression can give a piece a completely different personality.
So, if you’re looking for something creative to do this weekend, grab some clay and let’s make some tiny things!
This post may contain affiliate links. If you make a purchase through these links, I may earn a small commission at no extra cost to you.
Tools and Supplies You Need for Mini Clay Crafts
You don’t need a lot of supplies to get started with mini clay crafts. Here are the basic tools and materials that will make these projects easier:
- Clay: Choose air-dry clay or polymer clay in the colors you need.
- Clay Tool Set: Use these for shaping, smoothing, cutting, and adding tiny details.
- Toothpicks: Perfect for making small dots, lines, holes, and textures.
- Mini Rolling Pin: Helps you roll and flatten clay into smooth, even pieces.
- Craft Knife or Clay Blade: Useful for cutting clay and creating clean edges.
- Smooth Work Surface: A clean ceramic tile, acrylic sheet, or similar surface works well.
- Fine Paintbrushes: Great for painting tiny details and finishing touches.
- Acrylic Paint: Use paint to add small details to your dried or cured clay pieces.
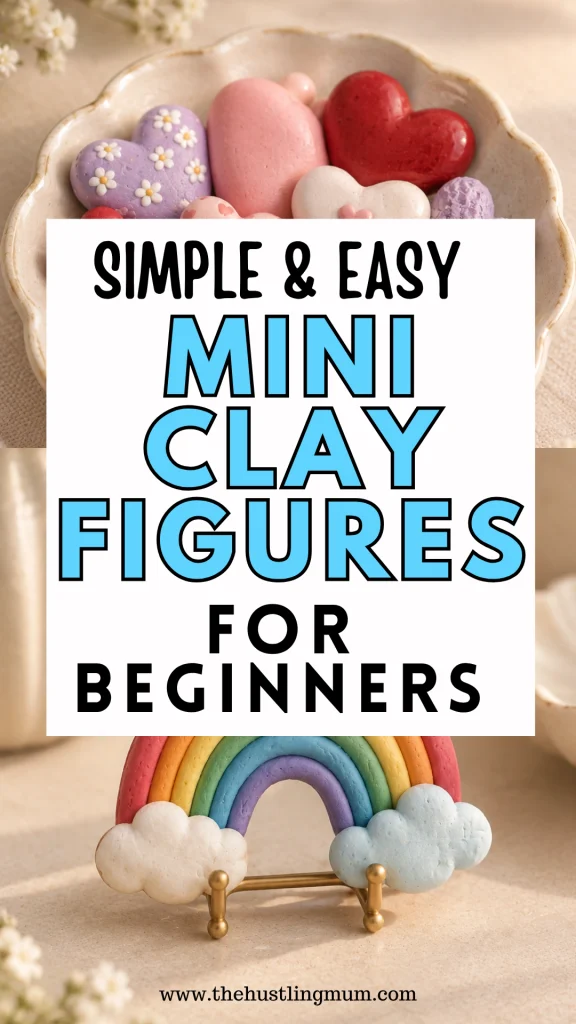
- Craft Glue: Useful for attaching magnets, charms, and other accessories.
- Small Magnets: Turn your finished clay pieces into cute refrigerator magnets.
- Keychain Hardware: Use jump rings and keychain pieces to turn clay creations into charms.
- Sealant: An optional finish for protecting some air-dry clay projects.
Also Read:
Air-dry clay crafts to try for beginners.
Easy polymer clay craft ideas.
Profitable crafts to sell for extra money.
Mini Clay Craft Ideas
Now comes the fun part! Below you’ll find 27 cute mini clay crafts that you can make at home.
I’ve included simple instructions for each one, so you can start with the easiest projects and work your way toward more detailed designs.
1. Mini Clay Donuts
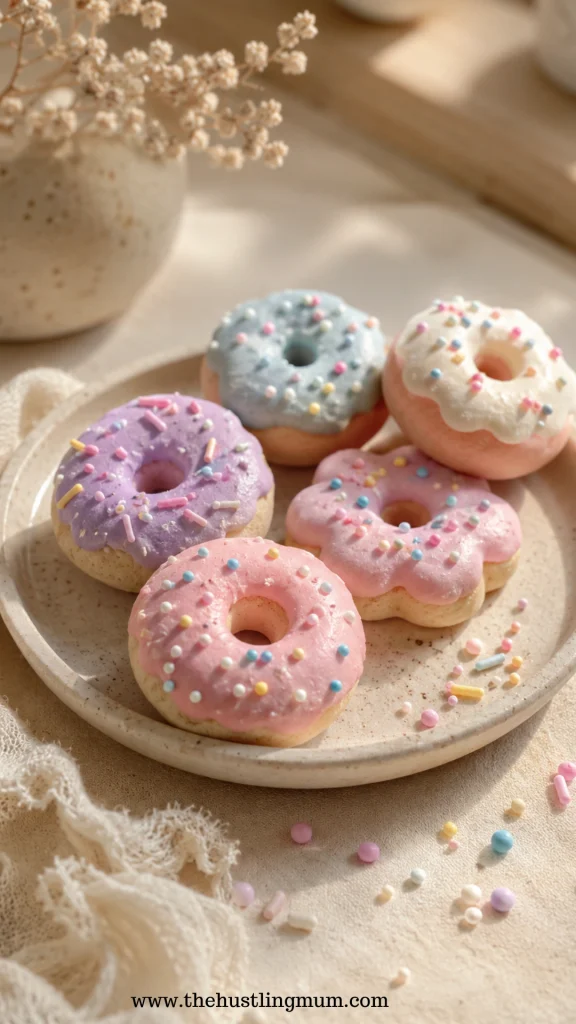
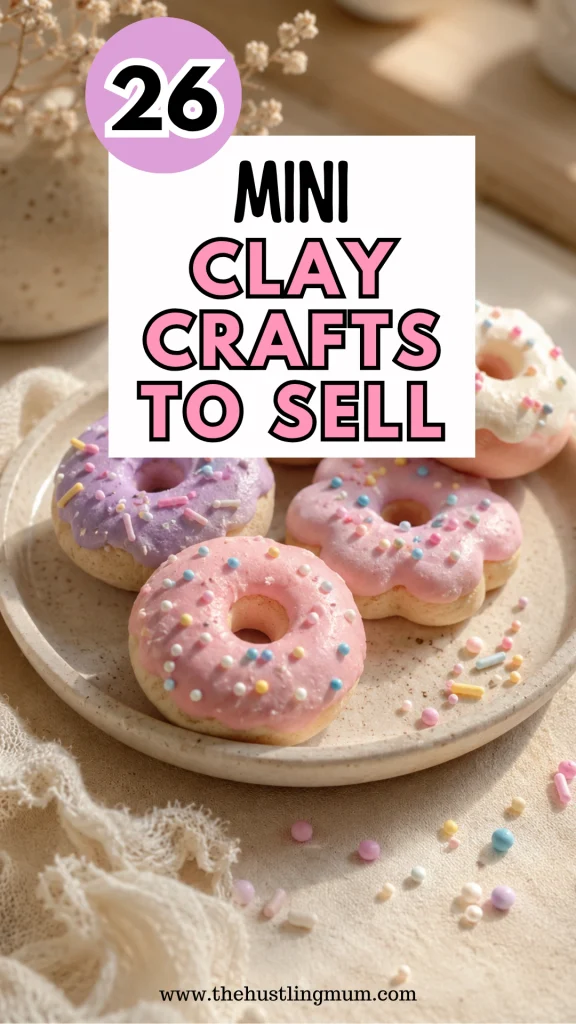
Who doesn’t love a tiny donut? This is one of my favorite mini clay food projects because it’s simple to make but looks incredibly cute when finished.
Start by taking a small piece of tan or light brown clay and rolling it into a smooth ball. Flatten the ball slightly with your fingers.
Use a small round clay tool or the end of a toothpick to make a hole in the center. Don’t make the hole too large because you want your donut to keep its chunky shape.
For the frosting, flatten a very small piece of pink, white, brown, or any color you like. It doesn’t have to be perfectly round. In fact, slightly uneven edges can make it look more realistic.
Place the frosting on top of the donut and gently press it into place.
Now add tiny sprinkles. You can make them from very thin pieces of different-colored clay. Cut or pinch off tiny pieces and place them over the frosting.
For an extra cute look, make several donuts with different frosting colors and toppings.
2. Mini Clay Ice Cream Cones
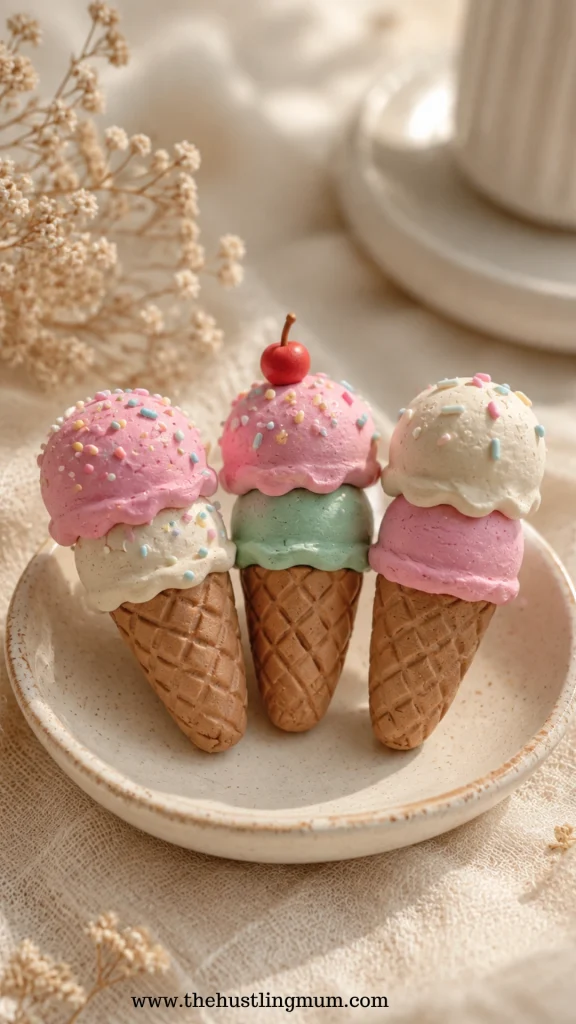
Mini ice cream cones are another easy project, especially if you love making miniature food.
Start with a small piece of tan or brown clay. Roll it into a ball and then shape it into a cone by gently rolling one end between your fingers.
Use a toothpick or clay tool to create diagonal lines across the cone. This will give it the appearance of a waffle cone.
For the ice cream, choose your favorite color. Pink can become strawberry, brown can become chocolate, and white can become vanilla.
Roll the clay into a small ball and gently shape it into a scoop. Place it on top of the cone.
You can add a second scoop if you want a taller ice cream cone.
Finish it with tiny sprinkles, a miniature cherry, or a little drizzle of clay “syrup.”
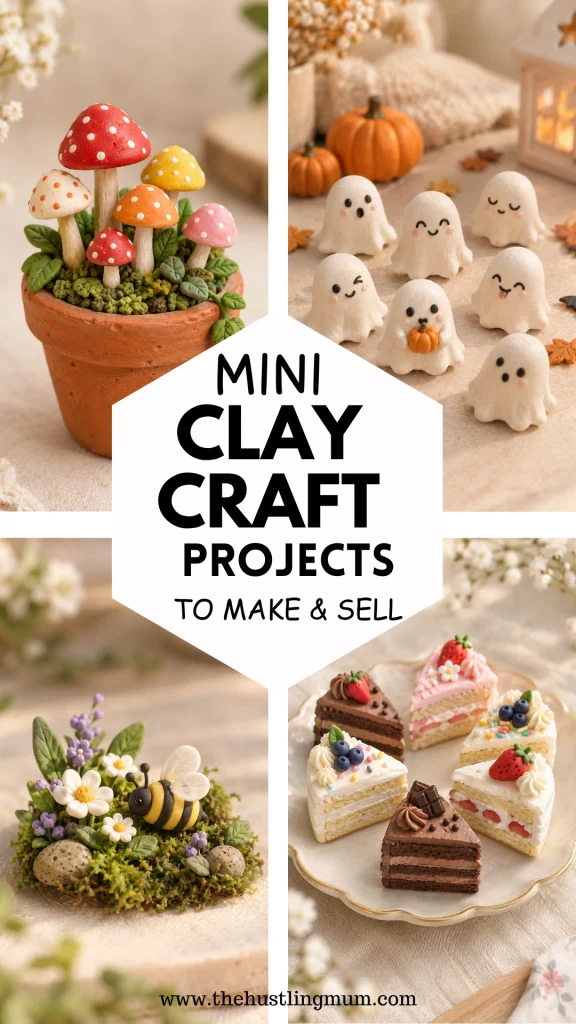
3. Mini Clay Mushrooms
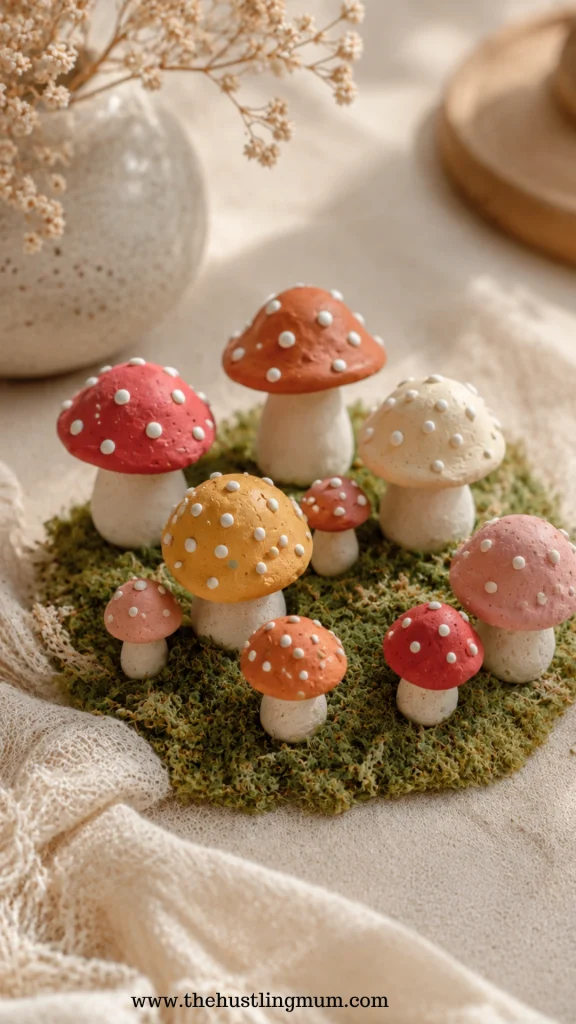
Tiny mushrooms are perfect if you like woodland or fairy-garden crafts.
For the stem, roll a small piece of white, beige, or cream-colored clay into a thin cylinder. Make one end slightly wider than the other.
For the mushroom cap, roll another small piece of clay into a ball. Flatten it slightly and shape it into a rounded cap.
Place the cap on top of the stem and gently press the two pieces together.
Now add tiny dots to the cap using white clay or another contrasting color. A toothpick works really well for positioning the tiny dots.
You can make red mushrooms with white spots, brown mushrooms, pastel mushrooms, or any color combination you like.
Make several different sizes and arrange them together for a tiny mushroom patch.
4. Mini Clay Flowers
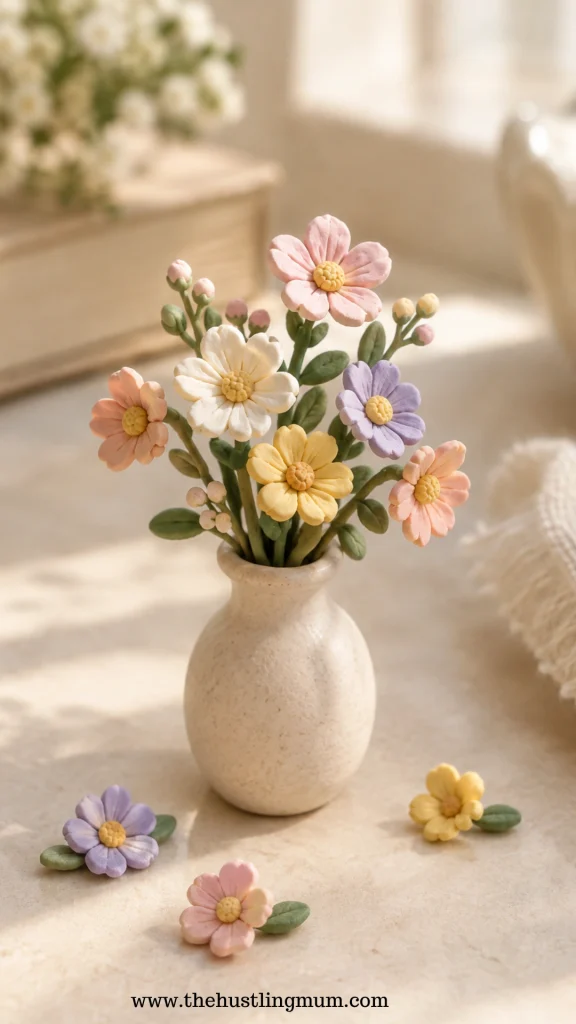
Miniature flowers are simple, versatile, and so pretty.
Choose a color for your petals and take several tiny pieces of clay. Roll each piece into a small ball.
Flatten each ball between your fingers to create petals. Arrange five petals in a circle, slightly overlapping each other.
Add a tiny ball of yellow or another contrasting color in the center.
For leaves, use small pieces of green clay. Flatten them and pinch one end to create a leaf shape.
You can also make a thin green stem if your flower is going to stand upright.
Try making flowers in different colors and sizes. These little flowers can be used on their own or added to other miniature scenes.
5. Mini Clay Ladybugs
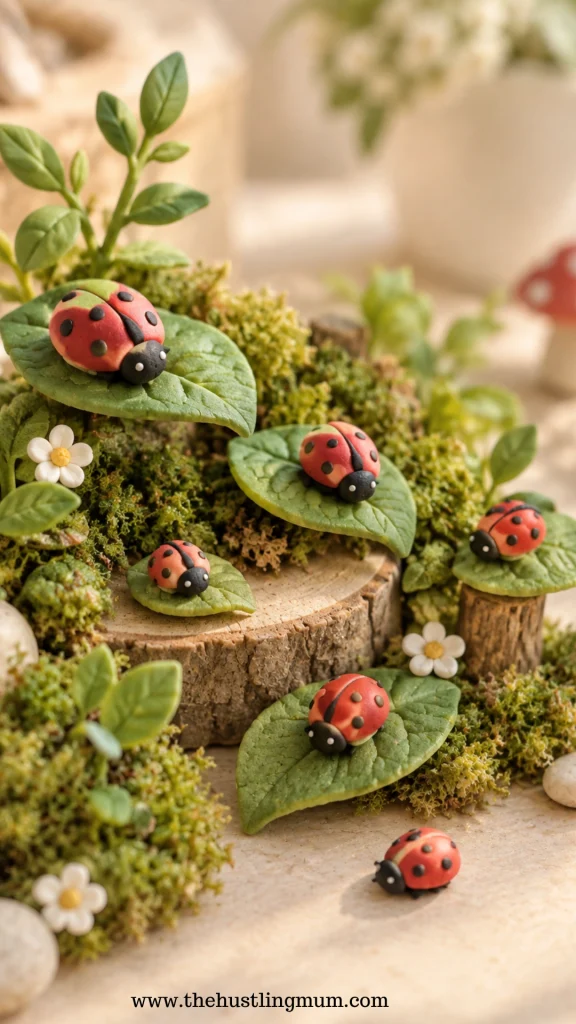
These tiny ladybugs are incredibly easy and don’t require many details.
Start with a small piece of red clay and shape it into an oval.
Take a very thin piece of black clay and place it down the center of the red body to create the dividing line.
Next, add tiny black dots on both sides. You can use a toothpick to place them accurately.
For the head, add a small black piece of clay at one end.
Finally, add two tiny eyes if you want to give your ladybug a more playful appearance.
You can use these little ladybugs in miniature gardens, on flower pots, or as part of other mini clay art projects.
6. Mini Clay Ghosts
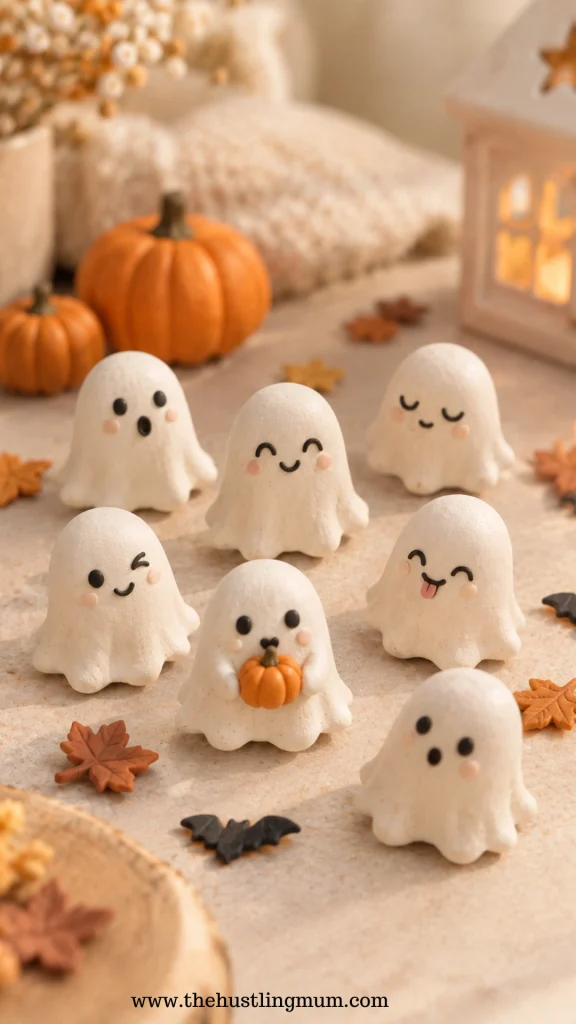
If you’re looking for an easy Halloween-inspired craft, tiny clay ghosts are adorable.
Start with white clay and roll it into a small ball. Gently shape the bottom so that it spreads out slightly.
Pinch and curve the bottom edge to create a wavy ghost shape.
Use tiny pieces of black clay for the eyes and mouth. You can make the faces happy, surprised, sleepy, or spooky.
Don’t worry about making every ghost identical. Different expressions actually make a little ghost collection more fun.
You can also make pastel ghosts instead of traditional white ones if you prefer a softer look.
7. Mini Clay Strawberries
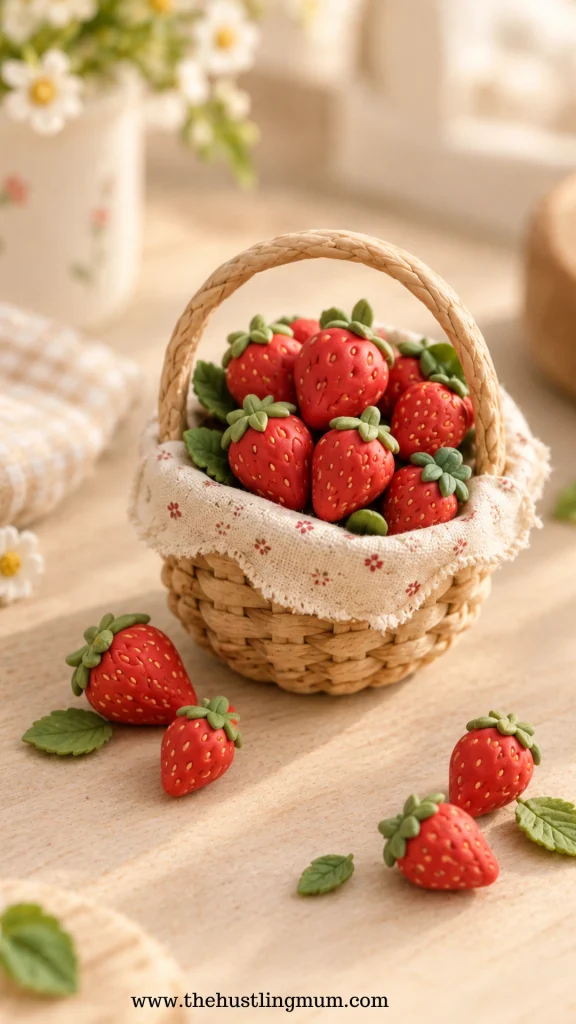
Tiny strawberries are another fun mini clay food project.
Start with a small piece of red clay and shape it into a teardrop. Make the bottom slightly rounded and the top a little narrower.
For the leaves, use a tiny piece of green clay. Flatten it and cut or shape several small points around the edge.
Place the green top on the strawberry.
Now use a toothpick to make tiny shallow marks across the red surface. You can also add tiny yellow or cream-colored pieces of clay to represent seeds.
Make a few strawberries in different sizes and place them in a tiny basket or beside other miniature fruit.
8. Mini Clay Cupcakes

Tiny cupcakes look complicated, but they’re actually made from a few simple shapes.
Start by shaping a small piece of brown or tan clay into a cupcake base. Make the bottom slightly wider and add vertical lines around it to resemble a cupcake wrapper.
For the frosting, take a small piece of clay and roll it into a thin coil.
Starting from the outside, gently coil it upward to create a swirl of frosting.
Place the frosting on the cupcake base and add your favorite toppings.
Tiny sprinkles, a small cherry, or a little piece of colored clay can all work beautifully.
Try making a whole tray of cupcakes in different flavors and colors.
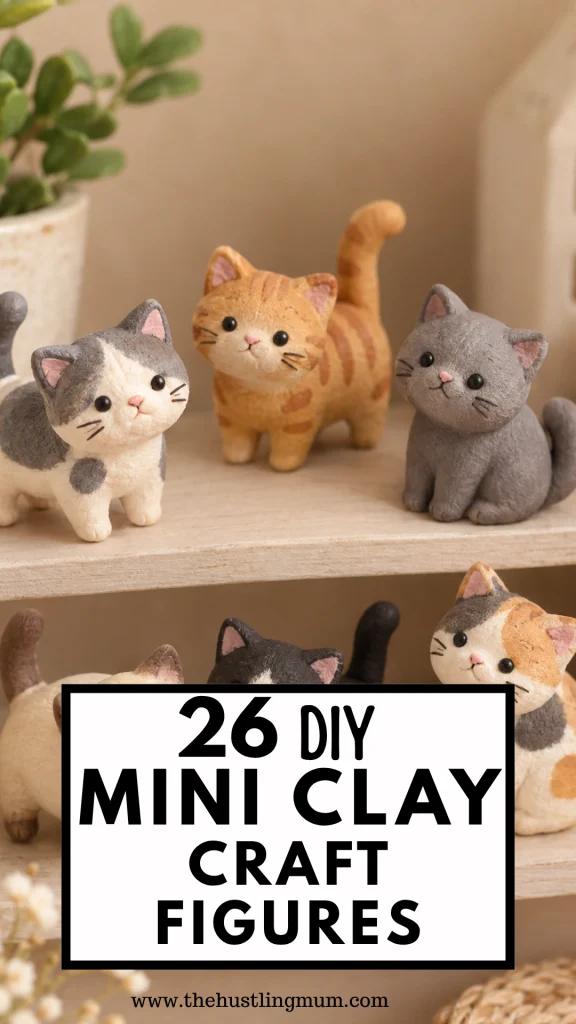
9. Mini Clay Cats
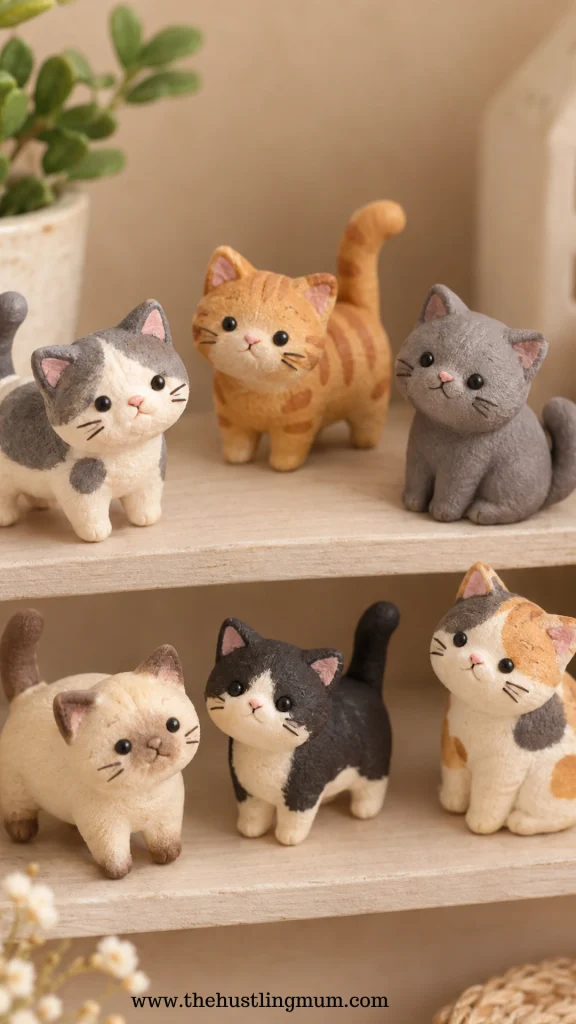
If you love animals, these adorable little cats make wonderful mini clay figures.
Begin with a small piece of clay and shape the body into a rounded oval.
Make a smaller piece for the head. Add two tiny triangular pieces on top for the ears.
For the legs, use four tiny pieces of clay. They don’t have to be perfectly detailed. Small rounded shapes are enough to suggest paws.
Add a thin clay tail to the back.
Finally, use tiny pieces of clay or a fine paintbrush to create the eyes, nose, and mouth.
You can make a white cat, black cat, orange cat, gray cat, or even a pastel-colored fantasy cat.
10. Mini Clay Mushroom Pot
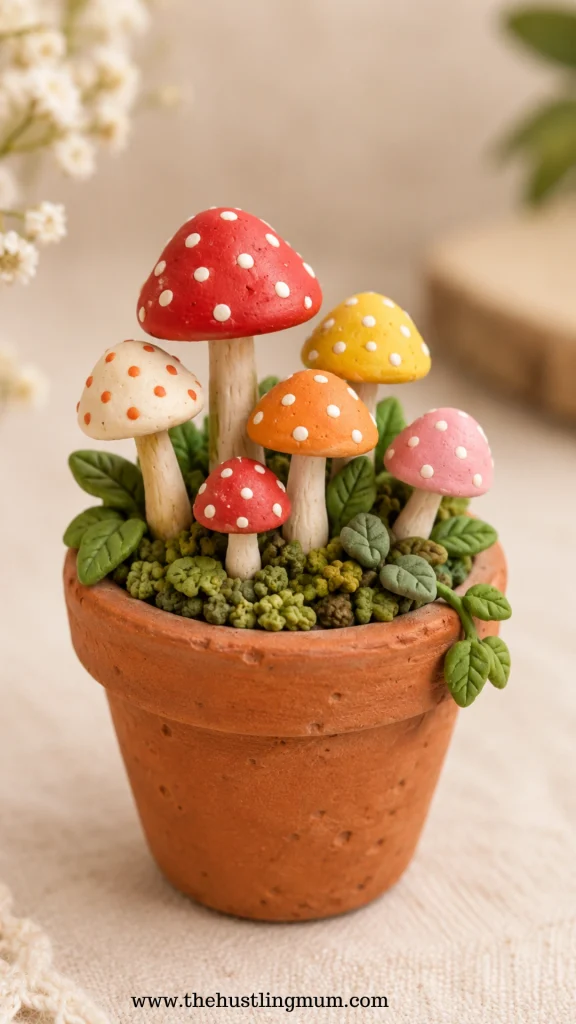
If you enjoyed making the tiny mushrooms, why not give them a little home?
Start by making a miniature flower pot from terracotta-colored clay. Shape a small ball and gently press the center to create the opening.
Make the top slightly wider than the bottom.
Add a little dark brown clay inside to represent soil.
Now make several tiny mushrooms using the technique from the mushroom project above.
Place the mushrooms into the pot while the clay is still workable.
You can also add tiny pieces of green clay around the base to look like moss.
This makes a sweet miniature decoration for a shelf, desk, or little craft display.
11. Mini Clay Coffee Cup

A tiny coffee cup is perfect for creating miniature café scenes.
Start with a small piece of clay and roll it into a ball.
Shape it into a small cup by gently pressing your thumb into the center. Keep the walls fairly even and don’t make them too thin.
For the handle, roll a very thin piece of clay and curve it into a small C shape.
Attach it carefully to the side of the cup.
Add a small amount of brown clay inside the cup to represent coffee.
For an extra detail, add a tiny white or cream-colored heart on top of the coffee.
You can make several cups in different colors and create your own tiny coffee shop scene.
12. Mini Clay Pizza

Pizza is one of those mini clay food projects that is so much fun because you can customize all the toppings.
Start with tan or light brown clay and flatten it into a small circle.
Use a slightly darker shade around the edge to create the crust. You can make the crust thicker if you want a more realistic appearance.
Add a very thin layer of red clay for tomato sauce.
Next, add small pieces of yellow or cream-colored clay for cheese.
Now comes the fun part: toppings!
Use tiny pieces of clay to create pepperoni, mushrooms, olives, peppers, or whatever toppings you love.
You can make one whole mini pizza or cut it into tiny slices.
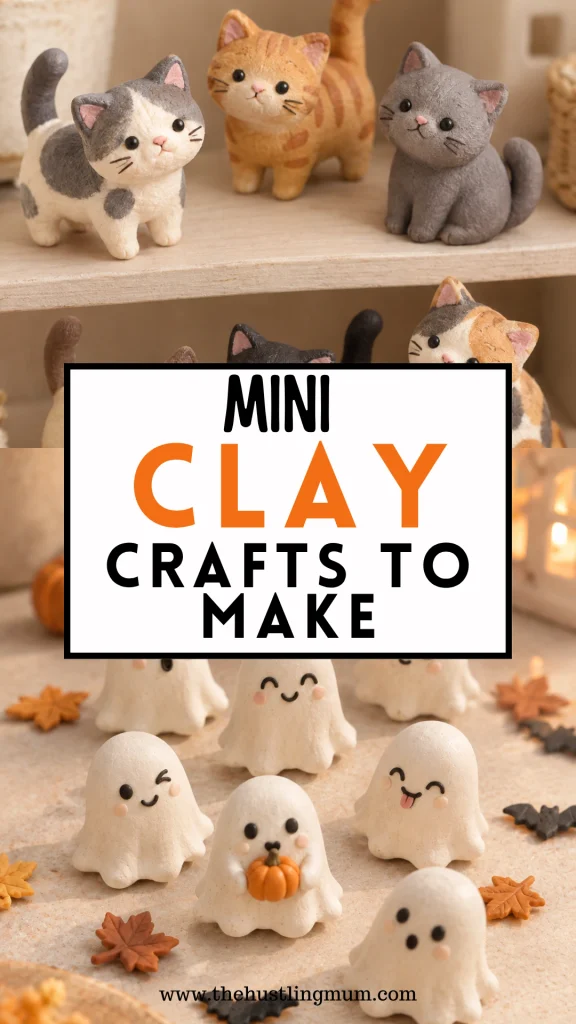
13. Mini Clay Cake Slice
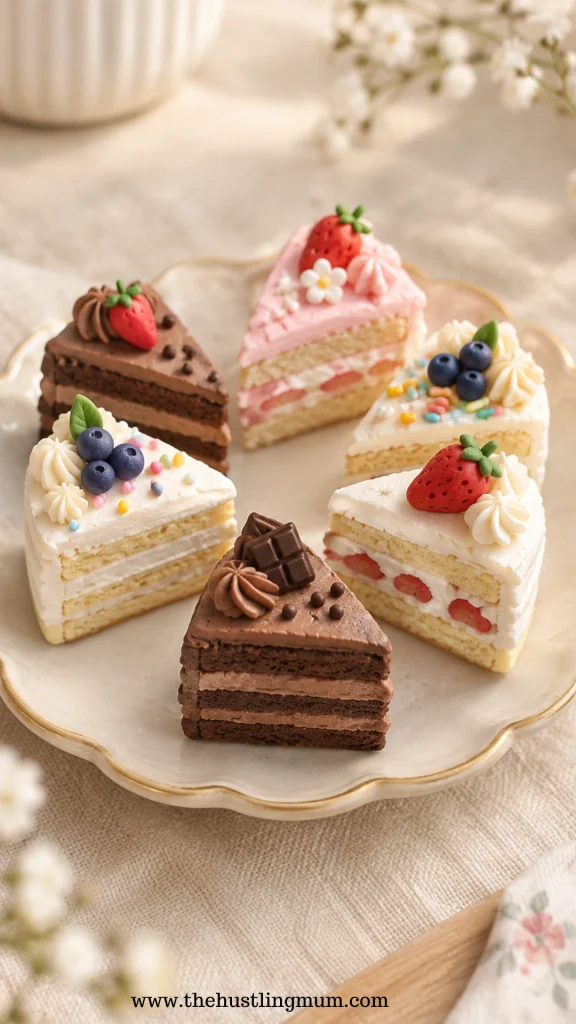
A tiny cake slice looks beautiful on a miniature plate.
Start by choosing two or three colors for your cake layers.
Roll out thin sheets of clay and stack them together. For example, you could use brown for chocolate cake and white for cream.
Gently press the layers together so they hold.
Use a clay blade to cut a small triangle from the layered clay.
For the frosting, add a thin layer of clay to the top.
Finish with tiny berries, sprinkles, a chocolate piece, or a little flower.
You can create different flavors using different color combinations.
14. Mini Clay Bees
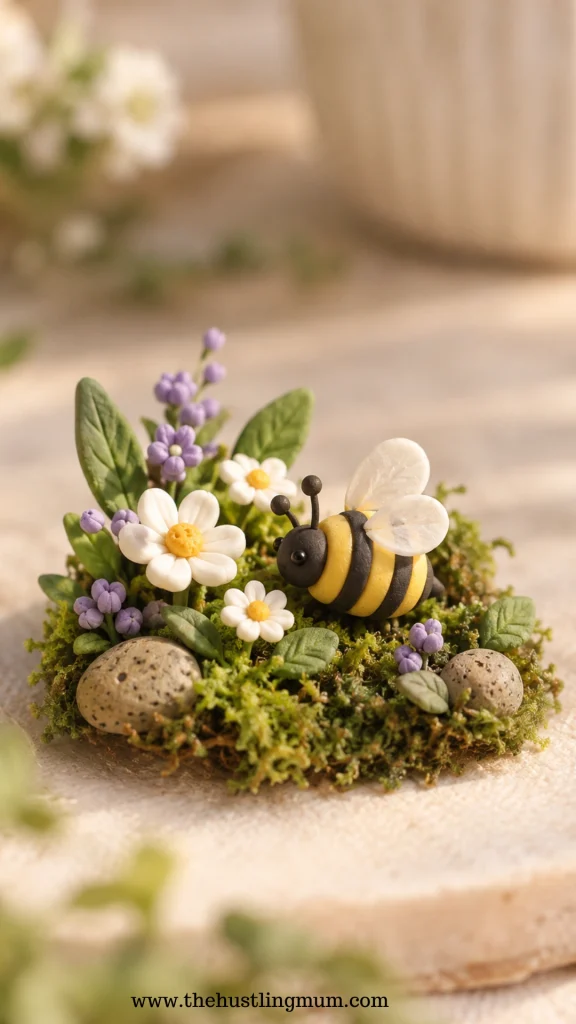
Tiny bees are a lovely addition to miniature gardens and flower scenes.
Start by shaping a small piece of yellow clay into an oval body.
Add two or three thin black strips around the body. Keep the strips narrow because your bee is miniature.
For the head, use a small piece of black clay.
Add two tiny wings using white or translucent clay. Flatten the clay first and shape each piece into a small wing.
Attach the wings carefully to the sides.
For the eyes, tiny black dots are enough.
You can make several bees and place them around your miniature flowers to create the look of a tiny garden buzzing with life.
15. Mini Clay Rainbow
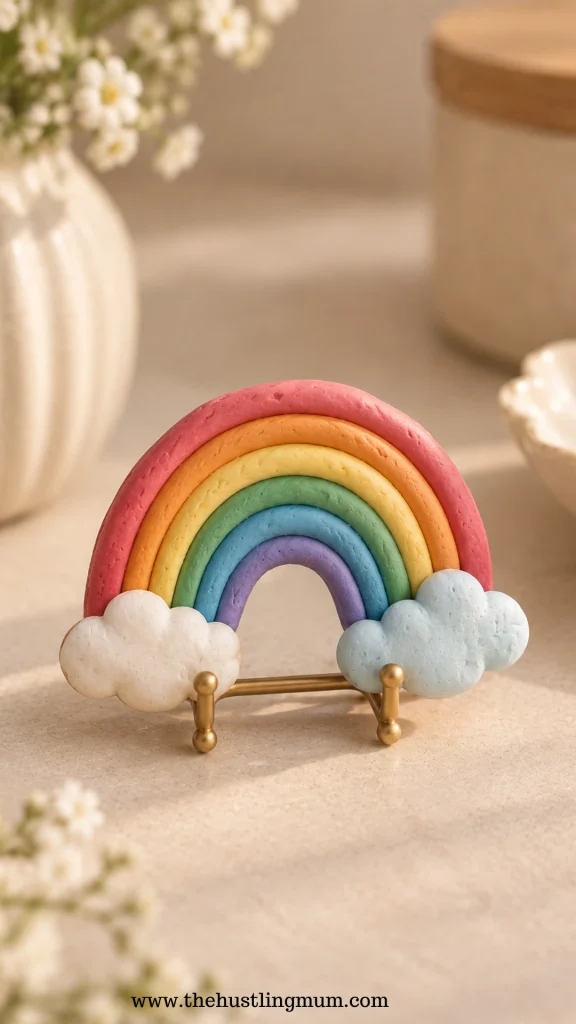
A tiny rainbow is such a cheerful little project, and you only need a few colors of clay to make it.
Start by choosing several colors for your rainbow. You can use the traditional rainbow colors or create a softer pastel rainbow with pink, lavender, blue, yellow, and peach.
Take a very small piece of each color and roll it into a thin, even rope. Try to keep the pieces similar in thickness.
Arrange the colors next to each other and gently press them together. Then carefully curve the strips into an arch.
You can finish your rainbow with two tiny clouds made from white clay. Simply roll a few tiny balls of white clay, place them together, and gently smooth them into a fluffy cloud shape.
This would also make a cute little charm, decoration, or addition to a miniature scene.
16. Mini Clay Hearts
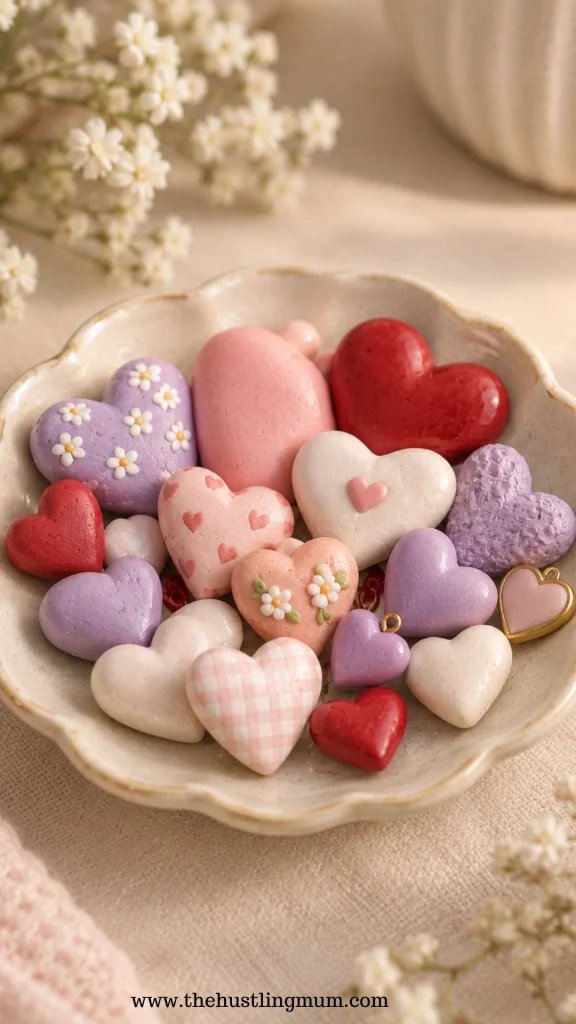
Sometimes the simplest projects are the cutest. Tiny clay hearts are incredibly easy to make and can be used in so many different ways.
Start with a small piece of clay and roll it into a smooth ball.
Gently pinch the bottom into a point. Then use your fingers or a small clay tool to create the dip at the top of the heart.
That’s really all there is to it!
You can make your hearts pink, red, white, purple, pastel blue, or any color you love.
For a little extra detail, add tiny dots, stripes, flowers, or glitter if your chosen clay and finishing products allow it.
These little hearts can also be turned into a mini clay magnet by adding a small magnet to the back after the clay has completely dried or cured.
Also read:
17. Mini Clay Fruit Basket
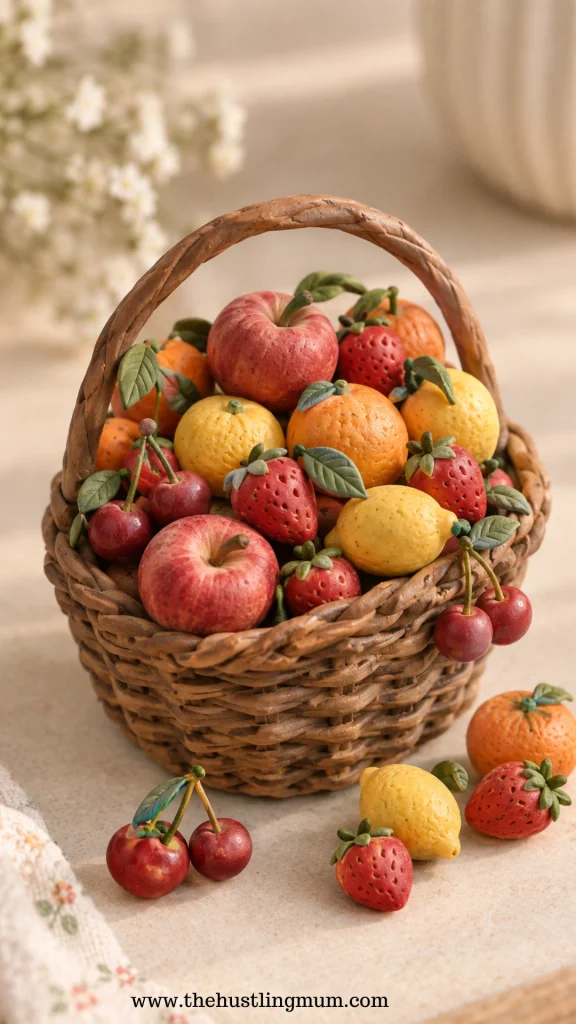
This is a fun project if you love making detailed mini clay food.
Start by making several tiny fruits. You can make strawberries, apples, oranges, lemons, cherries, or even tiny bananas.
For a small apple, roll a tiny piece of red clay into a ball and gently flatten the top and bottom. Add a tiny brown stem and a small green leaf.
For oranges and lemons, simply make tiny balls of orange or yellow clay. You can add a little texture using a toothpick.
Once your fruit is ready, make a miniature basket.
Use brown clay and create a small bowl shape. You can add thin strips of darker brown clay around the outside to give it a woven appearance.
Place your tiny fruits inside the basket.
Don’t worry if the basket isn’t perfect. Because everything is miniature, little imperfections can actually make it look more handmade and charming.
18. Mini Clay Penguin
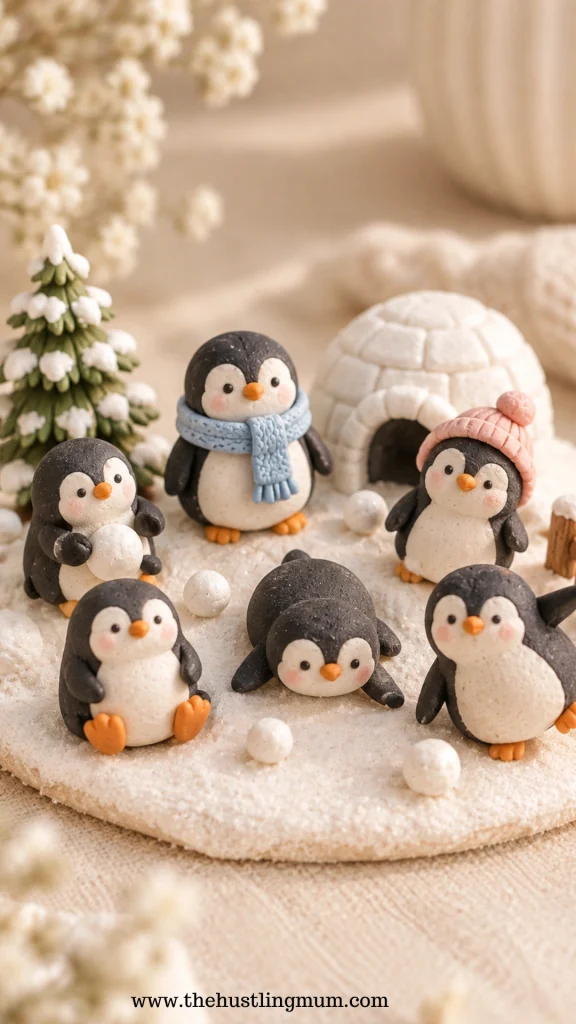
A tiny penguin is another adorable addition to your collection of mini clay figures.
Start with black clay and shape it into a small oval for the body.
Make a smaller oval or rounded shape for the head and attach it to the body.
Next, use white clay to make the penguin’s belly. Flatten a small piece and gently press it onto the front of the body.
For the beak and feet, use tiny pieces of orange clay.
Add two small black eyes. You can use tiny clay dots or add them later with paint.
If you want your penguin to look extra cute, give it a tiny scarf made from a very thin strip of colorful clay.
You can make several penguins wearing different colored scarves for a sweet winter display.
19. Mini Clay Flower Pot
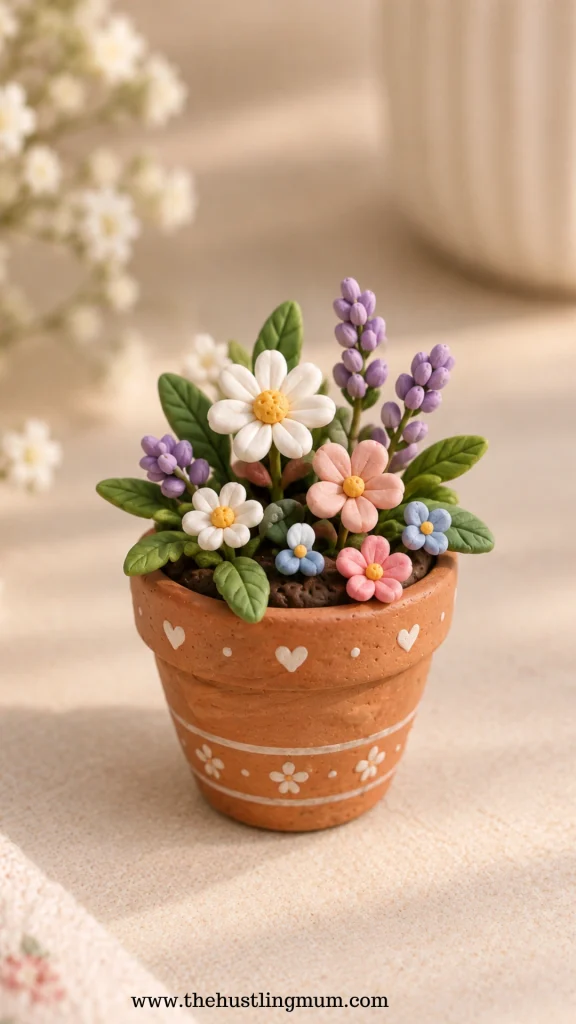
A miniature flower pot is a great project to make on its own or combine with the tiny flowers from earlier.
Start with a small piece of terracotta-colored clay.
Roll it into a ball and gently press your thumb into the middle to create an opening.
Carefully widen the opening while keeping the walls reasonably even.
Make the top slightly wider than the bottom so that it resembles a real flower pot.
For the soil, add a small amount of dark brown clay inside.
Now make tiny flowers using small pieces of colorful clay. You can create simple five-petal flowers or tiny buds.
Add small green leaves and stems before placing the flowers inside your pot.
If you want to create a more natural look, add a few tiny pieces of green clay around the soil to look like moss.
This is one of those mini air-dry clay ideas that would look adorable sitting on a desk or shelf.
20. Mini Clay Toast
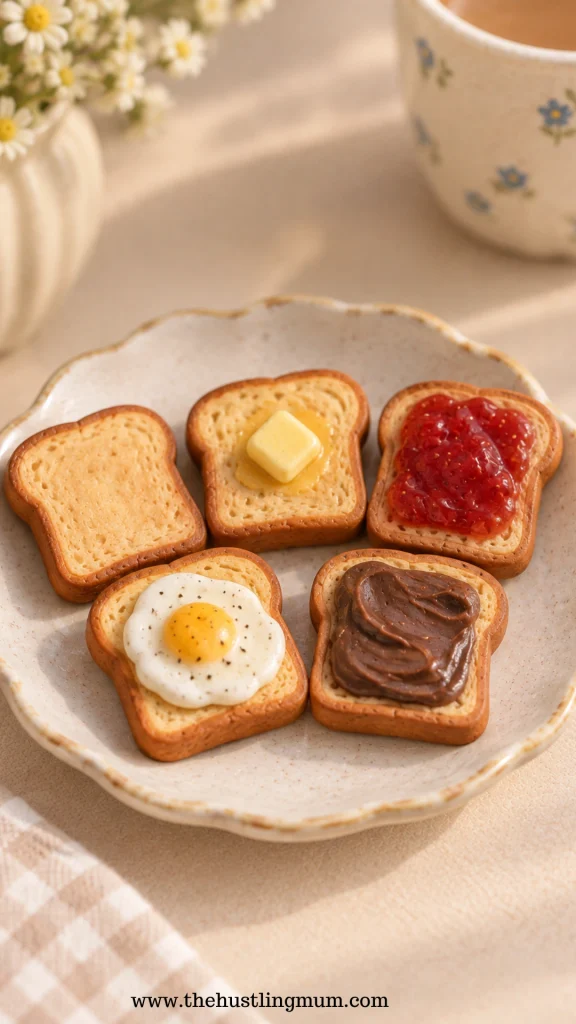
If you enjoy making miniature food, you definitely need to try tiny toast.
Start with a small piece of light brown or tan clay.
Flatten it and shape it into a small rectangle with slightly rounded corners.
Use a darker shade of brown clay to create the crust. Roll it into a very thin strip and carefully place it around the outside edge.
Use a toothpick or clay tool to add a little texture to the surface.
Now you can decide what you want on your toast.
Add a tiny yellow piece of clay for butter, or make a thin layer of red clay for jam.
You could also make chocolate spread, avocado toast, or even a tiny fried egg on top.
Make several slices with different toppings and arrange them on a miniature plate for a cute breakfast scene.
21. Mini Clay Clouds
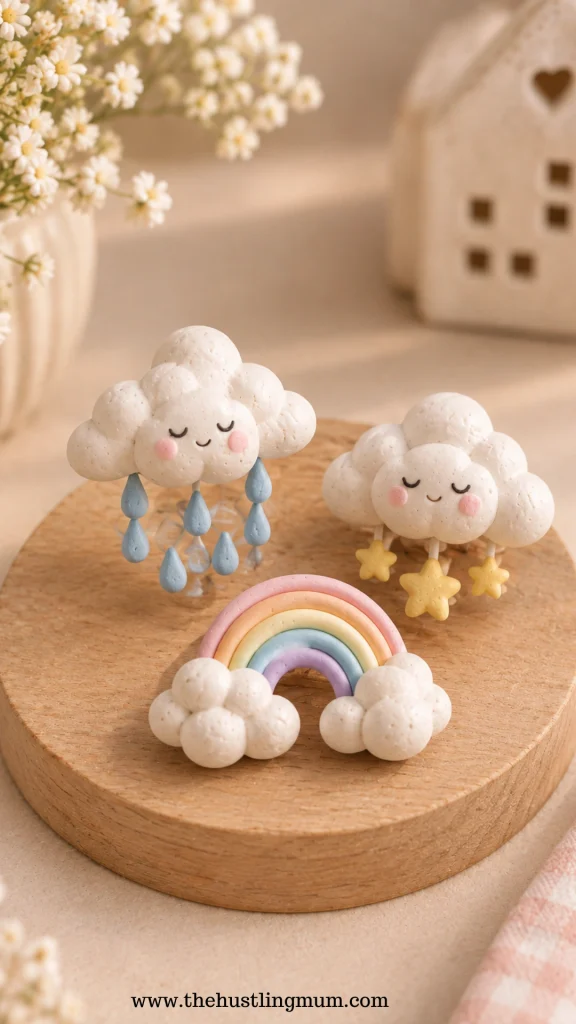
Tiny clouds are one of the easiest projects to make, and they work beautifully with other miniature creations.
Take several very small pieces of white clay and roll each one into a ball.
Arrange the balls next to each other and gently press them together.
Smooth the edges slightly so that the individual balls blend into one fluffy cloud.
You can leave the cloud plain or add tiny details.
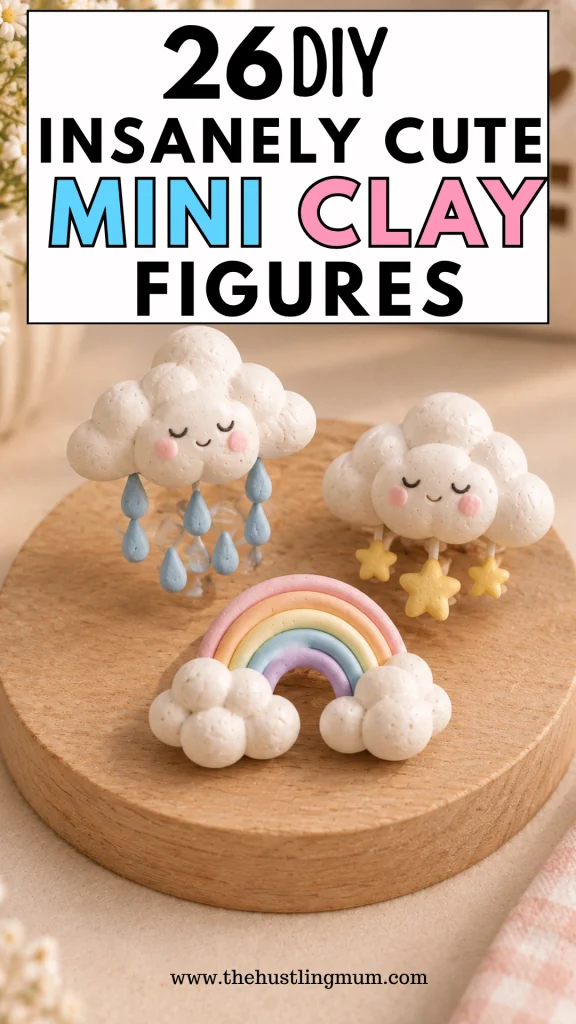
For example, make small blue raindrops underneath it or place a tiny rainbow next to it.
You could also create a dreamy miniature scene by combining clouds with stars, moons, rainbows, and tiny flowers.
For a softer feminine look, try using pastel blue, pink, lavender, and white.
22. Mini Clay Frogs
Tiny frogs are another fun addition to your collection of mini clay figures.
Start with green clay and roll it into a small ball.
Shape the body into a slightly flattened oval.
Make four tiny pieces of green clay for the legs. Attach two to the front and two to the back.
For the eyes, make two tiny green or white balls and place them on top of the head.
Add tiny black dots for the pupils.
You can use a toothpick to make a small smile.
Want to make your frog even cuter?
Give it a tiny flower, mushroom, or lily pad to sit on.
You can make frogs in different shades of green or experiment with pastel colors for a whimsical miniature collection.
23. Mini Clay Books
If you love reading or creating miniature room scenes, tiny clay books are a lovely project to try.
Start with two small, thin pieces of clay.
Place one piece on top of the other and gently press them together.
Use a different color for the cover. You can make the cover slightly larger than the pages so it looks like a real little book.
Use a toothpick or clay tool to create tiny lines on the cover or spine.
You can even make different colored books and stack them into a miniature pile.
These tiny books would look adorable next to a miniature coffee cup, flower pot, or tiny chair.
If you’re making a dollhouse or miniature bookshelf, you can make several books and arrange them together to create a tiny reading corner.
24. Mini Clay Cookies
Tiny cookies are simple to make and are perfect if you enjoy mini clay food projects.
Start with a small piece of tan or light brown clay.
Roll it into a ball and gently flatten it into a round cookie shape.
You can use a toothpick around the edges to create a little texture.
For chocolate chips, make tiny pieces of dark brown clay and gently press them into the cookie.
Try making different varieties.
You could create chocolate chip cookies, sugar cookies, oatmeal cookies, or even little sandwich cookies.
For sandwich cookies, make two thin round pieces and place a tiny piece of white or pink clay between them.
Arrange your finished cookies on a miniature plate or in a tiny bowl.
They would look especially cute alongside the mini clay coffee cup from earlier.
25. Mini Clay Bunny
A tiny bunny is one of those projects that can be made simple or detailed depending on your skill level.
Start with a small piece of clay for the body and shape it into a rounded oval.
Make a smaller ball for the head.
For the ears, take two tiny pieces of clay and flatten them slightly. Shape each one into a long oval with a pointed end.
Attach the ears to the top of the head.
Add tiny pieces of clay for the feet and a small round tail at the back.
For the face, two tiny black eyes and a little pink nose are enough.
If you want to add more personality, give your bunny a tiny carrot, flower, or bow.
You can make white, gray, brown, pink, or pastel bunnies.
These little bunnies make adorable mini clay figures, especially when grouped together with flowers and mushrooms.
26. Mini Clay Fairy Garden
Now let’s bring several of your tiny creations together and make a miniature fairy garden.
Start with a small clay pot, shallow dish, or another suitable base.
Add a little brown clay to represent soil.
Next, start arranging your tiny creations.
You can add miniature mushrooms, flowers, frogs, ladybugs, bunnies, clouds, and other pieces you’ve made.
You don’t need to use all of them. Pick a few pieces and create a small scene that feels balanced.
You can also make tiny stepping stones using small gray pieces of clay.
For a magical touch, add a tiny fairy door to a miniature tree stump or make a tiny bench from clay.
The great thing about a fairy garden is that there are no strict rules. You can keep adding little details as you become more comfortable with clay.
This is also a great way to use several of these mini clay crafts together instead of displaying them individually.
Tips for Making Mini Clay Crafts
Working with tiny pieces can take a little practice, so don’t worry if your first few projects aren’t perfect.
Start Small, But Not Too Small
Although these are miniature projects, don’t make your pieces impossibly tiny when you’re just starting.
A slightly larger piece is much easier to hold, shape, and decorate.
Once you become comfortable, you can gradually make smaller pieces.
Keep Your Work Surface Clean
Tiny clay pieces easily pick up dust, hair, and fibers.
Before you start, wipe down your work surface and wash your hands.
This simple step can make a big difference in the finished appearance of your crafts.
Use a Toothpick for Tiny Details
You don’t need a special tool for every little detail.
A toothpick can help you make eyes, seeds, lines, textures, and tiny holes.
It’s one of those inexpensive supplies I would definitely keep nearby.
Don’t Overwork the Clay
If you keep touching and reshaping a tiny piece over and over, it can become difficult to control.
Try to make your basic shape first and then add the details.
If you’re making several pieces, work on the basic shapes first and decorate them afterward.
Let Your Clay Dry or Cure Properly
This step is important.
If you’re using air-dry clay, give your pieces enough time to dry completely.
If you’re using polymer clay, follow the temperature and curing time recommended by the manufacturer.
Avoid guessing the baking temperature because different polymer clays can have different instructions.
Don’t Worry About Perfection
This is probably my biggest tip.
Your first mini clay figure may have one eye slightly higher than the other. Your tiny flower may have uneven petals. Your donut might not be perfectly round.
That’s okay.
Handmade crafts are supposed to have a little personality. With practice, your shapes will become easier to control.
What Can You Do With Your Mini Clay Crafts?
Once you’ve made a few projects, you may start wondering what to do with all those tiny creations.
There are actually plenty of possibilities.
You can display them on a miniature shelf, use them in dollhouse scenes, decorate a desk, make refrigerator magnets, or turn some pieces into charms and keychains.
You can also combine several pieces into a themed miniature scene.
For example, make a tiny coffee cup, cookies, cake slice, and books and create a little reading-and-coffee corner.
Or combine flowers, mushrooms, frogs, ladybugs, and a bunny to create a tiny garden.
Final Thoughts
There is something incredibly satisfying about making tiny things with your own hands.
A small piece of clay can become a colorful donut, a tiny bunny, a little flower pot, or an entire miniature garden. You don’t need a huge craft room or complicated equipment to get started.
The best part is that you can make these projects your own.
Change the colors, add different details, create funny faces, or combine several pieces to make a miniature scene. Don’t be afraid to experiment and let your creativity take over.
If you’re completely new to clay, start with something simple like a heart, mushroom, flower, or cookie. Once you get comfortable with the basic shapes, you can move on to more detailed mini clay figures and miniature scenes.
If you found this post helpful, don’t forget to pin it and share it with your friends.

Related Posts:
Air-Dry Clay Crafts for beginners.
DIY Fabric Scrap Crafts to Sell.


I am a passionate blogger who loves sharing insights on blogging tips, Pinterest strategies, and making money online. With a knack for simplifying complex concepts, I help readers grow their online presence and achieve their Pinterest marketing goals. Follow along for practical advice and proven tactics to elevate your blog, Pinterest and online business.
Pingback: 15 Polymer Clay Craft Ideas You'll Love Making (Perfect For Beginners) » The Hustling Mum
Pingback: 20 Dollar Tree Crafts To Sell That Can Turn Into Real Income » The Hustling Mum